- HP
- LF
Air Fryer Honey Garlic Shrimp

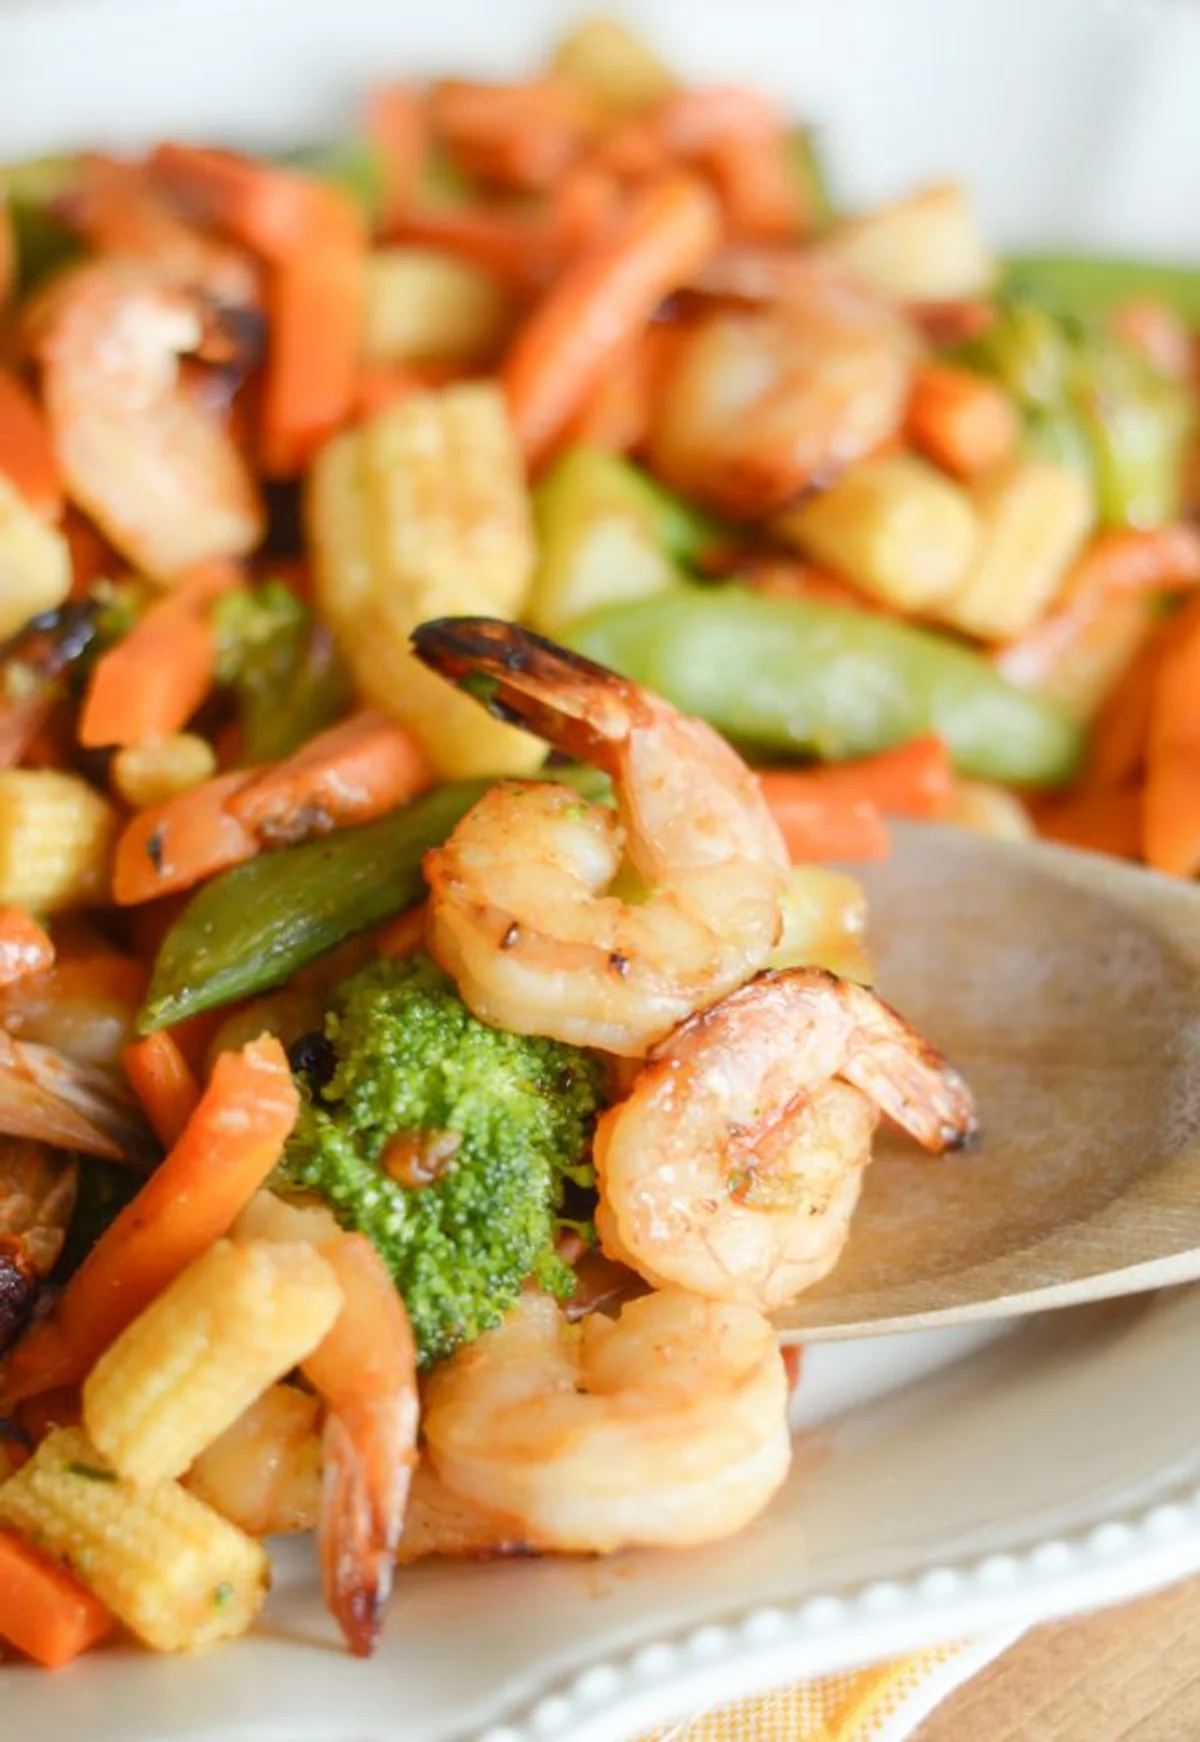
Air Fryer Honey Garlic Shrimp pairs a sweet shrimp with cooked vegetables, a meal ready to eat in less than 20 minutes! Using the air fryer to make shrimp and vegetables locks in the moisture giving the shrimp a wonderful, tender texture but a crispy outer coating along with a roasted vegetables texture. The best part is that there is no oil needed! Make this recipe gluten-free by using gluten-free soy sauce.
Ingredients
Instructions
- Step 1
Before starting the recipe, run the shrimp under cold water to release any ice and pat dry, set aside.
- Step 2
In a small saucepan on the stove, add the honey, soy sauce, ketchup, garlic, and ginger, and whisk to combine. Keep this on medium heat and warm to a low boil.
- Step 3
Once boiling, in a small dish, combine the cornstarch and water to create a slurry.
- Step 4
Lower the heat on the stove and whisk in the slurry, continue to whisk lightly until thickened. Remove from heat.
- Step 5
Place the shrimp in a Ziploc bag and coat with 3/4 of the sauce. Seal the bag and shake up the sauce to coat the shrimp, then set aside.
- Step 6
In a small bowl, add the mixed vegetables and the remaining sauce.
- Step 7
Place the vegetable mixture into the basket of the air fryer and air fry at 375°F for 4-5 minutes until lightly cooked. It's best to shake or mix up the vegetables halfway through the cooking time.
- Step 8
After 5 minutes, add the sauce-coated shrimp in a single layer into the air fryer basket, stir to coat, and mix with the vegetables.
- Step 9
Cook at 375°F for an additional 5-7 minutes or until the shrimp and vegetables are heated through with an internal temperature of at least 145°F.
- Step 10
Once done serve with cooked and steamed rice.
Tips & Tricks
Per serving
My Notes
PrivatePRIVATE TO YOUOnly you can see these
Private to you. Jot down what you changed so it's here next time you cook this.
Keep your own notes on this recipe
Private to your account — what you changed, what you'd do differently next time.
Be the first to photograph this dish and earn a 30% bonus
Level up by reviewing recipes!
