- VE
Air Fryer Pumpkin Pie (Ninja Foodi)

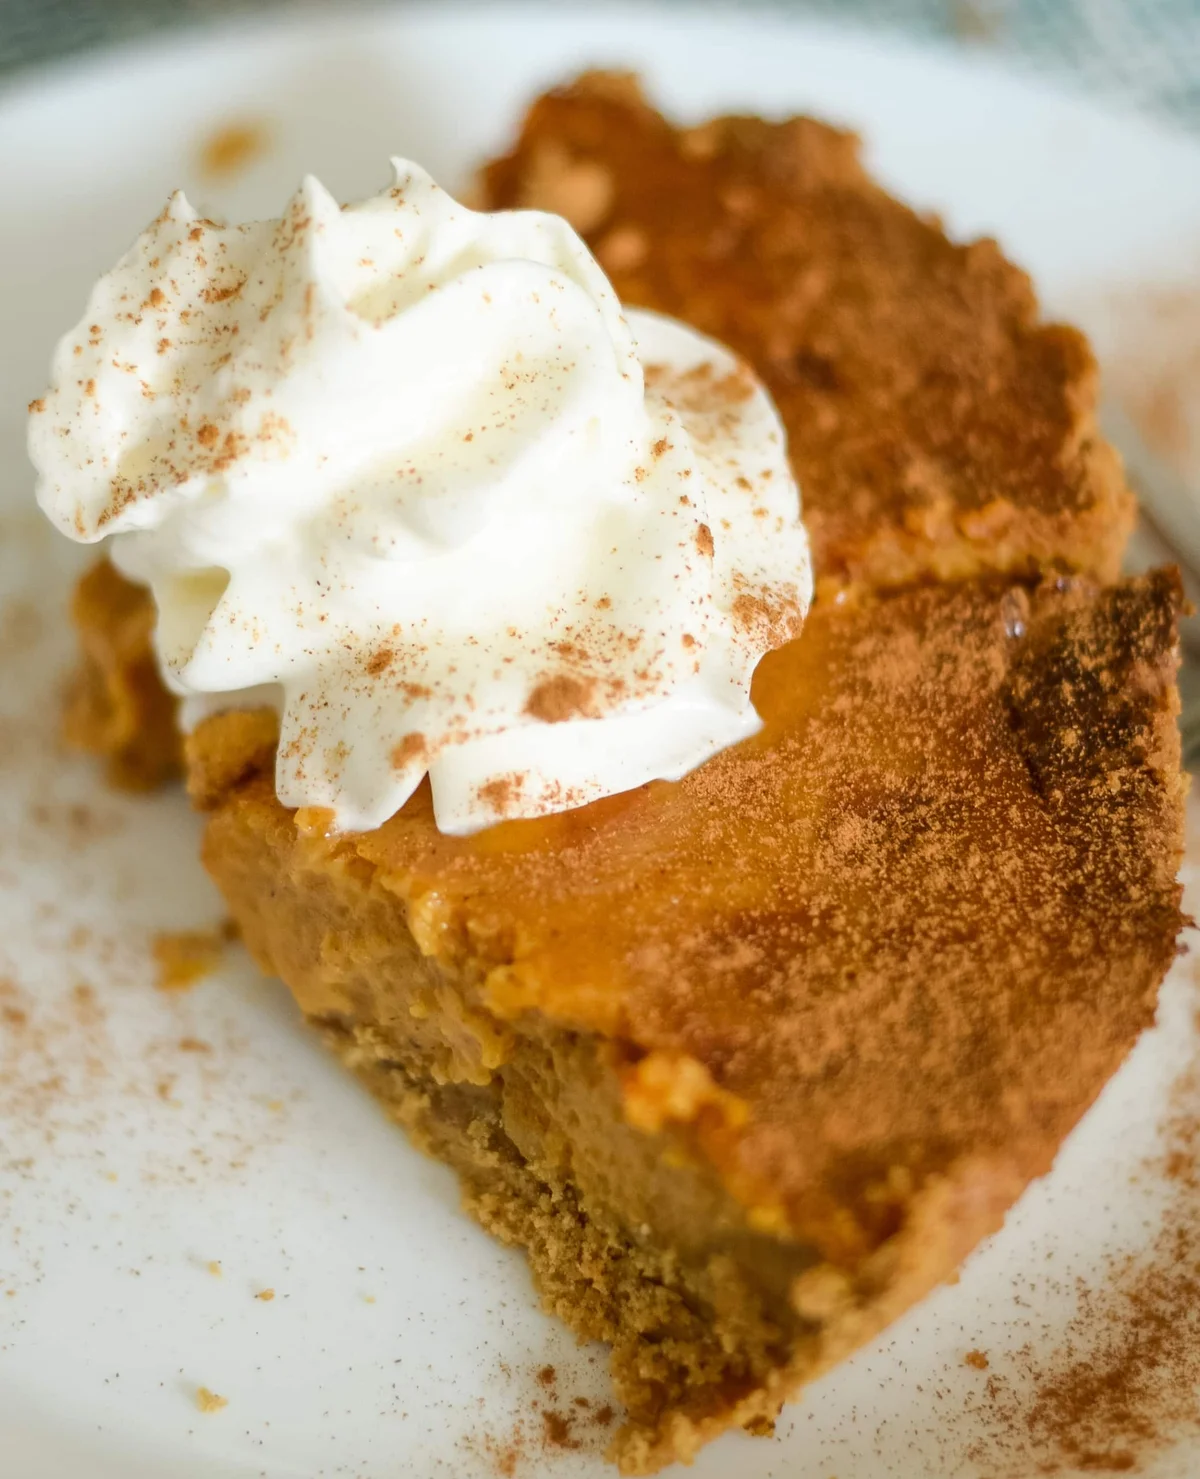
Get ready to make a great pumpkin pie in the Air Fryer or Ninja Foodi with this Air Fryer Pumpkin Pie Recipe, make gluten-free too! If your oven is already packed on a holiday (or you just don’t feel like heating the whole kitchen), this air fryer pumpkin pie is the answer. It cooks in a fraction of the time a traditional oven-baked pumpkin pie takes, and cleanup is just two small pie pans. This recipe is written for plain pumpkin puree; pumpkin pie filling is already sweetened and spiced, so the results will taste different.
Ingredients
Instructions
- Step 1
The first step is to be sure you are using a pie pan that fits your air fryer, I used a Ninja Air Fryer and 2 7-inch pie pans, cooking them each individually.
- Step 2
Begin by preparing the pie shell, mix the crushed graham crackers with the melted butter using a pastry cutter until it is easy to work with and softened.
- Step 3
Place this into the pie pans to create the shell, packing it into the pie pan to create the crust.
- Step 4
Once done, set the pie pans aside and make the filling.
- Step 5
In a medium-sized bowl, add the sugar, flour, pumpkin pie spice, and salt.
- Step 6
Whisk in the pumpkin puree, eggs, and milk.
- Step 7
Once well combined, pour half into each of the pie pans.
- Step 8
If you are using a basket of an air fryer, you can use a sling (see post and notes) or you can make a foil sling (see post and notes) to make your pies easy to lift out. If you are using a Ninja Foodi Multi-Cooker, you can make this using your wire trivet that comes with the Ninja Foodi, set to the lowest position.
- Step 9
Cook in the Air Fryer or Air Crisp for the Ninja Foodi at 350°F for 20-23 minutes. Check on it at 20 minutes and if the center is not fully set let it cook an additional 3 minutes.
- Step 10
Once done, carefully remove and cool.
- Step 11
Chill in the fridge until ready to serve.
Tips & Tricks
Per serving
My Notes
PrivatePRIVATE TO YOUOnly you can see these
Private to you. Jot down what you changed so it's here next time you cook this.
Keep your own notes on this recipe
Private to your account — what you changed, what you'd do differently next time.
Be the first to photograph this dish and earn a 30% bonus
Level up by reviewing recipes!
