- VE
- HP
- GF
- LS
- LC
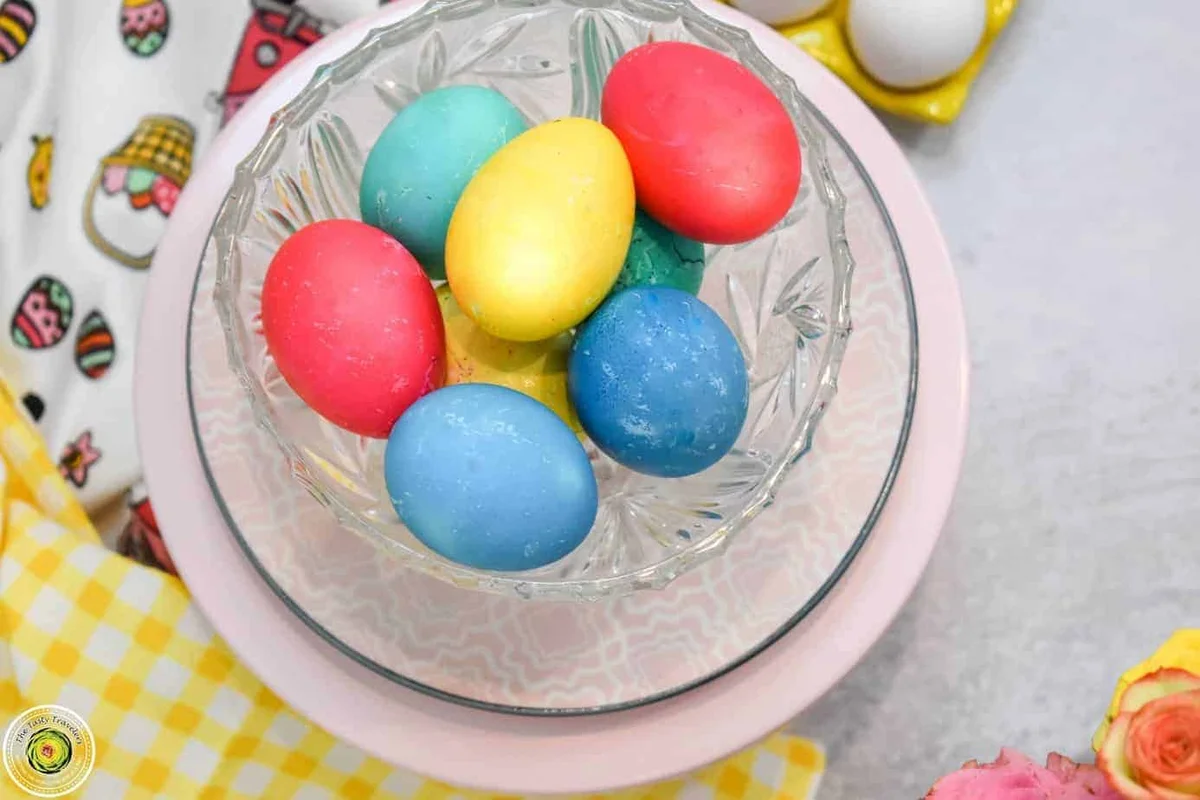
Dyed Easter Eggs in the Ninja Foodi

The Tasty Travelers Dye your Easter eggs in your Ninja Foodi using the 5-5-5 method! We did find that if you opt to cook them longer, for 6, 7 or 8 minutes, the color of the egg dye is a bit more vibrant, but the eggs were a bit overcooked and rubbery for our liking. The jar should be no more than ½ way filled with liquid.
Ingredients
Instructions
- Step 1
Pour 2 cups of water into the Ninja Foodi Liner.
- Step 2
Pour 1/2-1 cup of water (depending on the size of your mason jar), 2 tablespoons of white vinegar and 1/2 teaspoon of food coloring into each mason jar. The jar should be no more than 1/2 way filled with liquid.
- Step 3
Put 2-3 eggs in each mason jar, depending on the size of the jar.
- Step 4
Put mason jars with eggs and liquid into the Ninja Foodi liner.
- Step 5
Close the lid and make sure that the valve is on “seal.” Cook on high pressure for 5 minutes. Once timer beeps, allow pressure to naturally release for 5 minutes and then quick release remaining pressure and remove lid.
- Step 6
Using tongs, carefully remove eggs from mason jars and place in a bowl of ice for 5 minutes.
Tips & Tricks
Per serving
My Notes
PrivatePRIVATE TO YOUOnly you can see these
Private to you. Jot down what you changed so it's here next time you cook this.
Keep your own notes on this recipe
Private to your account — what you changed, what you'd do differently next time.
Be the first to photograph this dish and earn a 30% bonus
Level up by reviewing recipes!
