Easter Bunny Fruit Tray

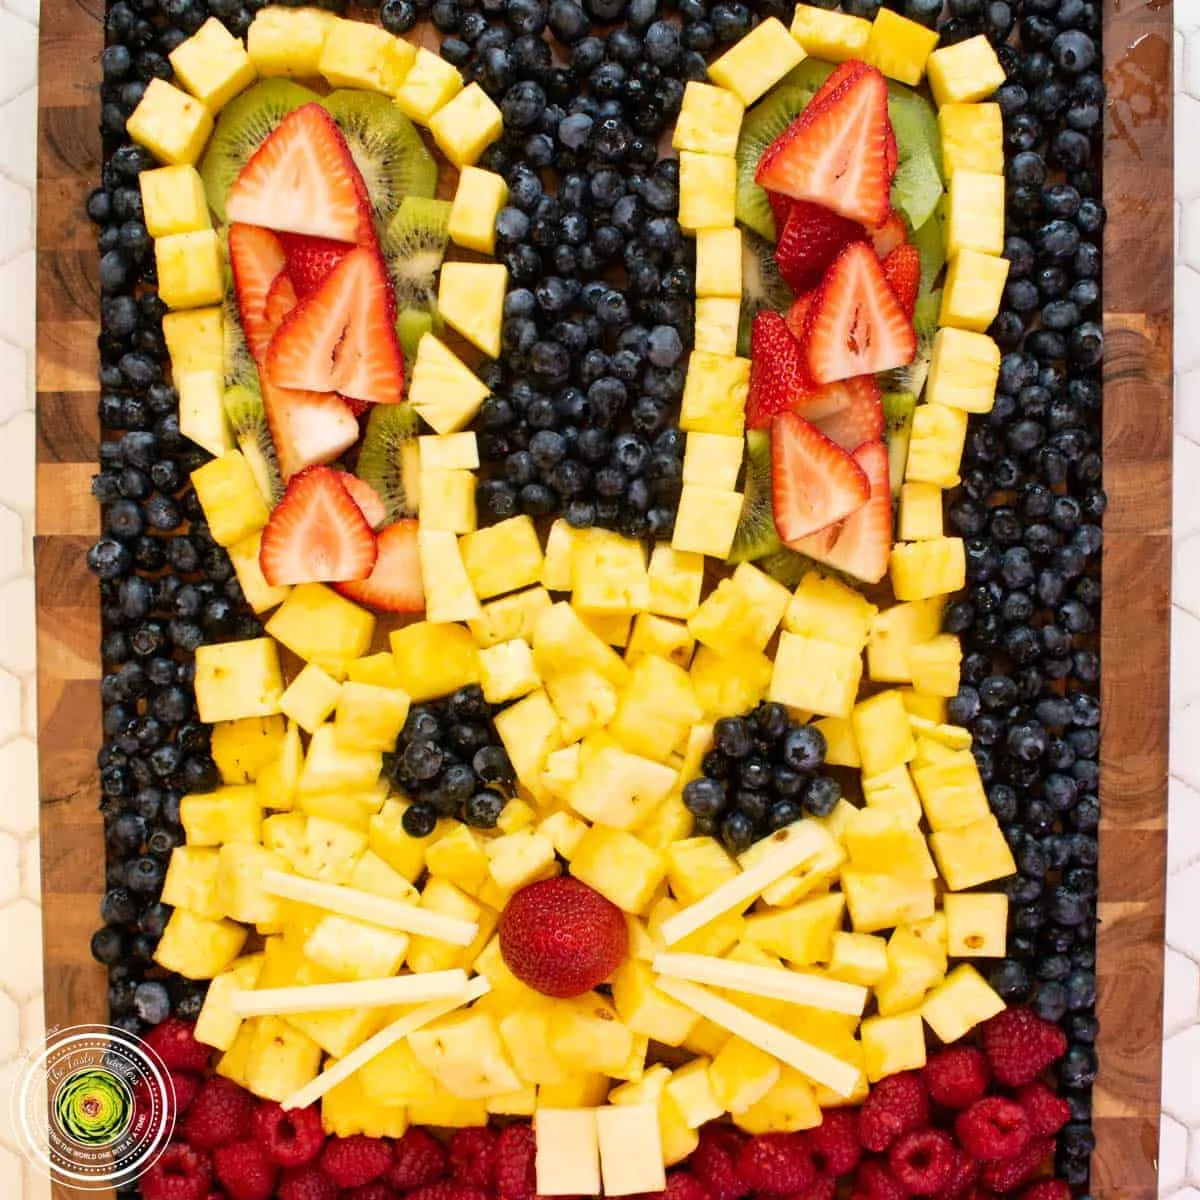
Making an Easter fruit tray is really easy to do, you can modify the fruit based on your own preferences, and it's perfect for Easter brunch, Easter Party, or any other Spring time celebration! I'm happy to say, this is not the case with the Easter Bunny fruit tray! Not only is it fun to make, but it's also a super healthy treat to eat! The most important part is getting the pineapple outline of the face and ears just right before moving on to filling in the middle part of the ears or adding the bunny nose. I would try to stay along the same color scheme for the fruit so that the bunny looks like a bunny when it's all put together.
Ingredients
Instructions
- Step 1
Prepare all fruit by washing and cutting them as needed.
- Step 2
Start with a 20x15 cutting board and create the outline of the bunny's head using the cut-up pieces of pineapple. Try to use a single row of pineapple to create the outline.
- Step 3
Fill in the bunny ears with slices of kiwi. The kiwi should go all the way to the edges and touch the pineapple pieces.
- Step 4
Top the kiwi with pieces of strawberry.
- Step 5
Fill in the bunny's head with the remaining pineapple chunks.
- Step 6
Move the pineapple around to make eye holes and fill the eye holes with blueberries.
- Step 7
Make the bunny's nose by placing a whole strawberry (remove the stem) pointing upwards in the middle of the bunny's face.
- Step 8
Fill the bottom of the board with raspberries.
- Step 9
Fill the rest of the board with blueberries. If your board has a juice groove, create a border by filling the juice groove with blueberries. This will help all of the fruit stay in place.
- Step 10
Create whiskers and teeth by thinly slicing white American cheese. Cut the whiskers and the teeth about ½ inch thick.
- Step 11
Serve and enjoy! Your guests will be so impressed!
Tips & Tricks
Per serving
My Notes
PrivatePRIVATE TO YOUOnly you can see these
Private to you. Jot down what you changed so it's here next time you cook this.
Keep your own notes on this recipe
Private to your account — what you changed, what you'd do differently next time.
Be the first to photograph this dish and earn a 30% bonus
Level up by reviewing recipes!
