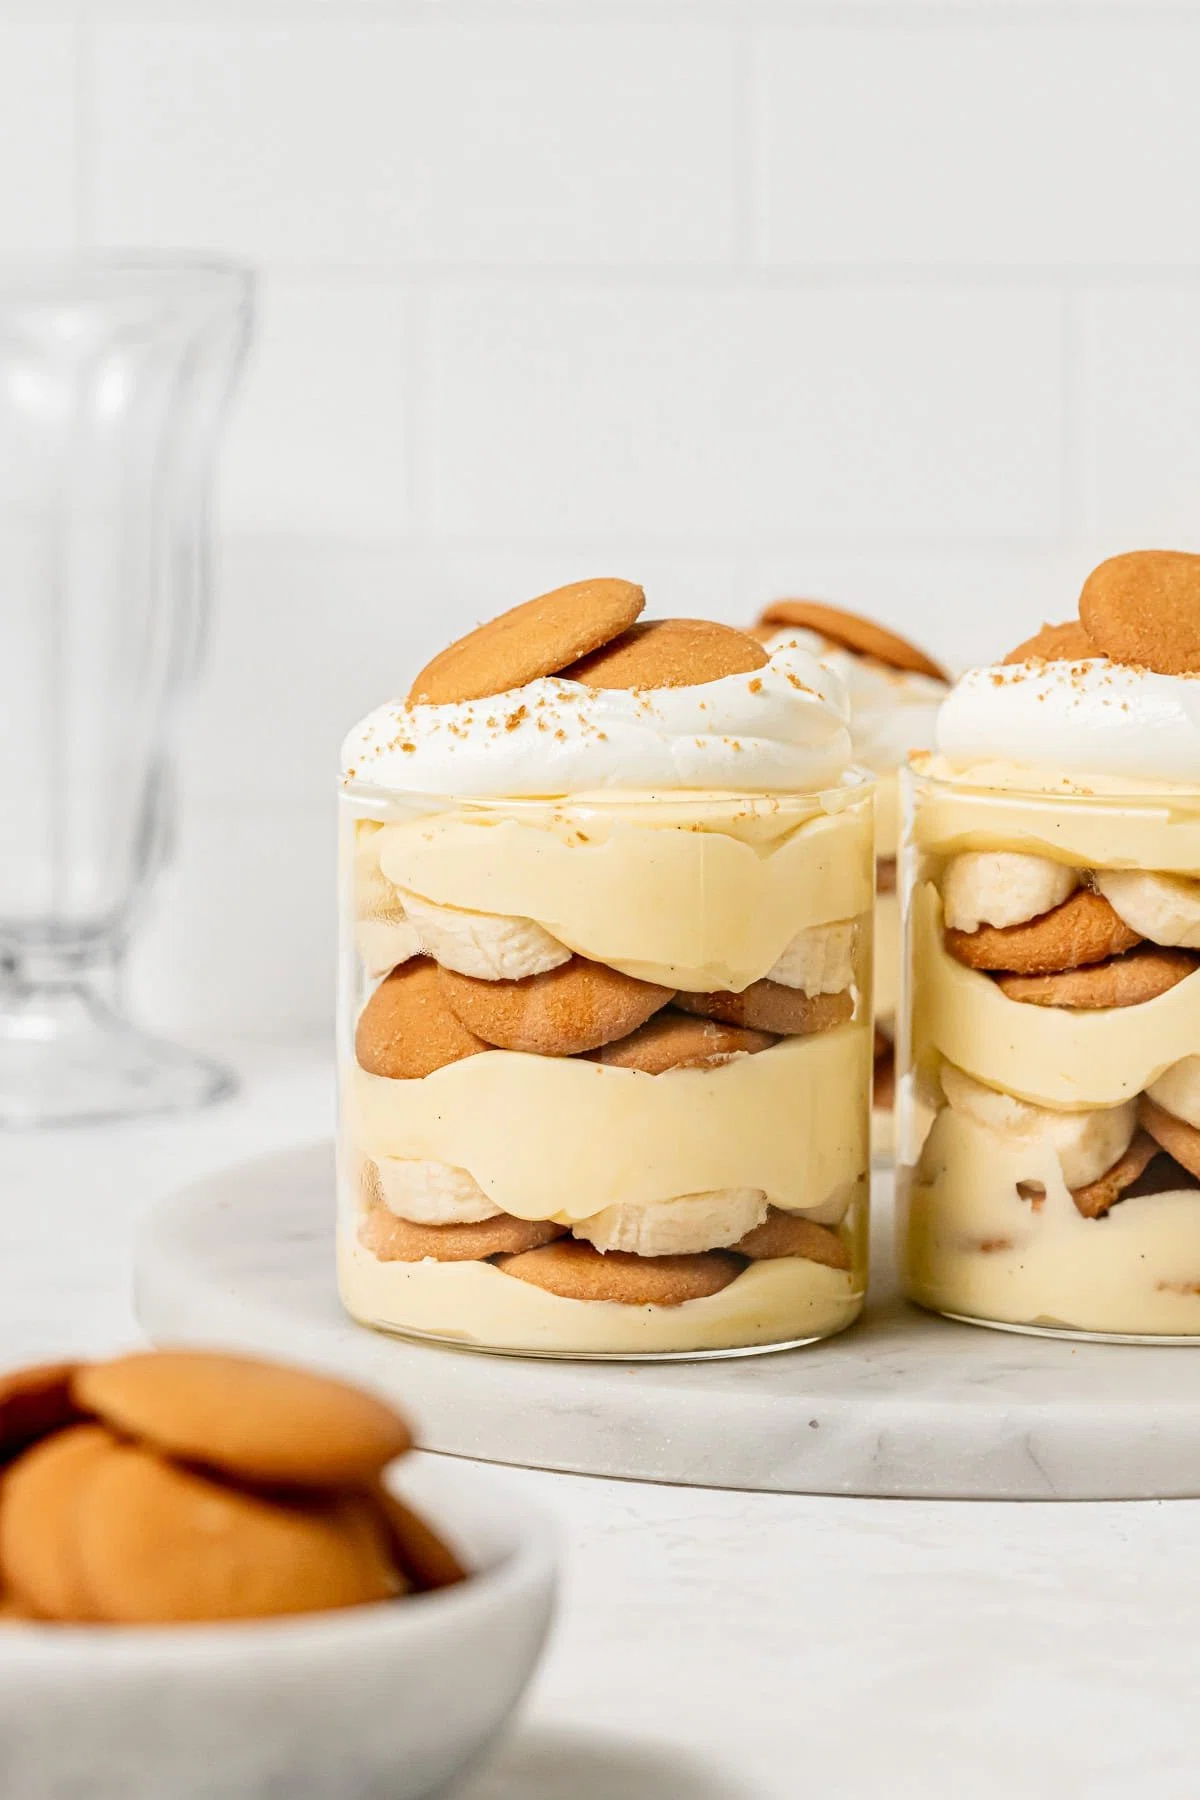
Easy Banana Pudding Jars

These banana pudding jars are the perfect no bake dessert! They're layered with nilla wafers, fresh banana slices, pastry cream filling, and homemade whipped cream. They're creamy, not too sweet, and just so good! Though they don't last too long in the fridge, the pastry cream can be made well in advance, so all you have to do is make the whipped cream and assemble the day before serving!
Ingredients
Instructions
- Step 1
In a small saucepan over low-medium heat, bring the milk to a simmer, or about 190 degrees F.
- Step 2
Meanwhile, in a medium bowl, vigorously whisk together the egg yolks, granulated sugar, and cornstarch until pale in color and the mixture flows off of the whisk.
- Step 3
Once the milk has reached a simmer, slowly pour half of it into the egg-sugar mixture while simultaneously whisking to temper the eggs. Pour everything back into the saucepan and place over medium heat. Use a rubber spatula to mix constantly as it thickens.
- Step 4
Once the pastry cream is thick and a few big bubbles come to the surface, continue whisking for one more minute, then remove the pan from heat.
- Step 5
Immediately pour the pastry cream through a fine mesh sieve into a small bowl to ensure it’s perfectly smooth. Then, add the butter and vanilla, and use an immersion blender (or rubber spatula) to combine.
- Step 6
Press plastic wrap up against the surface of the pastry cream to prevent a skin from forming, and place in the fridge to chill for at least one hour or until ready to use.
- Step 7
Just before you are ready to assemble the jars, make the whipped cream.
- Step 8
In a medium bowl, beat the heavy cream with an electric mixer while slowly pouring in the granulated sugar.
- Step 9
Beat until soft peaks form, and no more! It can be easy to over-whip, so watch carefully.
- Step 10
Add half of the whipped cream to the cooled pastry cream, and gently fold with a rubber spatula until fully combined. Reserve the other half for topping.
- Step 11
In each jar, add layers of pudding, nilla wafers, and fresh banana, then repeat until full.
- Step 12
Top each with a generous dollop of the reserved whipped cream, then place in the fridge overnight.

@sloanes-table
Hi! I'm Sloane, welcome to Sloane’s Table! I am a Dartmouth College alumna, professional baker, recipe developer, and food photographer. Here, you will find tried & true bakery-worthy recipes ranging from simple sweets to technical pastries. Whether you are looking to challenge yourself and improve your baking skills or just want an easy, trust-worthy recipe, you're in the right place.
Per serving
Be the first to review this recipe and earn a 20% Bonus
Level up & unlock free Premium by reviewing recipes!