- VE
- GF
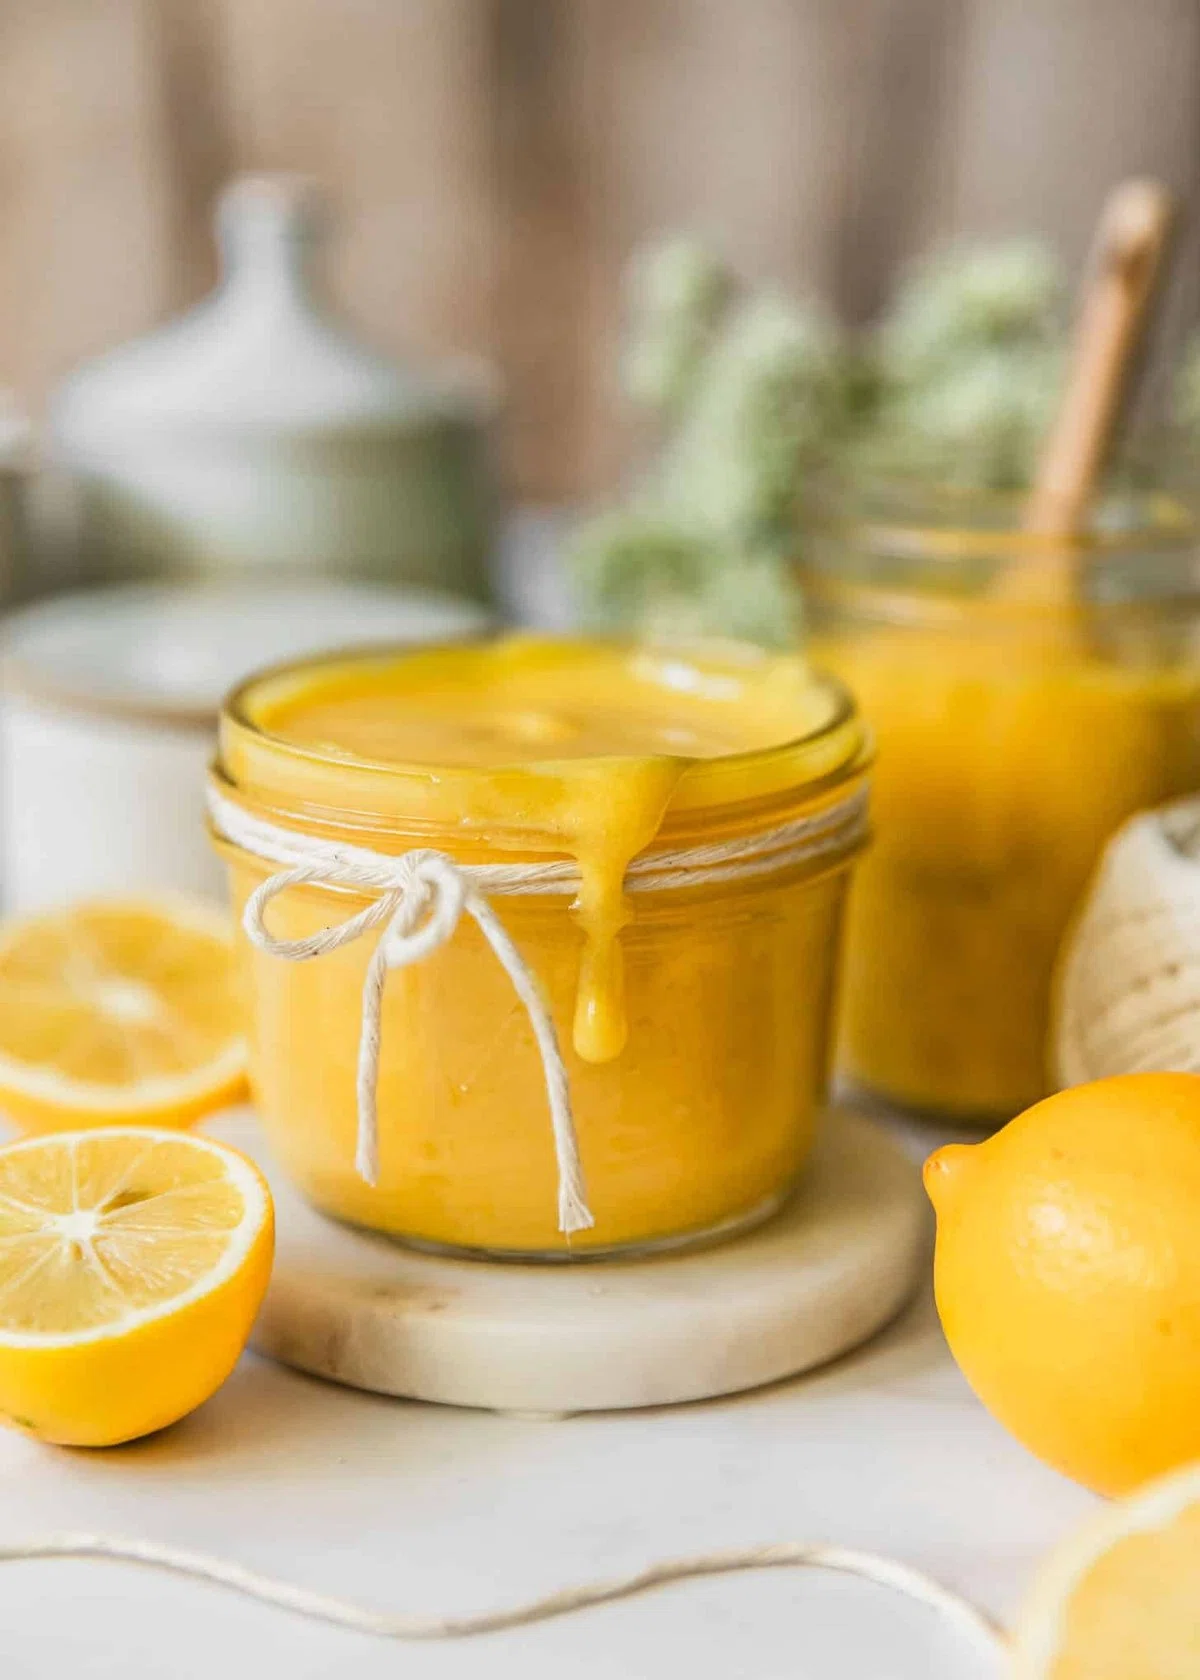
Easy Meyer Lemon Curd

This homemade meyer lemon curd is beyond easy to make from scratch! With just a handful of ingredients, it comes together quickly and goes on everything from cookies and cakes to scones and pancakes. It's perfectly sweet, tart, buttery, and so delicious!
Ingredients
Instructions
- Step 1
Pour the sugar and lemon zest into a non-reactive saucepan. Using clean hands, rub the sugar and lemon zest together until it's fragrant and the lemon zest has released its oils, about 1-2 minutes.
- Step 2
Add the egg yolks to the lemon sugar. Using a rubber whisk, whisk the egg yolks and sugar together until the mixture is thickened and pale yellow, about 2-3 minutes. Whisk in the lemon juice until the mixture is smooth. Then, stir in the salt.
- Step 3
Cook the lemon curd over medium-low heat, whisking constantly, until the mixture thickens, reaches 170°F (77°C), and coats the back of a wooden spoon. Don't let the curd come to a boil!
- Step 4
Remove the pot from the heat and add the cold cubes of butter. Whisk until the butter is completely melted. Then, stir in the vanilla bean paste.
- Step 5
Strain the lemon curd through a fine-mesh sieve to remove any lumps or lemon zest. Let the curd cool for a few minutes. Then, pour the lemon curd into a jar and press a small piece of plastic wrap against the top to keep a film from forming. Seal the jar and refrigerate the curd for up to 1 week.
Tips & Tricks

@Sunday-table
I’m Sara, the creator behind Sunday Table, sharing cozy, modern small bites and mini desserts made for entertaining. Trained in baking and culinary arts, I’ve been creating elevated, crowd-pleasing recipes since 2012 (with lots of coffee). ☕️
Per serving
Be the first to review this recipe and earn a 20% Bonus
Level up & unlock free Premium by reviewing recipes!