- VE
Easy Scalloped Potatoes in the Ninja Foodi

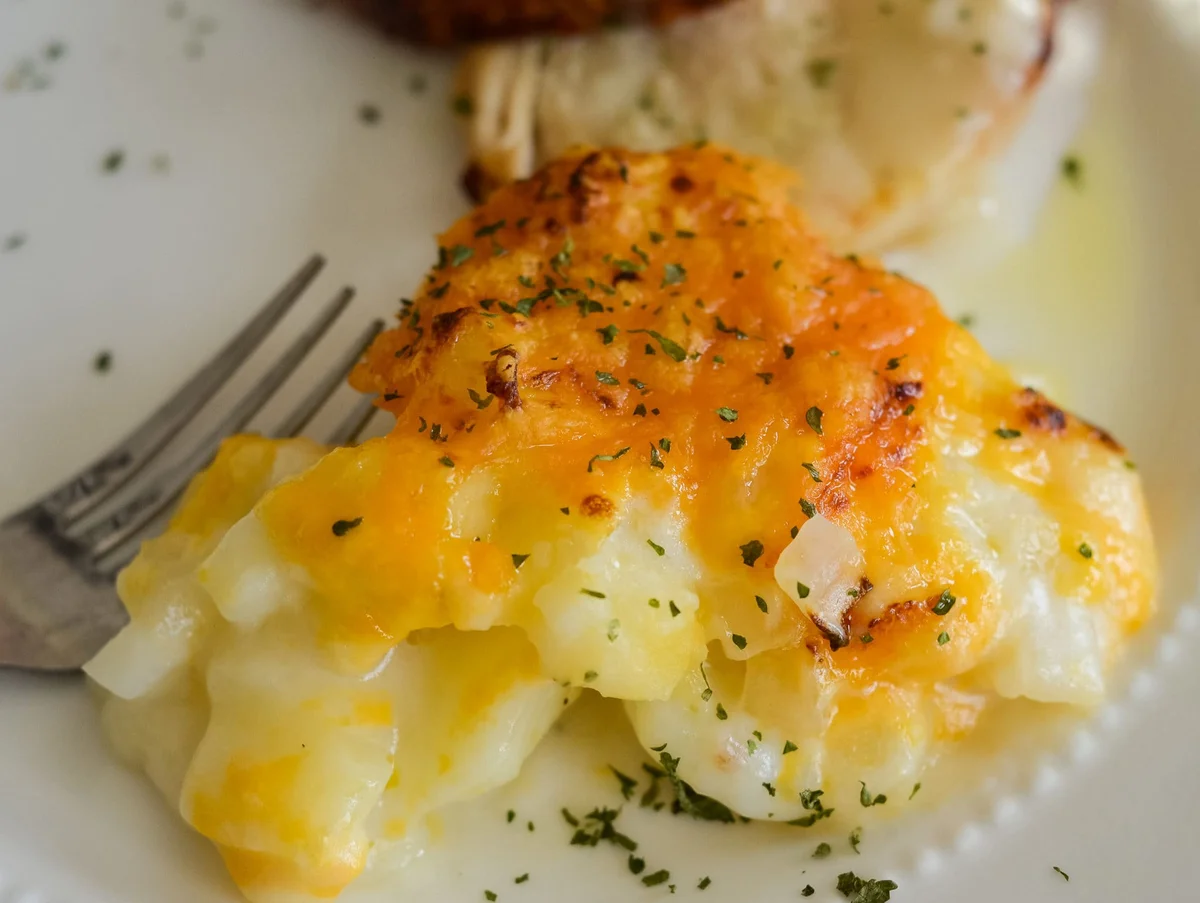
Make these easy scalloped potatoes in the Ninja Foodi. These are also easy to make gluten-free too, the perfect potato recipe for the Ninja Foodi!
Ingredients
Instructions
- Step 1
Using the Ninja Foodi, spray the pot with olive oil cooking spray and place the potatoes in the pot. These should be peeled and sliced to 1/8 inch.
- Step 2
Add 1 Cup of water to the pot of the Ninja Foodi.
- Step 3
Secure the pressure cooker lid, set the nozzle to 'seal'.
- Step 4
Pressure cook on high for 1 minute.
- Step 5
Quick-release the pressure, open the nozzle to 'vent' immediately following cook time.
- Step 6
Place the all-purpose pan on the wire rack at the low setting.
- Step 7
Coat the all-purpose pan with olive oil cooking spray and place the cooked potatoes in the pan.
- Step 8
Add the onion evenly on top of the potatoes.
- Step 9
Use either the stove and saucepan or the Ninja Foodi pot and the saute function for this part.
- Step 10
Add the butter to the saucepan or the pot of the foodi on high heat.
- Step 11
Whisk in the flour, salt, and pepper, continue cooking for about 10-15 seconds.
- Step 12
Stir in the milk.
- Step 13
Bring this up to a boil for 1 minute, whisking to keep it well combined.
- Step 14
Once boiled, remove from heat.
- Step 15
If you are using the pot of the Foodi, pour the entire contents of the sauce over the potatoes in the pan. If you are using a saucepan, do the same.
- Step 16
Coat the top with the shredded cheddar cheese.
- Step 17
Place the wire rack with the pan back into the pot of the Ninja Foodi, close the lid that is attached to the Foodi and broil for 10 minutes.
- Step 18
Remove and let this cool for about 10 minutes so that it's thickened.
- Step 19
Serve.
Tips & Tricks
Per serving
My Notes
PrivatePRIVATE TO YOUOnly you can see these
Private to you. Jot down what you changed so it's here next time you cook this.
Keep your own notes on this recipe
Private to your account — what you changed, what you'd do differently next time.
Be the first to photograph this dish and earn a 30% bonus
Level up by reviewing recipes!
