- VE
- GF
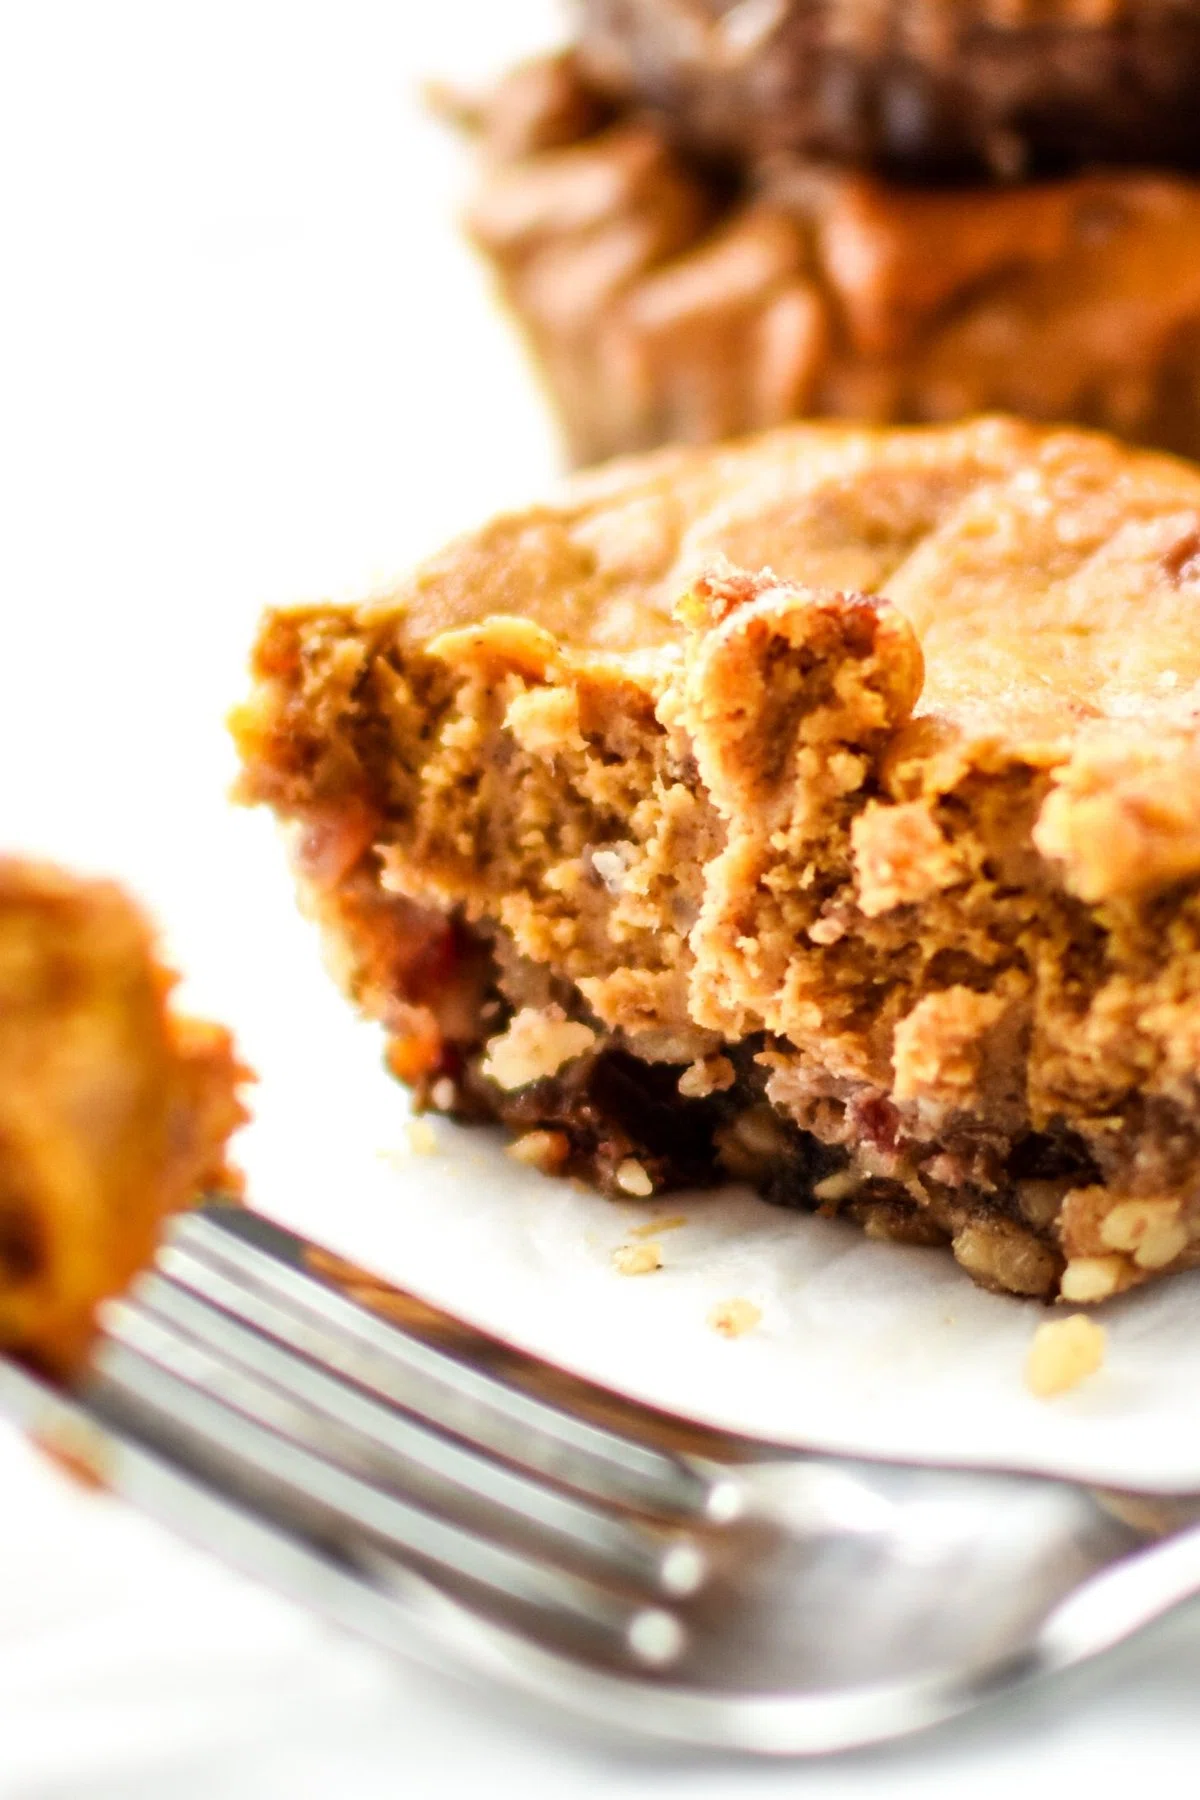
Fruit-Sweetened Mini Pumpkin Pies

Super adorable, creamy, and absolutely delicious, these Fruit-Sweetened Mini Pumpkin Pies are made with no added sugar in both the crust and the filling! Naturally sweetened with fruit and warmly spiced for that classic pumpkin pie flavor, they’re baked into perfectly portioned, easy-to-hold bites. Try this timeless dessert in a fun, pop-in-your-mouth version that’s perfect for sharing—or keeping all to yourself!
Ingredients
Instructions
For the crust
- Step 1
Add crust ingredients to a food processor and pulse until a coarse mixture forms. The mixture should hold form when squeezed in your hand. If it does not hold together, add one teaspoon of water to the processor bowl and pulse a couple more times. Remove from food processor and set aside.
For the filling
- Step 2
Add dates to clean food processor and pulse until a sticky date ball forms around the inside of the bowl, about 30 seconds. Use a spatula to break the date ball apart and spread it around the food processor bowl. Add pumpkin puree to the food processor and blend on high until well blended. Use your spatula to push the mixture back down the sides of the bowl if necessary.
- Step 3
In a large mixing bowl, use a handheld mixer to whip the cream cheese. When smooth, add the pumpkin date mixture from the food processor. Use a handheld mixer on medium to blend until smooth, about 1 minute.
- Step 4
Add eggs, maple syrup, vanilla, pumpkin pie spice, cinnamon, baking powder and salt to the mixing bowl. Blend on medium until well mixed.
Assembly and baking instructions
- Step 5
Preheat the oven to 350 degrees F.
- Step 6
Using either silicone baking cups or a muffin tin lined with parchment baking cups, spoon 2 tablespoons of crust mixture into each baking cup. Use gloved hands or a flat bottomed cup to mold the crust mixture into the bottom of each baking cup.
- Step 7
Spoon a couple large spoonfuls of filling mixture into each baking cup on top of the crust. Use the back of a spoon to gently flatten each mini pie evenly inside the baking cups.
- Step 8
Bake for 40-50 minutes, or until a toothpick inserted into a mini pie comes out clean. Let cool for 5-10 minutes before attempting to remove from the baking cups.
- Step 9
Refrigerate for at least 2 hours before serving. Store in a sealed container for up to 4 days.
Tips & Tricks

@project-meal-plan
Hi, I’m Danielle! My passion for meal planning came from a desire to save money and reduce food waste, and I want to share it with you! Besides cooking and photography, I absolutely love my cats & chicken (yes, just one!), growing food in my yard, and hot sandwiches!
Per serving
Be the first to review this recipe and earn a 20% Bonus
Level up & unlock free Premium by reviewing recipes!