Grilled Pear Salad

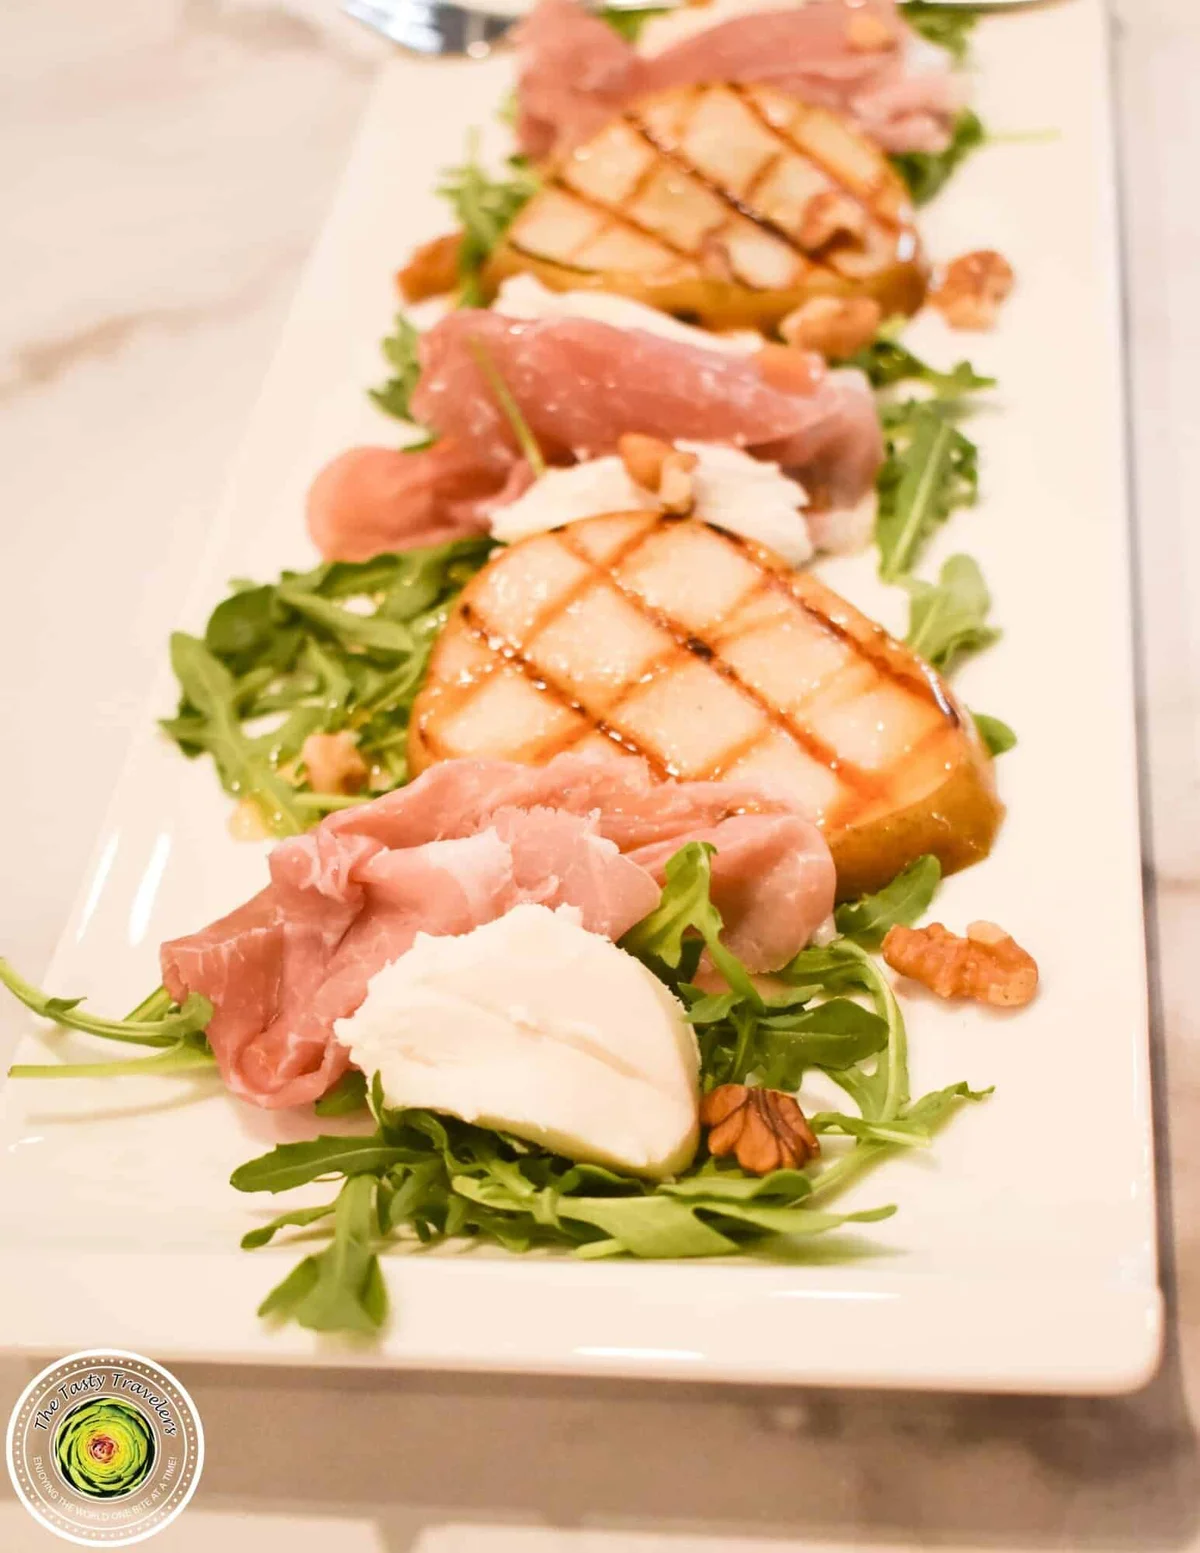
The Tasty Travelers How to make the perfect Grilled Pear salad! I also added walnuts and honey to kick it up a notch! Unlike other lettuces like romaine or iceberg, arugula has a deep flavor that really adds to the overall flavor of this salad. While it is best to use an outdoor grill to grill the pears because it adds so much additional flavor, you don't need a grill for this recipe. Whether you are using an outdoor grill or a stovetop grill pan, be sure that your cooking surface is VERY hot before adding the pears.
Ingredients
Instructions
- Step 1
Slice pears into 1/4 inch thick slices and drizzle with olive oil. Don't use too much olive oil, just enough to lightly coat the pears so they don't stick to the grill/pan.
- Step 2
Pre-heat the grill or grill pan. Grill the pears over med-high heat for about 20 seconds on each side. You don't need to fully cook the pears. You just want to grill them long enough to warm them up and get grill marks on them.
- Step 3
Once the pears are all grilled, set them aside and make the salad.
- Step 4
In a large serving dish or plate, assemble the salad: Place the arugula into the bowl or on a serving tray, top with Proscuitto, goat cheese, walnuts, pears, and drizzle lightly with remaining olive oil and honey. I like to serve on a serving tray on a bed of the arugula topped with alternating pears, Proscuitto and goat cheese.
- Step 5
Serve chilled.
Tips & Tricks
Per serving
My Notes
PrivatePRIVATE TO YOUOnly you can see these
Private to you. Jot down what you changed so it's here next time you cook this.
Keep your own notes on this recipe
Private to your account — what you changed, what you'd do differently next time.
Be the first to photograph this dish and earn a 30% bonus
Level up by reviewing recipes!
