- VE
Holiday Baked Alaska

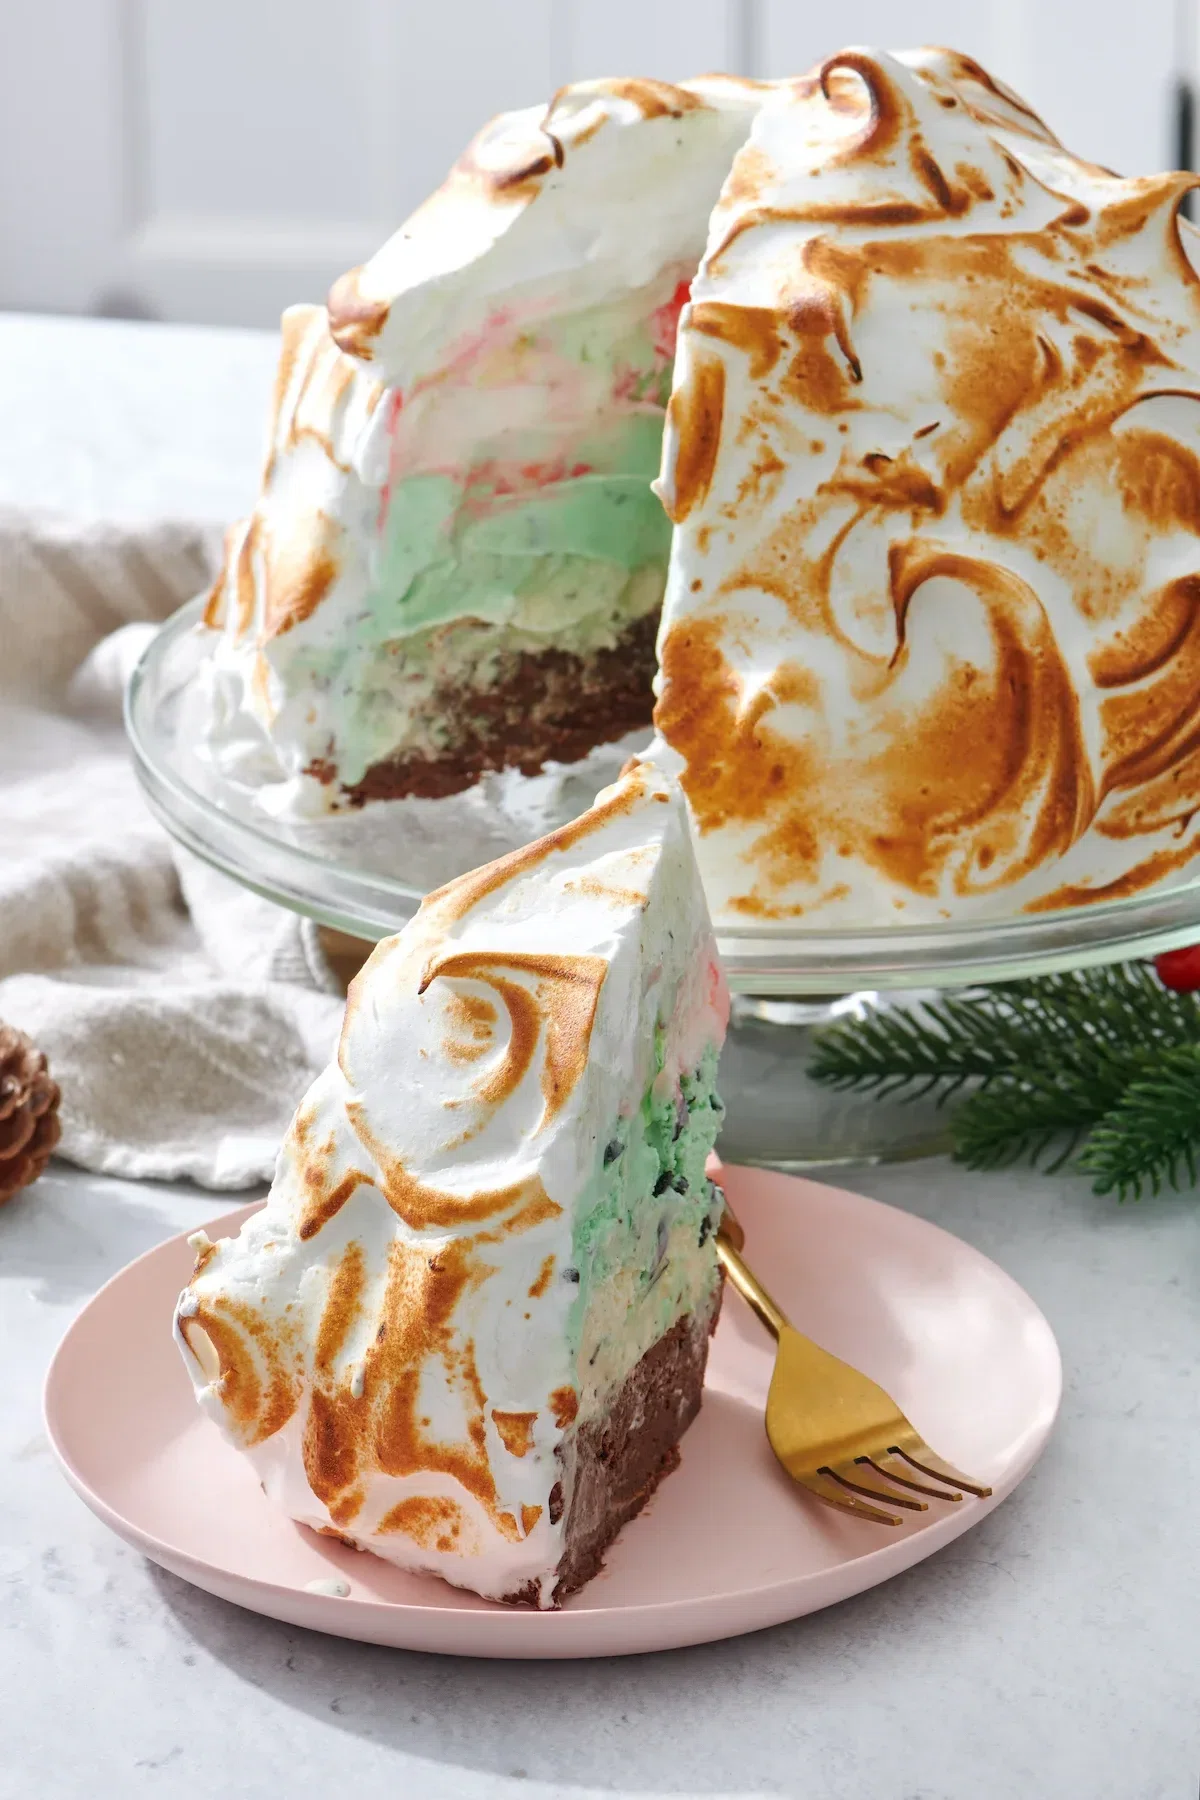
This Holiday Baked Alaska is my all-time favorite dessert! With a rich chocolate brownie base, peppermint, mint chocolate chip, and vanilla ice creams, and peaks of toasted meringue all over, Baked Alaska is a gorgeous and delicious dessert to serve for the holidays that will blow everyone away. The best part is that you can prepare it days or even WEEKS in advance and keep it in the freezer until you’re ready to serve!
Ingredients
For the ice cream dome
For the brownie base
For the meringue topping
Instructions
For the Ice Cream Dome
- Step 1
Line a 4 quart metal bowl with plastic wrap. The bowl should have a 9 inch diameter to match the brownie cake pan in later steps. You will be layering each ice cream flavor. First, scoop out the softened peppermint ice cream and smooth into a flat surface. Freeze for at least 30 minutes. Repeat with mint chocolate chip ice cream and then vanilla ice cream, freezing after each layer is added to ensure the layers don't bleed into one another.
- Step 2
Cover the bowl with plastic wrap and freeze for 8 hours minimum or overnight. You'll want to freeze until th ice cream dome is very solid.
For the Brownie Base
- Step 3
Preheat oven to 350°F.
- Step 4
Grease a 9 inch cake pan, line the bottom of the pan with parchment and grease again.
- Step 5
Place butter and chocolate in a glass bowl over a pot of hot water (or a double boiler) and stir the butter and chocolate until melted. This can also be done in a microwave for 1 minute stirring every 30 seconds so that chocolate doesn't burn.
- Step 6
In a separate bowl, whisk the eggs, sugar and vanilla until combined.
- Step 7
In another bowl, whisk the flour, baking powder and salt until combined.
- Step 8
Add the cooled chocolate mixture to the eggs and whisk to combine.
- Step 9
Add the flour to the chocolate mixture and whisk to combine.
- Step 10
Pour the brownie mixture into the cake pan and bake for 50 mins-1 hour. Allow to cool completely before continuing to next step.
Build the Baked Alaska
- Step 11
When the brownie cake is completely cool, turn it out onto a large flat, ovenproof plate, about 12 inches in diameter.
- Step 12
Unmold the ice cream dome on top of the brownie layer and remove the plastic. Place back in the freezer while you make the meringue.
For the Meringue
- Step 13
Whip the room temperature egg whites and cream of tartar for 2 minutes on medium high speed.
- Step 14
Increase the speed to high and add the sugar in a slow stream until stiff (but not dry) peaks form, about 4 minutes.
- Step 15
Remove the ice cream cake from the freezer. Cover the ice cream dome with the meringue covering completely and make swirly peaks with a spoon all over.
- Step 16
Freeze for at least 3 hours or up to 2 days.
Toast the Meringue
- Step 17
Carefully light a kitchen torch or small blow torch. Use the torch to toast the meringue. Keep the torch moving to prevent overheating one particular spot and burning the meringue.
- Step 18
Alternately, if you don't have a blow torch, you can turn on your broiler, place the baked Alaska on the lowest rack and broil until golden.
- Step 19
Slice and serve.
Tips & Tricks

@weelicious
Hi, I’m Catherine McCord. As a chef, TV host, cookbook author, entrepreneur, and mom of three, my goal at Weelicious is to be a resource dedicated to providing simple, nutritious, and delicious recipes for the whole family.
Per serving
Be the first to review this recipe and earn a 20% Bonus
Level up & unlock free Premium by reviewing recipes!