- GF
- HP
- LS
- LC
- KF
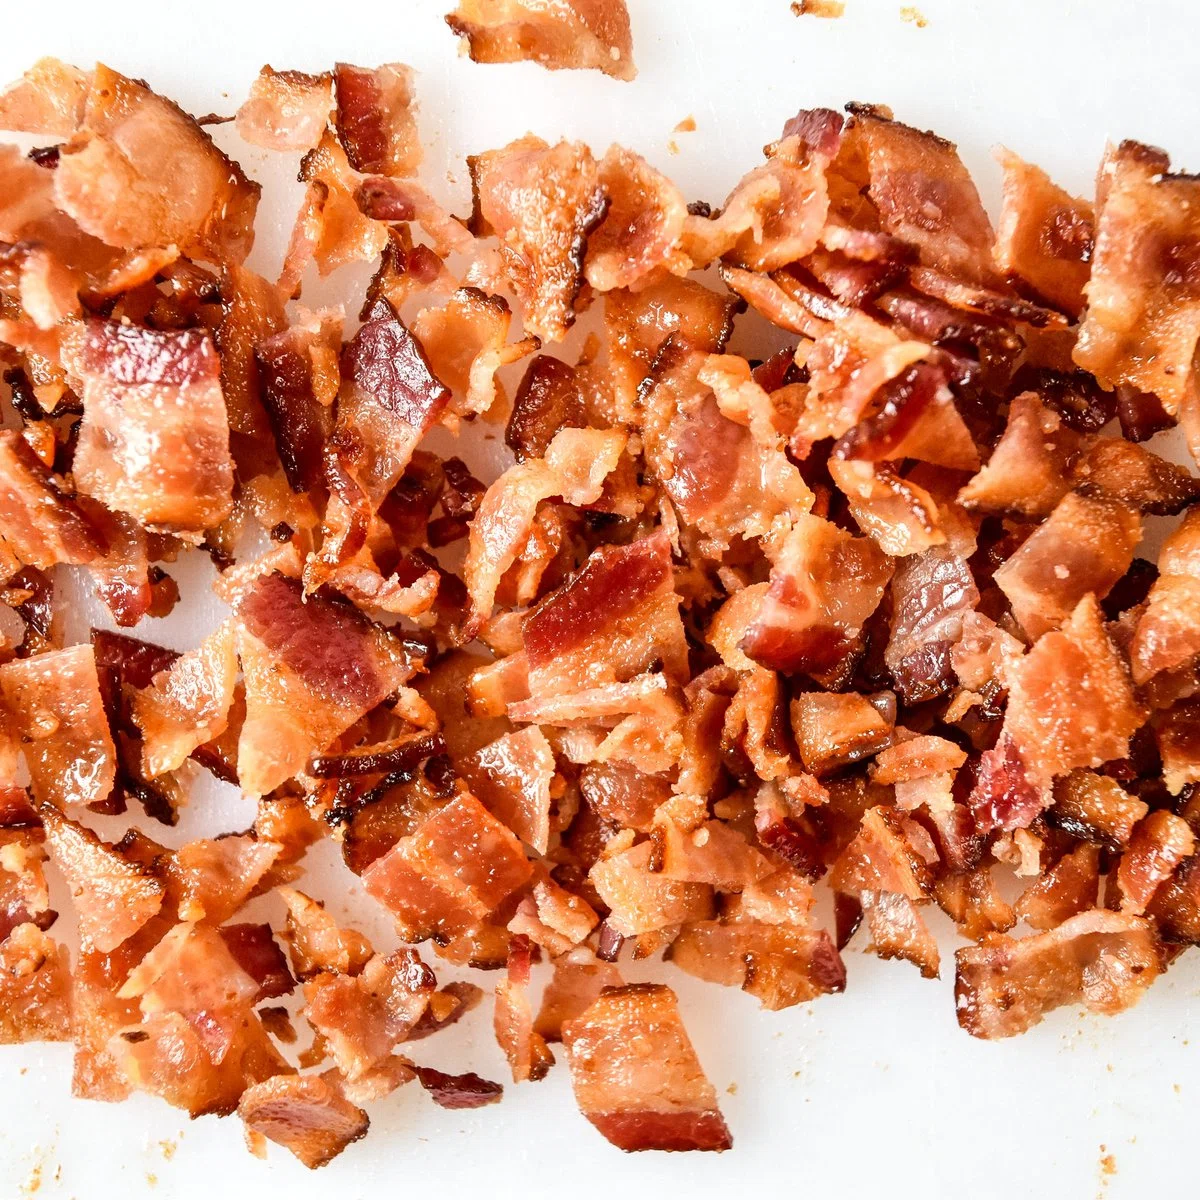
Homemade Bacon Bits

Get your bacon bits perfectly crispy AND know exactly what’s inside by making them at home! These are perfect to sprinkle on salads, pizza, casseroles, anything that could use some bacon magic. Here’s How to Make Homemade Bacon Bits, with both stovetop and oven instructions!
Ingredients
Instructions
Oven Method
- Step 1
Prep: Line a rimmed baking sheet with parchment paper. Place the 8 strips of bacon flat on the parchment paper, evenly spaced so they aren’t touching.
- Step 2
Bake: Place the baking sheet into a COLD oven, THEN turn the oven to 375F degrees. Bake for 22-25 minutes, keeping an eye on the bacon at the end. Remove from the oven when the bacon is bubbling and *slightly* browner than you’d prefer when eating bacon plain. Baking time will depend on the thickness of your bacon and how crispy you like your bacon. Place the bacon on a plate lined with a paper towel to catch extra grease. Let the bacon cool for 5-10 minutes before cutting.
- Step 3
Cut: After the bacon has cooled, it should be crisp and firm. Stack the bacon on a cutting board and chop with sharp knife until your bacon bits are as small as you prefer.
- Step 4
Store: Keep bacon bits in a sealed container in the refrigerator for up to 3 days or in the freezer for up to 3 months.
Stovetop Method
- Step 5
Prep & cut: Remove the raw bacon from packaging and lay in on a large cutting board, keeping it stacked as it was in the package. With a sharp knife, cut the strips up and down, then side to side. Continue to cut the bacon until it’s in small bits 1/2 inch or less on each side.
- Step 6
Cook: Heat a deep skillet or Dutch Oven over medium heat. When hot, add the raw bacon pieces. Cook for 8-12 minutes, stirring occasionally, until the bits are completely browned and bubbly. Remove from heat and remove the bacon bits from the pan into a bowl lined with a paper towel to catch extra grease.
- Step 7
Store: Keep bacon bits in a sealed container in the refrigerator for up to 3 days or in the freezer for up to 3 months.
Tips & Tricks

@project-meal-plan
Hi, I’m Danielle! My passion for meal planning came from a desire to save money and reduce food waste, and I want to share it with you! Besides cooking and photography, I absolutely love my cats & chicken (yes, just one!), growing food in my yard, and hot sandwiches!
Per serving
Be the first to review this recipe and earn a 20% Bonus
Level up & unlock free Premium by reviewing recipes!
More Recipes From Project Meal Plan
From the creator of this recipe

No Recipes Available
Recommended Recipes for you
Tailored to your preferences