- VE
- LC
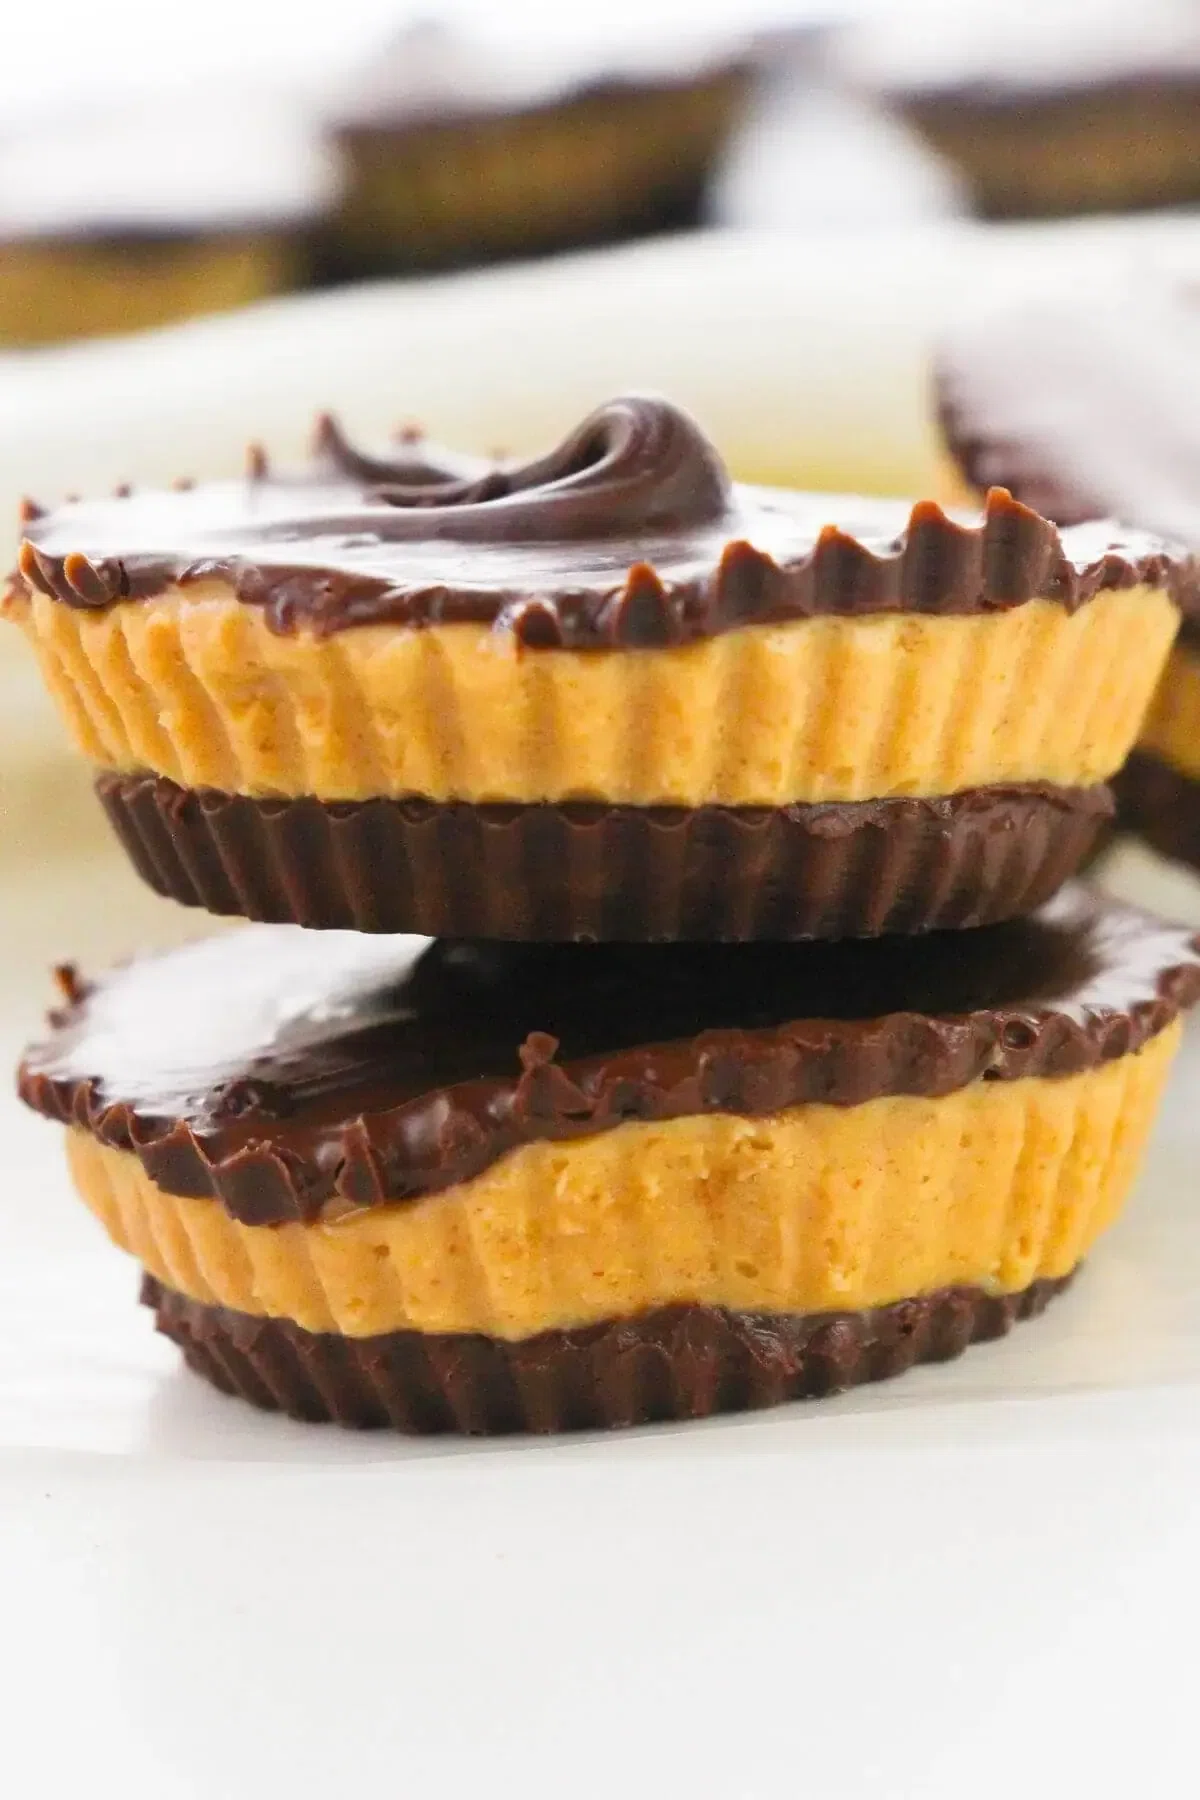
Homemade Peanut Butter Cups

My homemade Peanut Butter Cups are so much better than store-bought version. Forget complicated recipes and endless ingredients. This recipe is surprisingly easy, requiring just a handful of pantry staples. Get ready to transform simple components into a decadent, customizable treat that promises pure bliss in every bite.
Ingredients
Instructions
- Step 1
Use either silicone baking cups and spread out on a platter, or grease a muffin tray. Set aside.
- Step 2
Melt 1 cup of chocolate chips in a microwave-safe bowl in 30 second bursts. Stir well and reheat as needed.
- Step 3
Add 1/2 Tablespoon of melted chocolate to each silicone baking cup or muffin pan indent.
- Step 4
Let set for 1 hour until firm.
- Step 5
Place peanut butter, powdered sugar and optional salt into a mixing bowl and beat together until well combined.
- Step 6
Distribute a heaped teaspoon (approximately 1 1/2 teaspoons) of the peanut butter mixture into each muffin cup.
- Step 7
Melt remaining 1 cup of chocolate chips in a microwave-safe bowl in 30 second bursts. Stir well and reheat as needed.
- Step 8
Pour the melted chocolate over the peanut butter filling and tap the tray or pan to smooth out the chocolate until flat.
- Step 9
Allow to set for 1 hour or overnight until chocolate is completely set.
- Step 10
Pop out of the muffin cups and enjoy or store in an airtight container.
- Step 11
(If storing, place a sheet of parchment paper in between each layer to prevent the pb cups from sticking together.)
Tips & Tricks

@it-is-a-keeper
Hi! I’m Christina… welcome to my kitchen! It’s so nice to meet you! I share tried and true recipes that anyone can make. I believe, if you can read, you can cook.
Per serving
Be the first to review this recipe and earn a 20% Bonus
Level up & unlock free Premium by reviewing recipes!