- LF
Instant Pot Honey Garlic Chicken

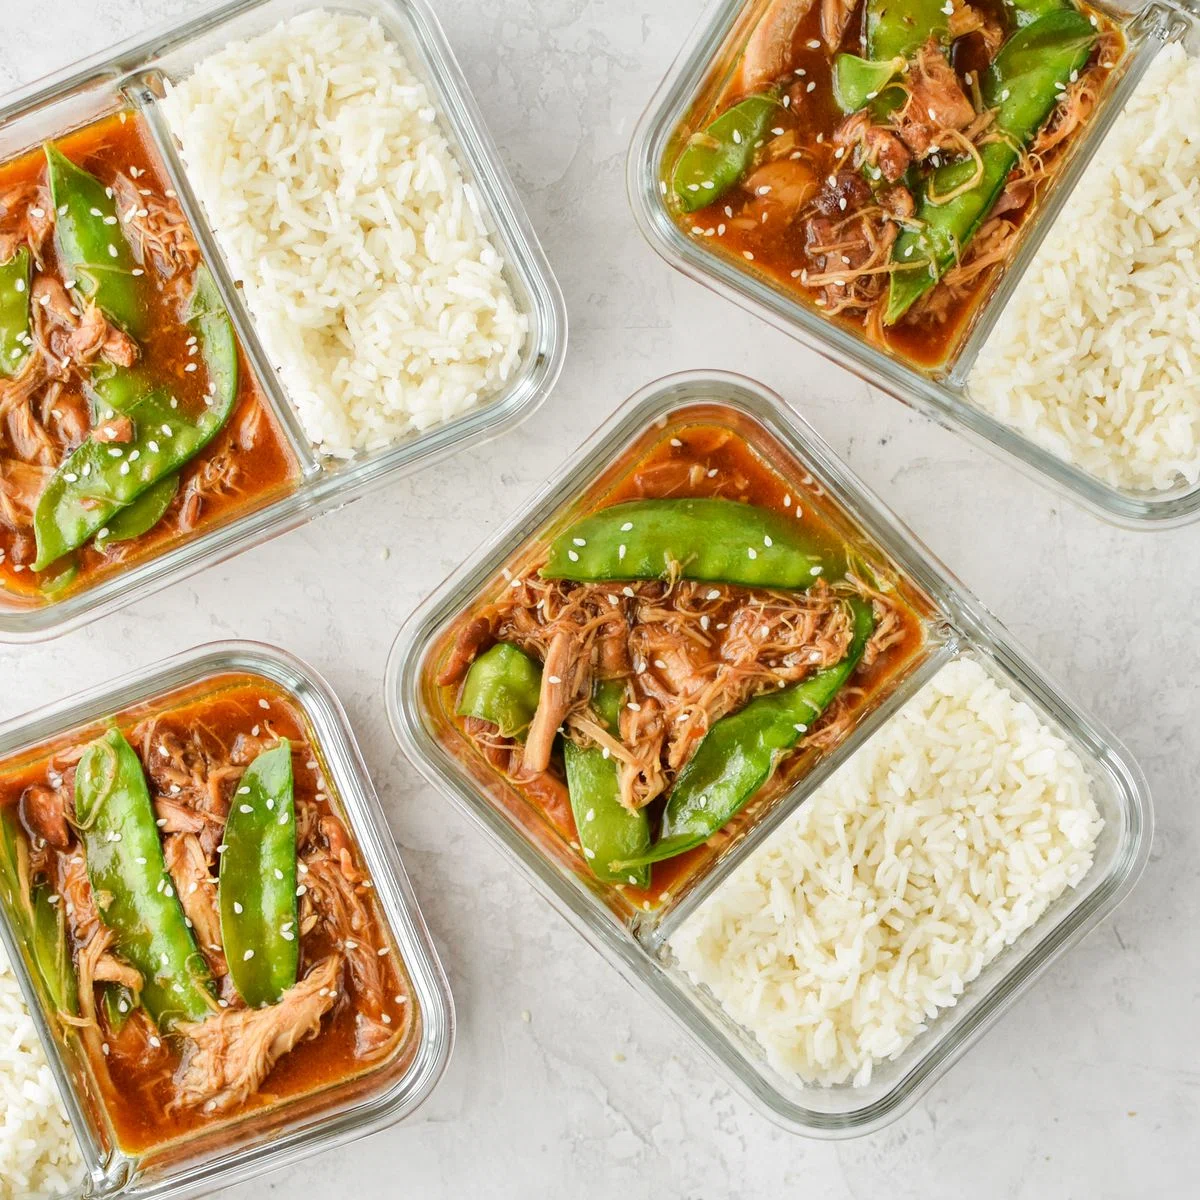
These Instant Pot Honey Garlic Chicken Meal Prep Bowls are made with common ingredients and utilize the “pot-in-pot” cooking method! An entire meal prep recipe made in the Instant Pot: rice, chicken, veggies, and sauce!
Ingredients
Instructions
- Step 1
In a small bowl or mason jar, add honey (1/3 cup), soy sauce (1/3 cup), Sriracha (1 tablespoon), oil (1 tablespoon), broth or water (1/2 cup), garlic (4 cloves, mined), and red pepper flakes (1/2 teaspoon). Shake or whisk until well mixed.
- Step 2
Place your chicken thighs (1 pound) directly into the Instant Pot liner pot, seasoning with a bit of salt and fresh ground black pepper if desired. Pour the sauce over the chicken and stir briefly. Place your trivet over the chicken, ensuring the trivet legs are directly on the bottom of the pot and not resting on the chicken. Place your oven-safe “pot-in-pot” bowl on top of the trivet. Add white rice and broth in a 1:1 ratio to the bowl (up to 1 1/2 cup of each).
- Step 3
Place the lid on the Instant Pot and make sure the steam release valve is sealed. Set to Manual or Pressure Cook for 5 minutes. After pressure cooking is done, let the Instant Pot do a Natural Pressure Release (NPR) for 10 minutes. Release the remaining pressure after 10 minutes.
- Step 4
Safely but swiftly remove the rice bowl and trivet from the pot. Fluff the rice with a fork. Hit the Sauté button on the Instant Pot. Shred the chicken – it should be tender enough to pull it apart without removing from the pot. If adding a cornstarch slurry for thickening (1 TB cornstarch + 1 TB water), do that now. Finally, add the snow peas (3 ounces – about a handful) to the pot and stir. Cook for 1 minute or so, until the peas are bright green and just barely cooked through, and then turn off the Instant Pot. The sauce will thicken as it cools.
- Step 5
Enjoy now or portion for later. Store in airtight containers like these 2 compartment glass meal prep containers and enjoy within 4 days. Reheat in the microwave, covered, for 90 seconds to 2 minutes, checking at 90 seconds. Add 1 tablespoon water to the rice when reheating to create steam.
Tips & Tricks

@project-meal-plan
Hi, I’m Danielle! My passion for meal planning came from a desire to save money and reduce food waste, and I want to share it with you! Besides cooking and photography, I absolutely love my cats & chicken (yes, just one!), growing food in my yard, and hot sandwiches!
Per serving
Be the first to review this recipe and earn a 20% Bonus
Level up & unlock free Premium by reviewing recipes!