- LC
- LS
Instant Pot Tamales without Lard

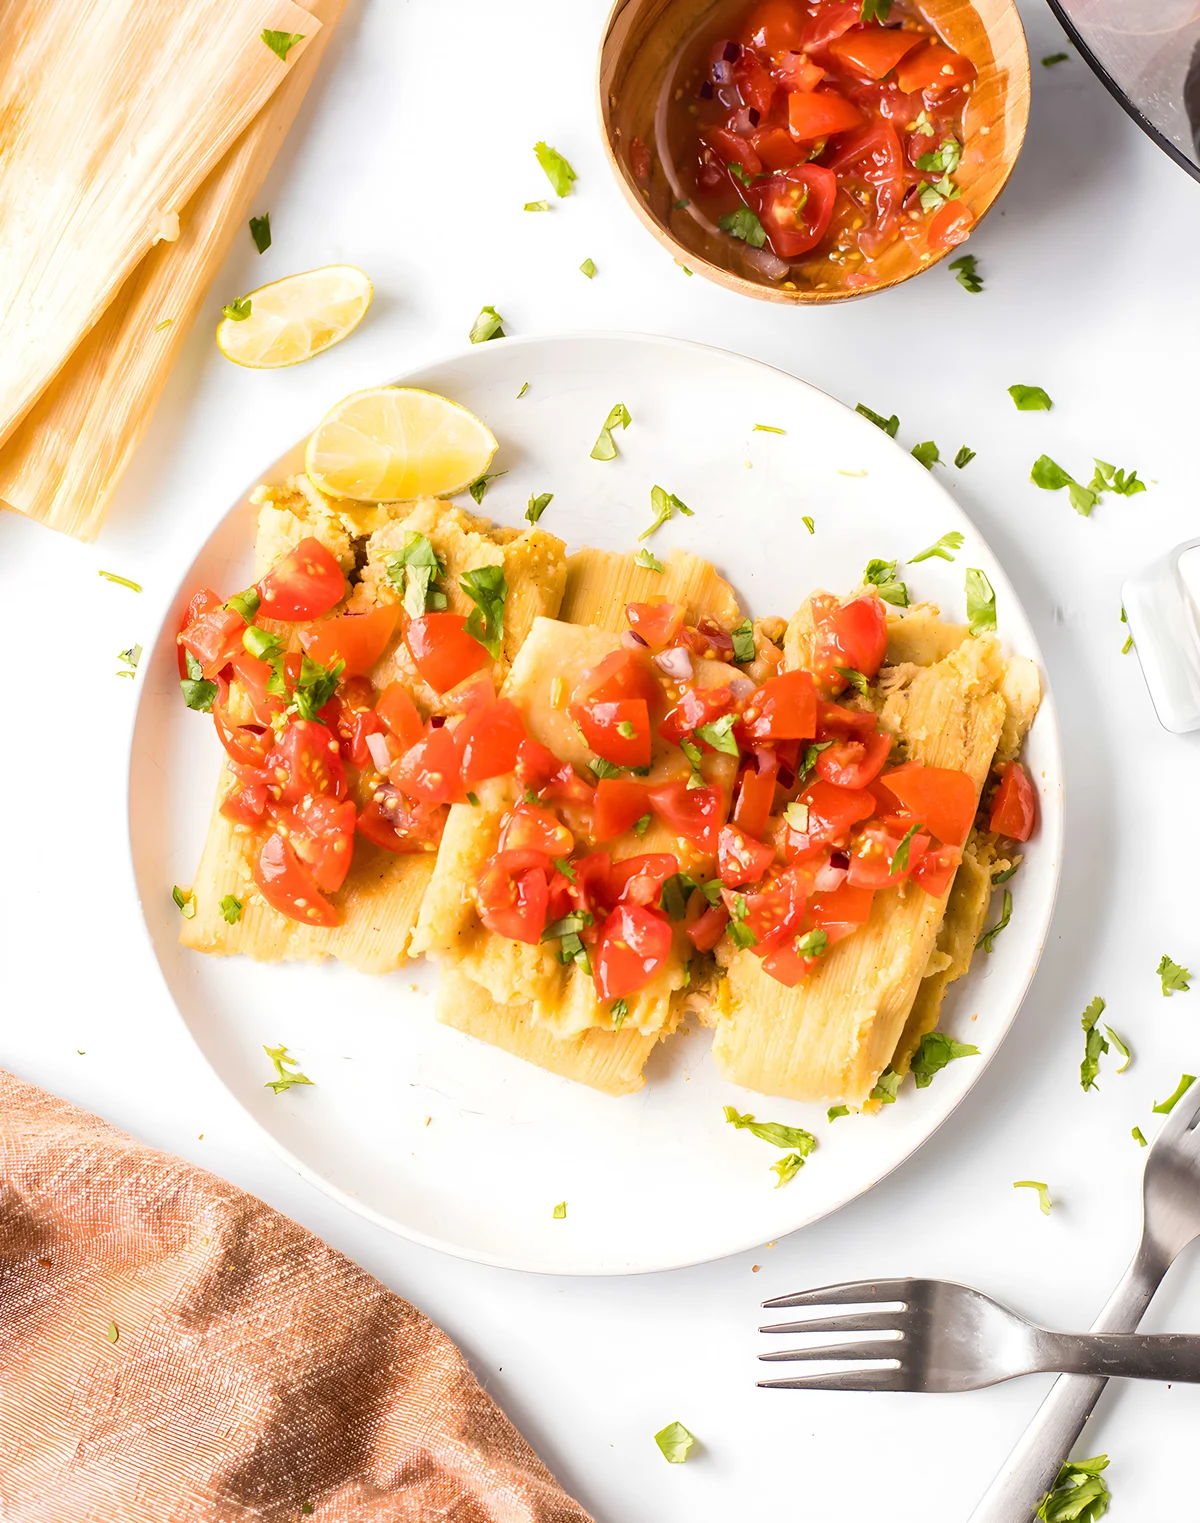
This instant pot tamales recipe with green chile chicken is rich, savory, and versatile. Thanks to cooking in the pressure cooker, they're done in a fraction of time compared to the typical preparation on the stove. If you've been wanting to make tamales at home but were too intimidated, this beginner recipe is for you! These easy lard-free tamales are surprisingly simple to make, great for feeding a crowd during the holidays, and perfect for meal prep.
Ingredients
For the filling
For the masa dough
Instructions
- Step 1
Rinse the corn husks and place them in a large bowl. Cover with warm water and set aside to soften for at least 30 minutes.
- Step 2
Meanwhile, in a large skillet over medium heat, warm olive oil. Add diced white onion and minced garlic and sauté for 5 minutes, until the onion is soft and the garlic is fragrant.
- Step 3
Stir in diced green chiles and masa harina, and cook for 1 minute. Add the shredded chicken, salt, chili powder, and ground cumin. Pour in the chicken broth and cook for 10 minutes, stirring occasionally, until the mixture is slightly reduced and thickened. The filling should look moist but not soupy.
- Step 4
To make the masa dough, whisk together masa harina, baking powder, and salt in a large mixing bowl. Add the vegetable oil and use your hands to mix until the dough is crumbly and holds its shape when pressed.
- Step 5
Gradually add the warm water or chicken broth, mixing until the dough is soft and spreadable. If it feels sticky and wet, add more masa harina 1 tablespoon at a time. If too dry or cracking, add a splash more liquid.
- Step 6
Drain the softened corn husks and pat dry with a towel. Set up your workspace with husks smooth side up, prepared masa dough, and chicken filling. Place the steamer rack in the Instant Pot and add 1 cup of water.
- Step 7
To assemble, spread about 2 tablespoons of masa dough onto the center of a corn husk, forming a thin rectangle about ¼-inch thick. The dough should spread easily but not stick to your spoon or hands. Add about 1 tablespoon of chicken filling down the center.
- Step 8
Fold one side of the husk over the filling, then fold the other side over to overlap. Fold up the narrow end to seal the bottom. Leave the top open. Place the tamal upright in the Instant Pot. Repeat with remaining ingredients to make about 28 tamales.
- Step 9
Secure the lid and set the valve to Sealing. Cook on Manual High Pressure for 30 minutes. Allow pressure to naturally release for 10 minutes, then quick release the remaining pressure. Let cooked tamales sit for 10-15 minutes before serving so they can firm up.
- Step 10
Carefully remove one tamal to check doneness. The masa should pull away easily from the husk and feel set but tender. If undercooked, add ½ cup more water to the Instant Pot and cook for an additional 10 minutes on High Pressure.
- Step 11
To serve, unwrap the tamales from the corn husks and enjoy warm.
Tips & Tricks
Per serving
My Notes
PrivatePRIVATE TO YOUOnly you can see these
Private to you. Jot down what you changed so it's here next time you cook this.
Keep your own notes on this recipe
Private to your account — what you changed, what you'd do differently next time.
Be the first to review this recipe and earn a 20% Bonus
Level up & unlock free Premium by reviewing recipes!
