- VE
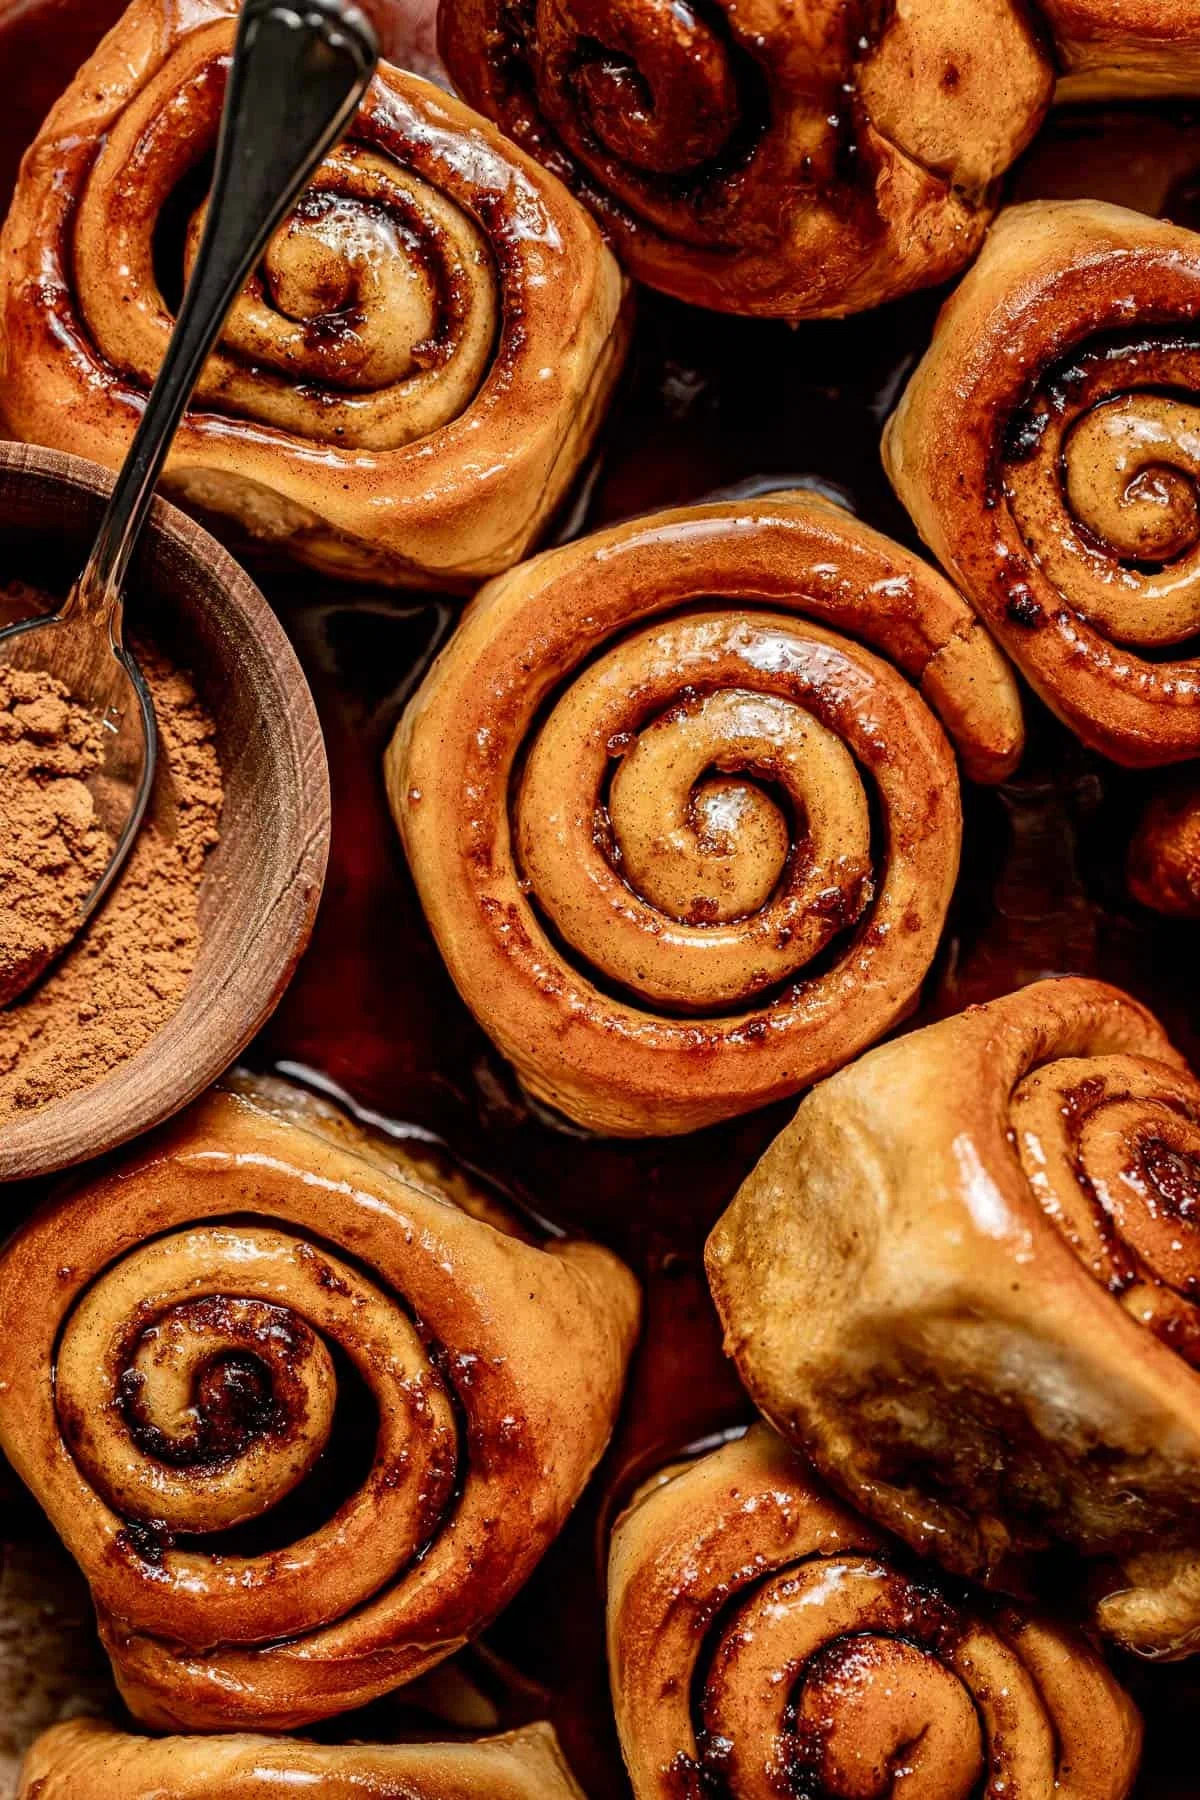
Maple Chai Sticky Buns

Sticky buns take on a whole new level of fall coziness with the pairing of maple & chai! They're made with an impossibly soft milk bread dough, filled with warm chai spices, and baked in a maple brown sugar goo. As they bake and then cool, the goo turns into a thick caramel-like sauce, giving them their signature sticky effect!
Ingredients
Tangzhong Starter
Milk Bread Dough
Maple Brown Sugar Goo
Chai Filling
Instructions
- Step 1
In a small saucepan, combine the water, milk, and flour.
- Step 2
Heat over low-medium heat, mixing frequently with a rubber spatula for about 5 minutes or until it thickens. Remove from heat and set aside to cool.
- Step 3
In a glass measuring cup, combine the warm milk, sugar, and yeast. Allow to sit 2-3 minutes until foamy to ensure the yeast activates properly.
- Step 4
Once foamy, whisk in the egg and vanilla until well combined.
- Step 5
In the bowl of a stand mixer fitted with a hook attachment, combine the flours, salt, tangzhong starter, and milk yeast mixture.
- Step 6
Mix on medium speed until a ball forms around the hook, then add the softened butter.
- Step 7
Mix on medium-high speed for about 8 minutes until smooth and it passes the windowpane test.
- Step 8
Transfer the dough to a greased bowl, cover, and place in the fridge to proof overnight (or at least 6 hours). Alternatively, the dough can proof for about 1 hour in a warm environment.
- Step 9
When ready to bake the sticky buns, make the maple brown sugar goo.
- Step 10
In a small saucepan, combine all ingredients except vanilla. Place the saucepan over medium heat and stir frequently until fully melted and smooth. Remove from heat and stir in the vanilla.
- Step 11
Pour the maple brown sugar goo into a 9” round cake pan. Set aside to cool.
- Step 12
On a lightly floured surface, roll the dough out to a 14” square.
- Step 13
Brush the softened butter all over the dough. Then, sprinkle the brown sugar and spices evenly over the top.
- Step 14
Roll the dough up into a log. Use a serrated knife to score lines every 1 ½” to get 9 rolls. Use unflavored dental floss to cut each roll by placing the floss under the dough, wrapping around, and pulling to cut through.
- Step 15
Arrange the rolls in the pan on top of the goo. Cover with plastic wrap and allow to rise for about 30 minutes or until nearly room temperature, but still slightly cool to the touch. When pressed with a finger, the dough will slowly spring back.
- Step 16
While the rolls are proofing, preheat the oven to 350 degrees F.
- Step 17
Place the sticky buns on top of a baking sheet, then place in the oven. Bake for about 22-26 minutes or until evenly golden on top.
- Step 18
Allow the sticky buns to cool for 30 minutes before turning them out onto a plate.

@sloanes-table
Hi! I'm Sloane, welcome to Sloane’s Table! I am a Dartmouth College alumna, professional baker, recipe developer, and food photographer. Here, you will find tried & true bakery-worthy recipes ranging from simple sweets to technical pastries. Whether you are looking to challenge yourself and improve your baking skills or just want an easy, trust-worthy recipe, you're in the right place.
Per serving
Be the first to review this recipe and earn a 20% Bonus
Level up & unlock free Premium by reviewing recipes!