- LS
Mini Chicken Pot Pies

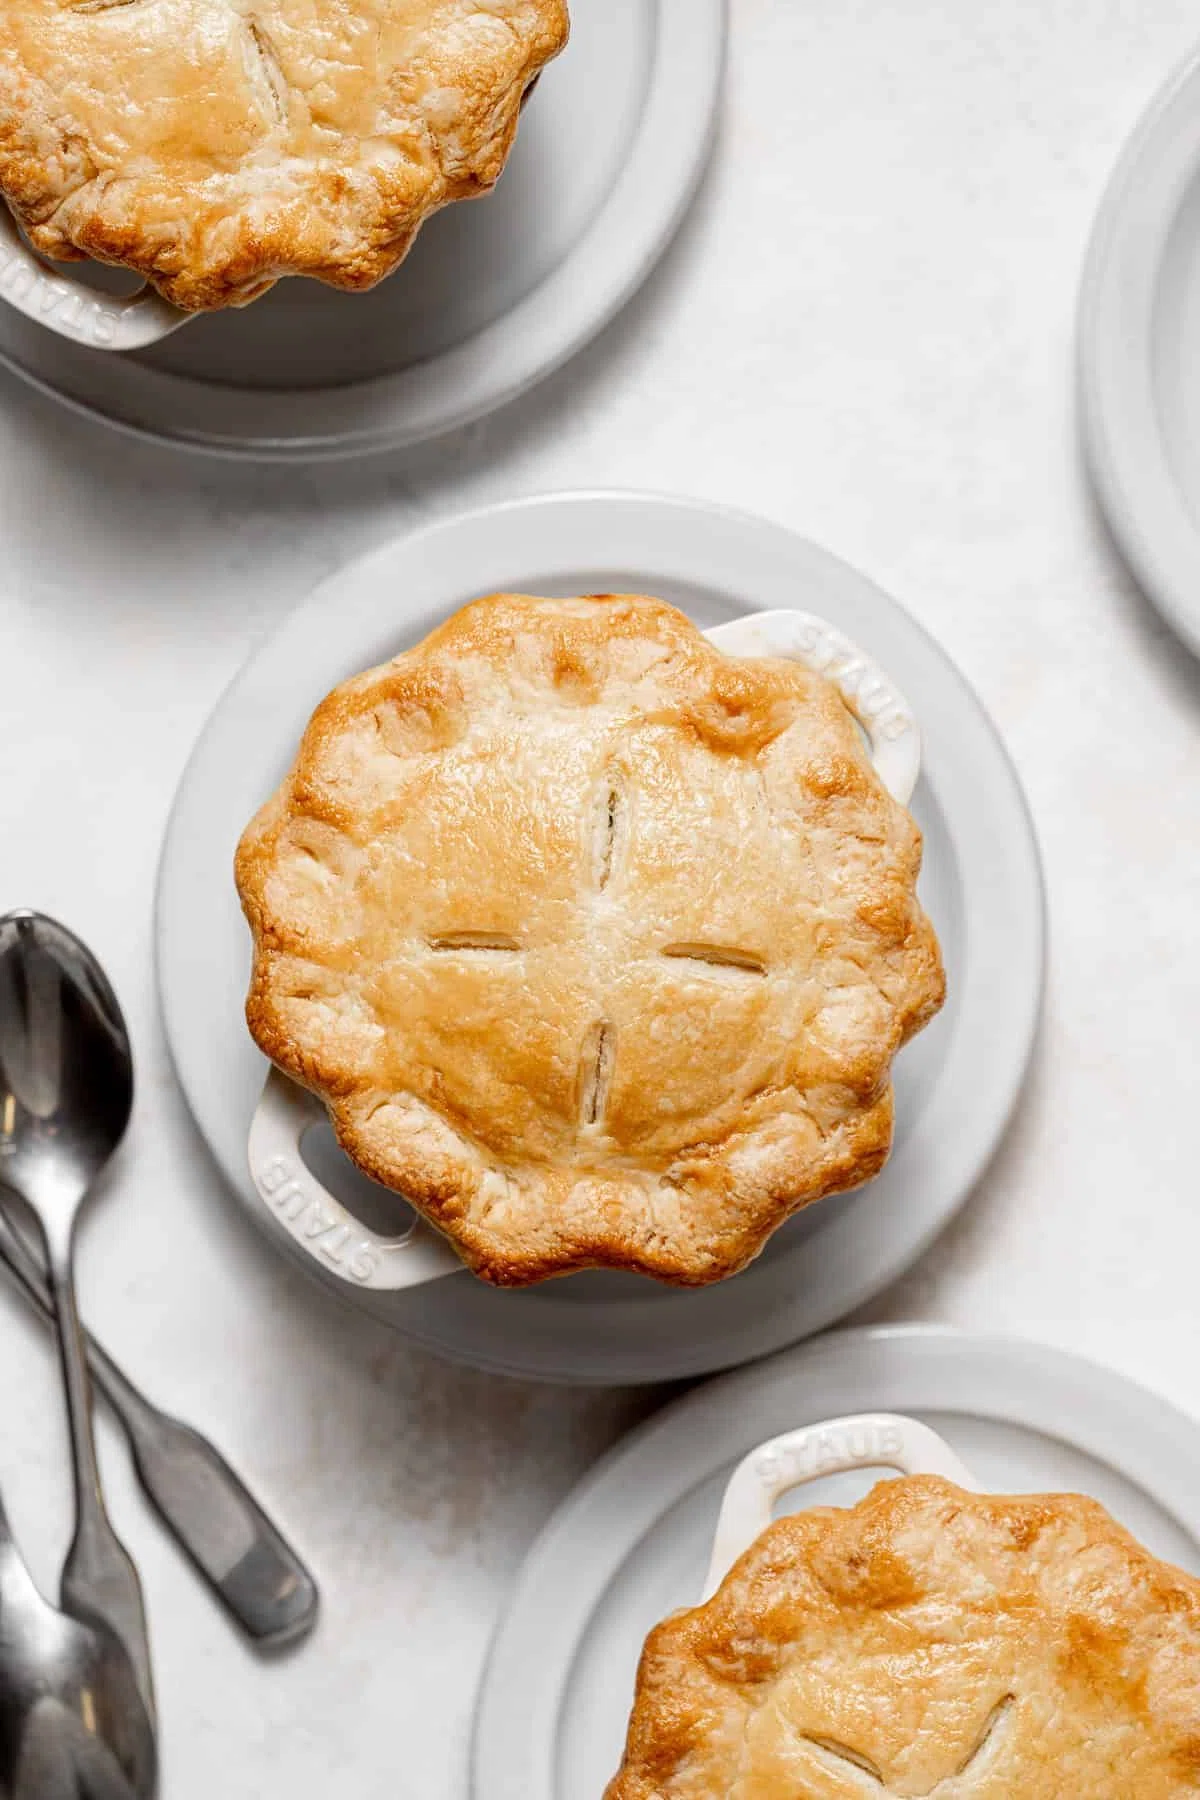
Individual mini chicken pot pies will forever be one of the most comforting fall or winter meals. The simple chicken and vegetable filling seasoned with fresh herbs is encased in the most tender, melt-in-your-mouth pastry. Each bite is like a warm, cozy hug!
Ingredients
Pastry
Chicken Pot Pie Filling
Egg Wash
Instructions
- Step 1
In a medium bowl combine the flour, baking powder, and salt.
- Step 2
Cut the cold butter into cubes and toss in the flour.
- Step 3
Using your fingers, cut the butter into the dry ingredients until pea sized pieces are left.
- Step 4
Add a small amount of heavy cream, then toss with your hands or a spoon to combine. Continue adding very small amounts of heavy cream until it's all used up. The dough should hold together, but not be overly wet.
- Step 5
Wrap the dough tightly in plastic wrap, then chill for one hour.
- Step 6
On a lightly floured surface, roll the dough out into a rough rectangle, fold in half, then again into quarters. Wrap the dough in plastic wrap and chill for another 30 minutes.
- Step 7
Roll the dough out again into a rough rectangle and repeat the folding process. Shape the dough into a disk, wrap tightly in plastic wrap, and chill for at least one hour or overnight.
- Step 8
In a medium heavy bottomed pot, add the olive oil and place over medium heat.
- Step 9
Add the onions and cook, stirring occasionally, for about 10 minutes until translucent and just barely starting to caramelize. We want them meltingly soft!
- Step 10
Stir in the carrots, celery, garlic, salt, pepper, thyme, and rosemary.
- Step 11
Push the vegetables to the side and add the butter to the surface of the pot. Once the butter has melted sprinkle the flour all over the vegetables, and stir to combine.
- Step 12
Pour in the bone broth and whole milk, then sprinkle the parmesan on top. Once the parmesan has melted, stir in the rotisserie chicken breast and frozen peas.
- Step 13
Remove the pot from heat and cover until ready to assemble the pot pies.
- Step 14
Roll out the pie dough into a rough circle about ⅛″ in thickness.
- Step 15
Use a large round cookie cutter or small plate, measuring 5" in diameter, and cut out 8 circles. Stack them on a plate and place them in the fridge. These will be the top crusts.
- Step 16
Take the scrap pieces of dough and press them into the mini cocottes as the bottom crust. It doesn't need to be pretty!
- Step 17
Fill each cocotte with the pot pie filling about ¾ full, then mound a little extra in the center, careful not add too much liquid.
- Step 18
Take each pastry circle and place them on of the filled cocottes. Fold the edges of the pastry underneath and crimp as desired.
- Step 19
Place the assembled mini pot pies in the fridge for the pastry to firm up for at least 20 minutes. We don't want them to lose their shape in the oven.
- Step 20
Meanwhile, preheat the oven to 350 degrees F.
- Step 21
Take the mini pot pies out of the fridge and place them on a large baking sheet. Cut a few slits in the top crusts, then brush an egg wash all over, even the crimp.
- Step 22
Bake the mini chicken pot pies for about 40-45 minutes or until the filling is bubbling and the top crusts are evenly golden.
- Step 23
Allow them to cool for a few minutes before serving.
Tips & Tricks

@sloanes-table
Hi! I'm Sloane, welcome to Sloane’s Table! I am a Dartmouth College alumna, professional baker, recipe developer, and food photographer. Here, you will find tried & true bakery-worthy recipes ranging from simple sweets to technical pastries. Whether you are looking to challenge yourself and improve your baking skills or just want an easy, trust-worthy recipe, you're in the right place.
Per serving
Be the first to review this recipe and earn a 20% Bonus
Level up & unlock free Premium by reviewing recipes!