- VE
- GF
Ninja Creami Blueberry Ice Cream

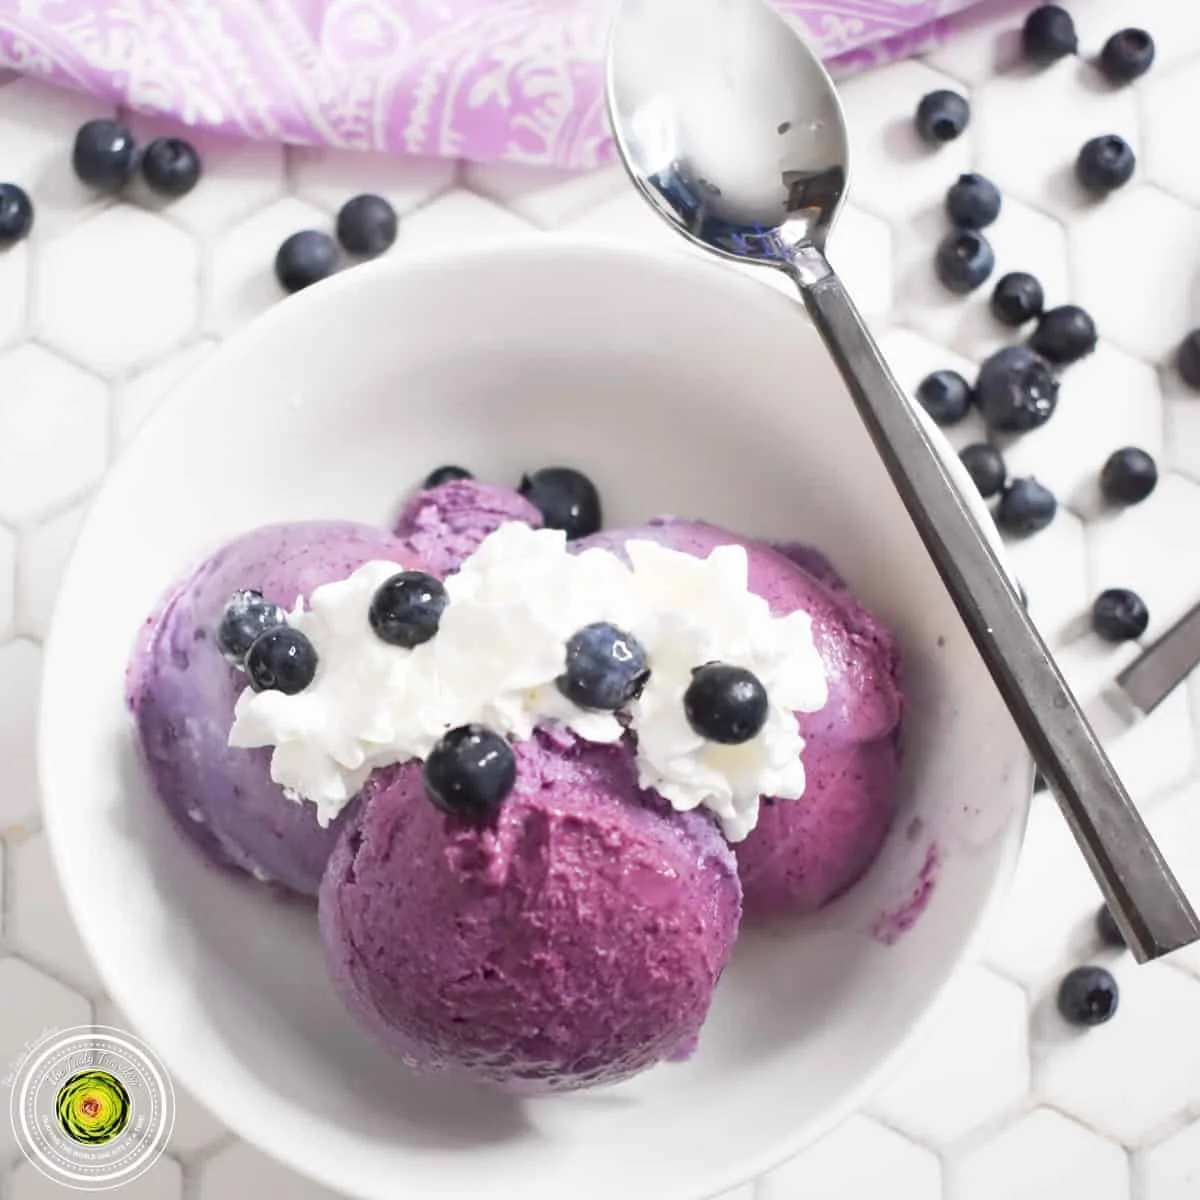
The Tasty Travelers Ninja Creami Blueberry Ice Cream-The BEST texture ever! So thick and creamy! I have found that making a blueberry sauce and adding it to the ice cream base provides 100 times more flavor than adding uncooked blueberries to that same base. Mixing the sauce with the other base ingredients, before freezing, creates a wonderful purple ice cream that has a ton of blueberry flavor throughout. If the ice cream is too thick for you, just add a little more milk and re-spin.
Ingredients
Ice Cream Base
Blueberry Sauce
Instructions
Prepare the Blueberry Sauce
- Step 1
In a small saucepan, combine the blueberry sauce ingredients; blueberries, sugar, and lemon juice. Stir over medium heat until the sugar has dissolved and the blueberries have burst and turned into a saucy consistency. This should take about 5 minutes. Allow to cool while making the ice cream base.
Make the Ice Cream Mixture
- Step 2
Pour the ice cream base ingredients into a small blender and blend until all ingredients are fully combined. Pour the cooled blueberry sauce into the blender and mix together with the rest of the ice cream base. Pour this mixture into a Ninja Creami pint container.
- Step 3
Freeze on a level surface for 24 hours. Your freezer should be between 9 and -7 degrees Fahrenheit. To avoid getting a bump on the top of the frozen mixture, freeze with the lid off of the container.
Process the Ice Cream
- Step 4
After 24 hours, remove the pint container from the freezer.
- Step 5
Place the pint container into the outer bowl of the Ninja Creami and then process on "ICE CREAM."
- Step 6
If the ice cream is dry or crumbly looking, pour in a tablespoon or two of milk and then re-spin. You may have to repeat this process a couple of times.
- Step 7
Remove the pint from the machine and enjoy!
Tips & Tricks
Per serving
My Notes
PrivatePRIVATE TO YOUOnly you can see these
Private to you. Jot down what you changed so it's here next time you cook this.
Keep your own notes on this recipe
Private to your account — what you changed, what you'd do differently next time.
Be the first to photograph this dish and earn a 30% bonus
Level up by reviewing recipes!
