- VE
Ninja Creami Blueberry Pie Ice Cream

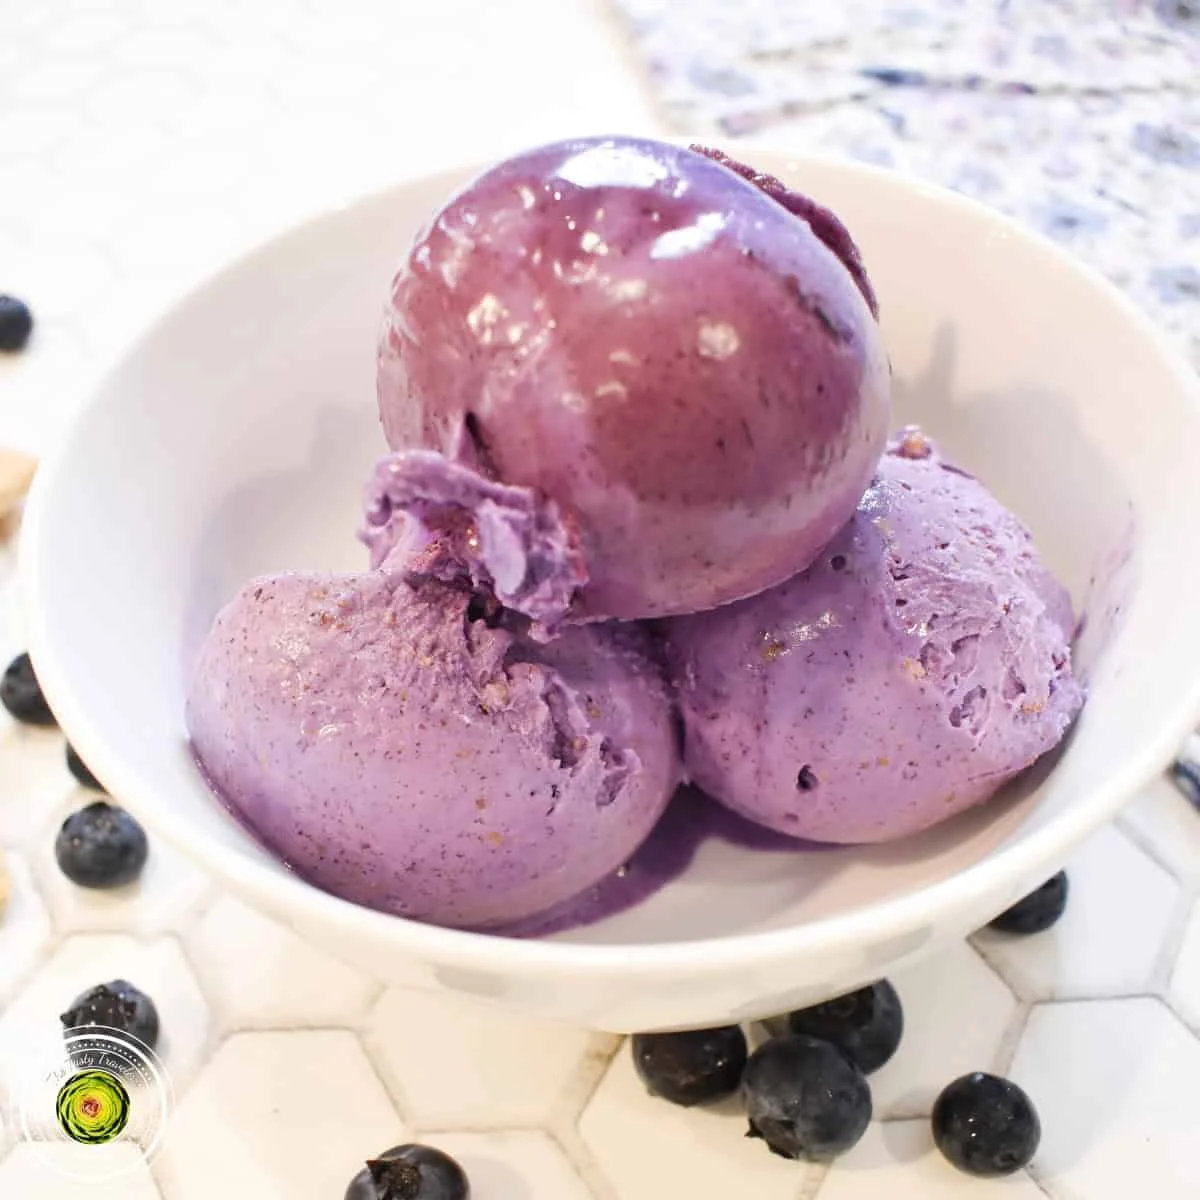
The flavor and texture of this blueberry pie ice cream made in the Ninja Creami is one of my favorites so far. Cooking the blueberries to make them into a compote or thick sauce really made all of the difference! The blueberry flavor is so much stronger and a bit sweeter too. The instant pudding acts as a thickening agent and makes the Ninja Creami ice cream super thick and creamy!
Ingredients
Ice Cream Base
Pie Filling
Crust
Instructions
Make the Ice Cream Mixture
- Step 1
In a small saucepan, combine the pie filling ingredients; blueberries, sugar, and lemon juice. Stir over medium heat until the sugar has dissolved and the blueberries have burst and turned into a saucy consistency. This should take about 5 minutes. Allow to cool while making the ice cream base.
- Step 2
Pour the ice cream base ingredients; milk, half and half and pudding mix into the Ninja Creami pint container. Mix well with a whisk.
- Step 3
Add the blueberry pie filling mixture to the Ninja Creami Pint container and mix together with the ice cream base.
- Step 4
Put the lid on the pint container and freeze on a level surface for 24 hours. After 24 hours, remove the pint from the freezer. Remove the lid.
Process the Ice Cream
- Step 5
After 24 hours, remove the pint from the freezer. Remove the lid.
- Step 6
Place the Ninja Creami pint into the outer bowl. Place the outer bowl with the pint in it, into the Ninja Creami machine and turn until the outer bowl locks into place. Push the ICE CREAM button. During the ice cream function, the ice cream will mix together and become very creamy.
- Step 7
Combine the crust ingredients together (be sure the butter is melted) and stir until well combined.
- Step 8
Once the ice cream function has ended, turn the outer bowl and release it from the Ninja Creami machine.
- Step 9
Dig a hole down the center of the ice cream and add in the crust mixture.
- Step 10
Put the Ninja Creami pint back into the Ninja Creami and process on mix-ins.
- Step 11
Your ice cream is ready to eat! Enjoy!
Tips & Tricks
Per serving
My Notes
PrivatePRIVATE TO YOUOnly you can see these
Private to you. Jot down what you changed so it's here next time you cook this.
Keep your own notes on this recipe
Private to your account — what you changed, what you'd do differently next time.
Be the first to photograph this dish and earn a 30% bonus
Level up by reviewing recipes!
