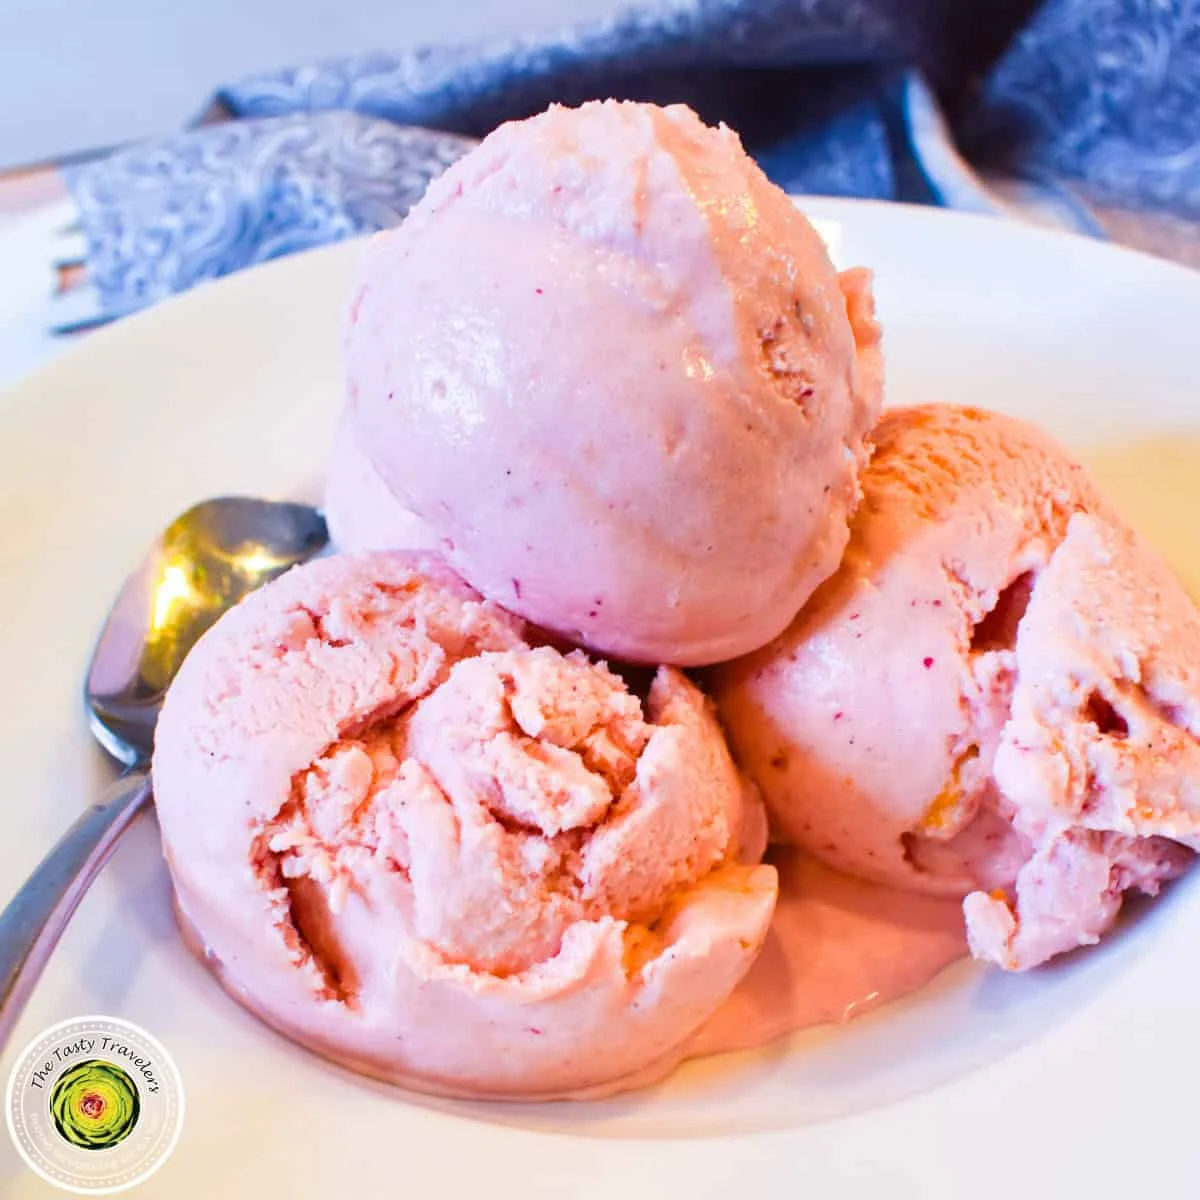
Ninja Creami Cherry Pie Ice Cream

Make cherry pie ice cream using the Ninja Creami machine! For this recipe, I didn't use any pudding mix or heavy whipping cream and I still achieved a creamy texture. The pie and canned pie filling in this recipe create a sweet cherry flavor all throughout your homemade ice cream. It's not overly sweet and the texture is great. If you don't like cherry pie, you can easily change the flavor of the ice cream by choosing a different flavored fruit pie and pie filling.
Ingredients
Ice Cream Base
Mix-ins
Optional
Instructions
Make the Ice Cream Mixture
- Step 1
Pour the milk, half and half, sugar, cream cheese, and vanilla bean paste into a small blender and blend until all ingredients are fully combined. Pour the mixture into a Ninja Creami pint container.
- Step 2
Freeze on a level surface for 24 hours. Your freezer should be between 9 and -7 degrees Fahrenheit. To avoid getting a bump on the top of the frozen mixture, freeze with the lid off of the container.
Process the Ice Cream
- Step 3
After 24 hours, remove the pint container from the freezer.
- Step 4
Place the pint container into the outer bowl of the Ninja Creami and then process on “ICE CREAM."
- Step 5
If the ice cream is dry or crumbly looking (like sand), pour in a tablespoon or two of milk and then re-spin. If the ice cream looks like little balls of ice cream, respin without adding liquid. You may have to repeat this process a couple of times.
- Step 6
Dig a well down the center of the ice cream and pour in the cherry pies and the cherry pie filling down the center of the hole. Process on mix-ins.
- Step 7
Remove the pint from the machine and enjoy!
Tips & Tricks
Per serving
My Notes
PrivatePRIVATE TO YOUOnly you can see these
Private to you. Jot down what you changed so it's here next time you cook this.
Keep your own notes on this recipe
Private to your account — what you changed, what you'd do differently next time.
Be the first to photograph this dish and earn a 30% bonus
Level up by reviewing recipes!
