- VE
- LC
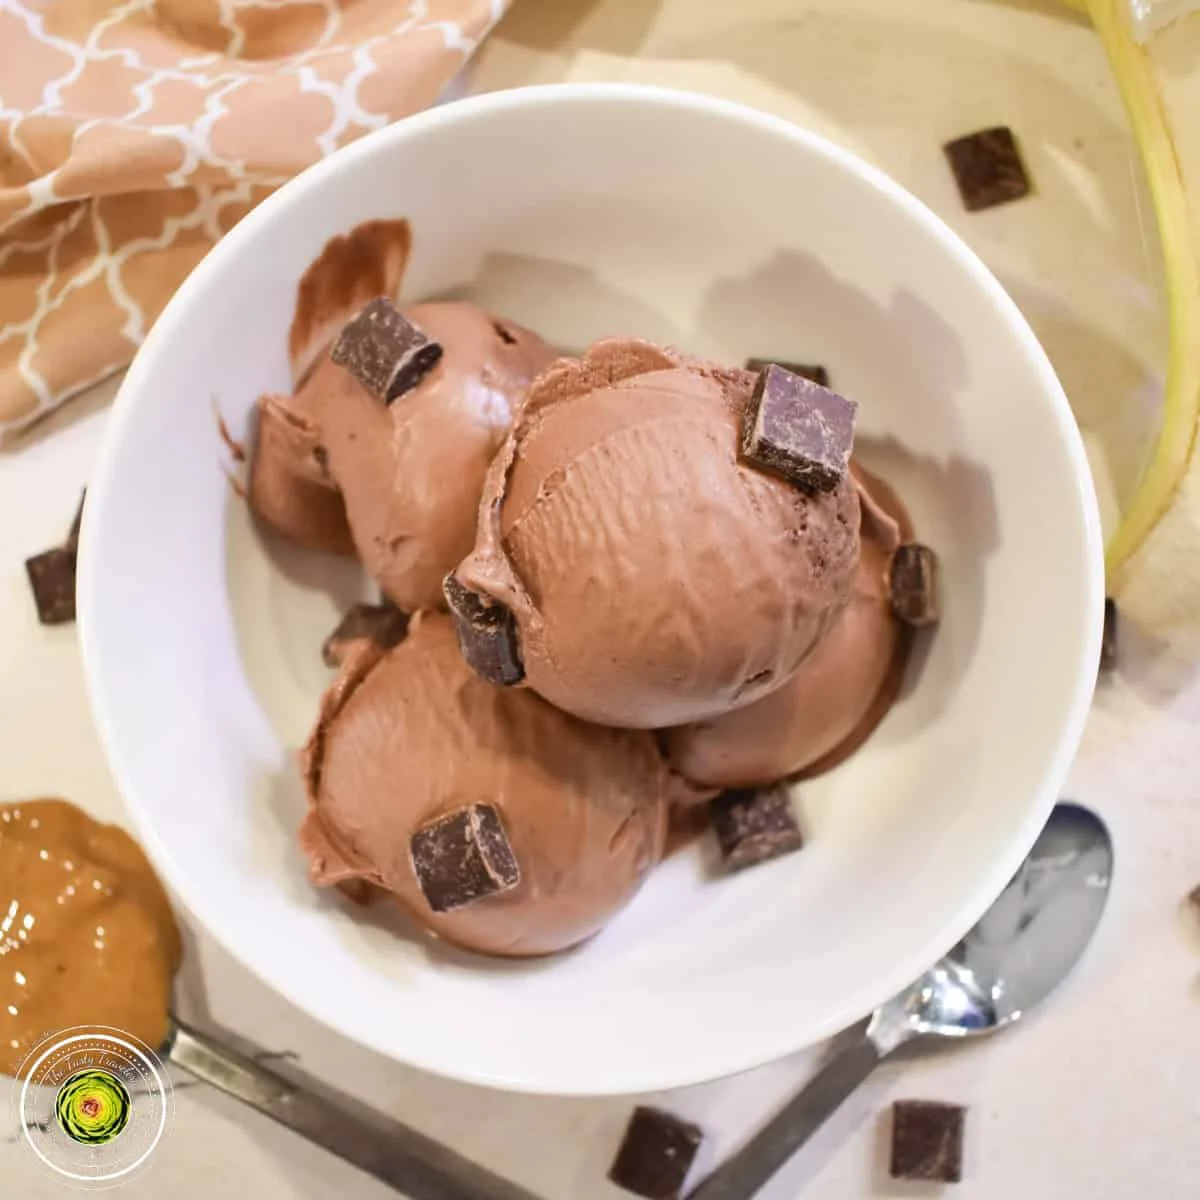
Ninja Creami Chocolate Peanut Butter Banana Ice Cream

The chocolate, peanut butter, and banana flavors are intense in this recipe. It's not a wimpy, mildly flavored ice cream! Anytime you add bananas to your Ninja Creami creations, the result is a super smooth and creamy treat. You can taste the bananas and they really add to the chocolate and peanut butter flavors nicely! For this recipe, I don't recommend using frozen bananas unless you are going to thaw them first.
Ingredients
Ice Cream Base
Mix-Ins
Instructions
- Step 1
Combine bananas, peanut butter, cocoa powder, and half and half in a blender and blend until smooth.
- Step 2
Pour into a Ninja Creami Pint container.
- Step 3
Put the lid on the pint container and freeze on a level surface for 24 hours. After 24 hours, remove the pint from the freezer. Remove the lid.
- Step 4
After 24 hours, remove the pint from the freezer. Remove the lid.
- Step 5
Place the Ninja Creami pint into the outer bowl. Place the outer bowl with the pint in it, into the Ninja Creami machine and turn until the outer bowl locks into place. Push the ICE CREAM button. During the ice cream function, the ice cream will mix together and become very creamy.
- Step 6
Re-spin once.
- Step 7
Once the ice cream function has ended, turn the outer bowl and release it from the Ninja Creami machine.
- Step 8
Use a spoon to dig a hole down the center of the ice cream. Pour in the chocolate chunks and put the pint back into the Ninja Creami machine.
- Step 9
Choose the "Mix-Ins' function and process. Once it has finished processing, remove from the machine.
- Step 10
Your ice cream is ready to eat! Enjoy!
Tips & Tricks
Per serving
My Notes
PrivatePRIVATE TO YOUOnly you can see these
Private to you. Jot down what you changed so it's here next time you cook this.
Keep your own notes on this recipe
Private to your account — what you changed, what you'd do differently next time.
Be the first to photograph this dish and earn a 30% bonus
Level up by reviewing recipes!
