- VE
- LC
- LF
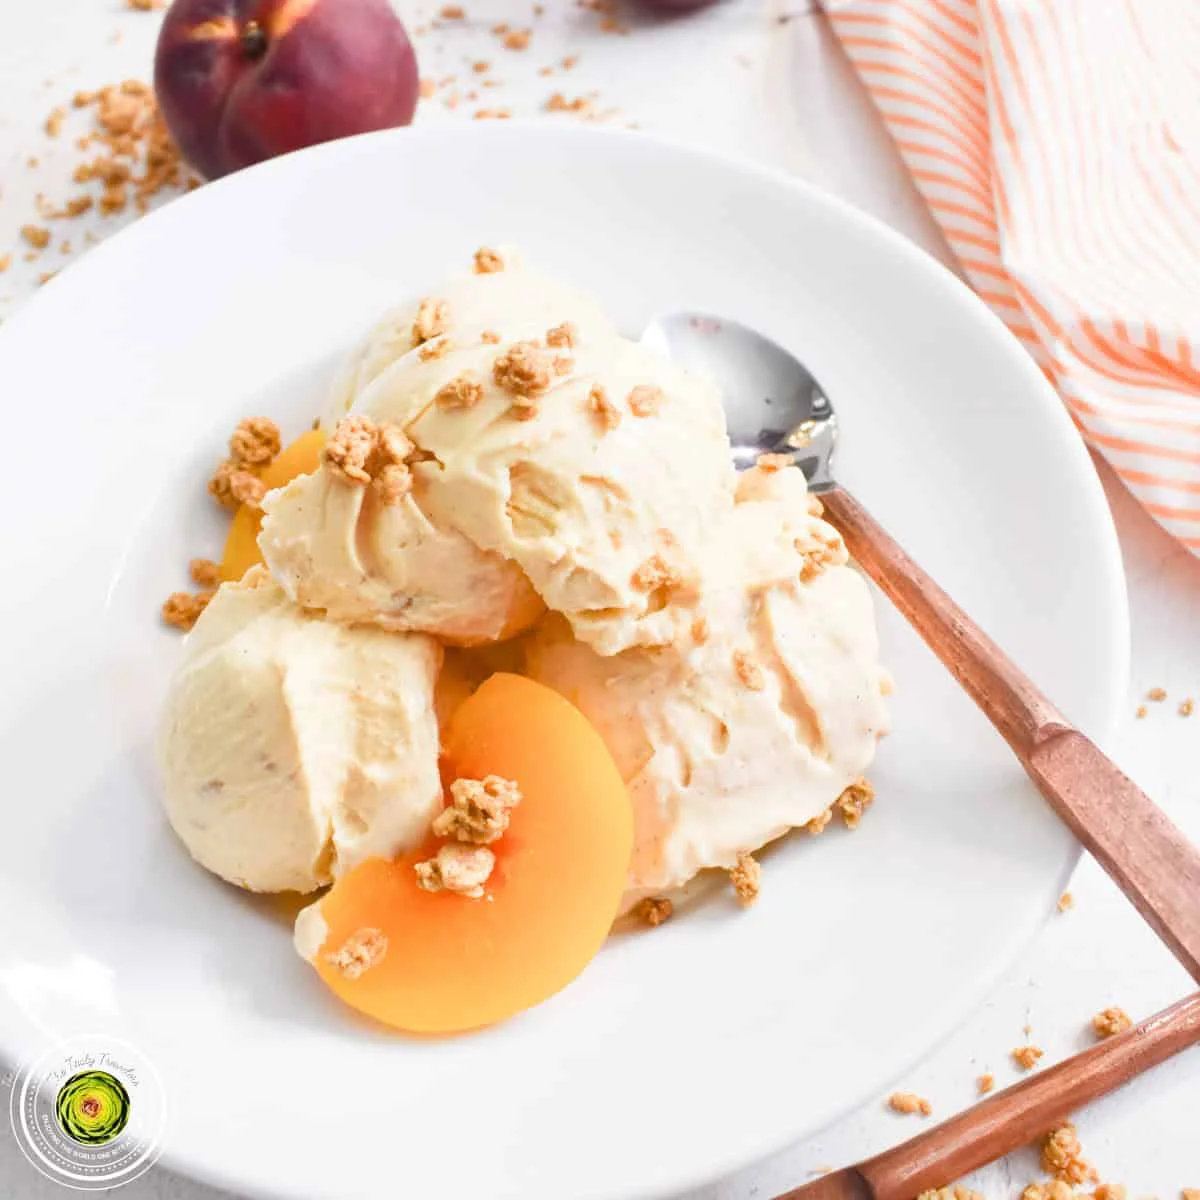
Ninja Creami Peach Cobbler Frozen Yogurt

There's not a whole lot of things that taste better than a warm peach cobbler topped with vanilla ice cream! Obviously, this treat is not warm, but it's almost as delicious! The combination of the peaches with the vanilla and the crunchy oats come together to create a rich and delicious flavor with a great texture! You can use fresh or canned peaches for this recipe.
Ingredients
Mix-Ins
Optional
Instructions
- Step 1
Pour the yogurt, half of the peaches (without the syrup), vanilla bean paste, cinnamon, and the sugar into a Ninja Creami Pint. Stir until well combined. Freeze on a level surface in a cold freezer for a full 24 hours.
- Step 2
After 24 hours, remove the pint from the freezer. Remove the lid.
- Step 3
Place the Ninja Creami pint into the outer bowl. Place the outer bowl with the pint in it, into the Ninja Creami machine and turn until the outer bowl locks into place. Push the LITE ICE CREAM button. During the LITE ICE CREAM function, the yogurt will mix together and become creamy. This should take approximately 2 minutes.
- Step 4
Once the LITE ICE CREAM function has ended, turn the outer bowl and release it from the Ninja Creami machine.
- Step 5
Don't panic if the frozen yogurt is dry and crumbly. Dig a hole down the center of the frozen yogurt and pour in the remaining peaches (without the syrup) and the Honey Bunches of Oats. Add a teaspoon of milk if it's dry and crumbly.
- Step 6
Place the Ninja Creami pint back into the outer bowl. Place the outer bowl with the pint in it, into the Ninja Creami machine and turn until the outer bowl locks into place. Push the "MIX INS" button and process.
- Step 7
Your frozen yogurt is ready to eat! Enjoy!
Tips & Tricks
Per serving
My Notes
PrivatePRIVATE TO YOUOnly you can see these
Private to you. Jot down what you changed so it's here next time you cook this.
Keep your own notes on this recipe
Private to your account — what you changed, what you'd do differently next time.
Be the first to photograph this dish and earn a 30% bonus
Level up by reviewing recipes!
