- VE
- GF
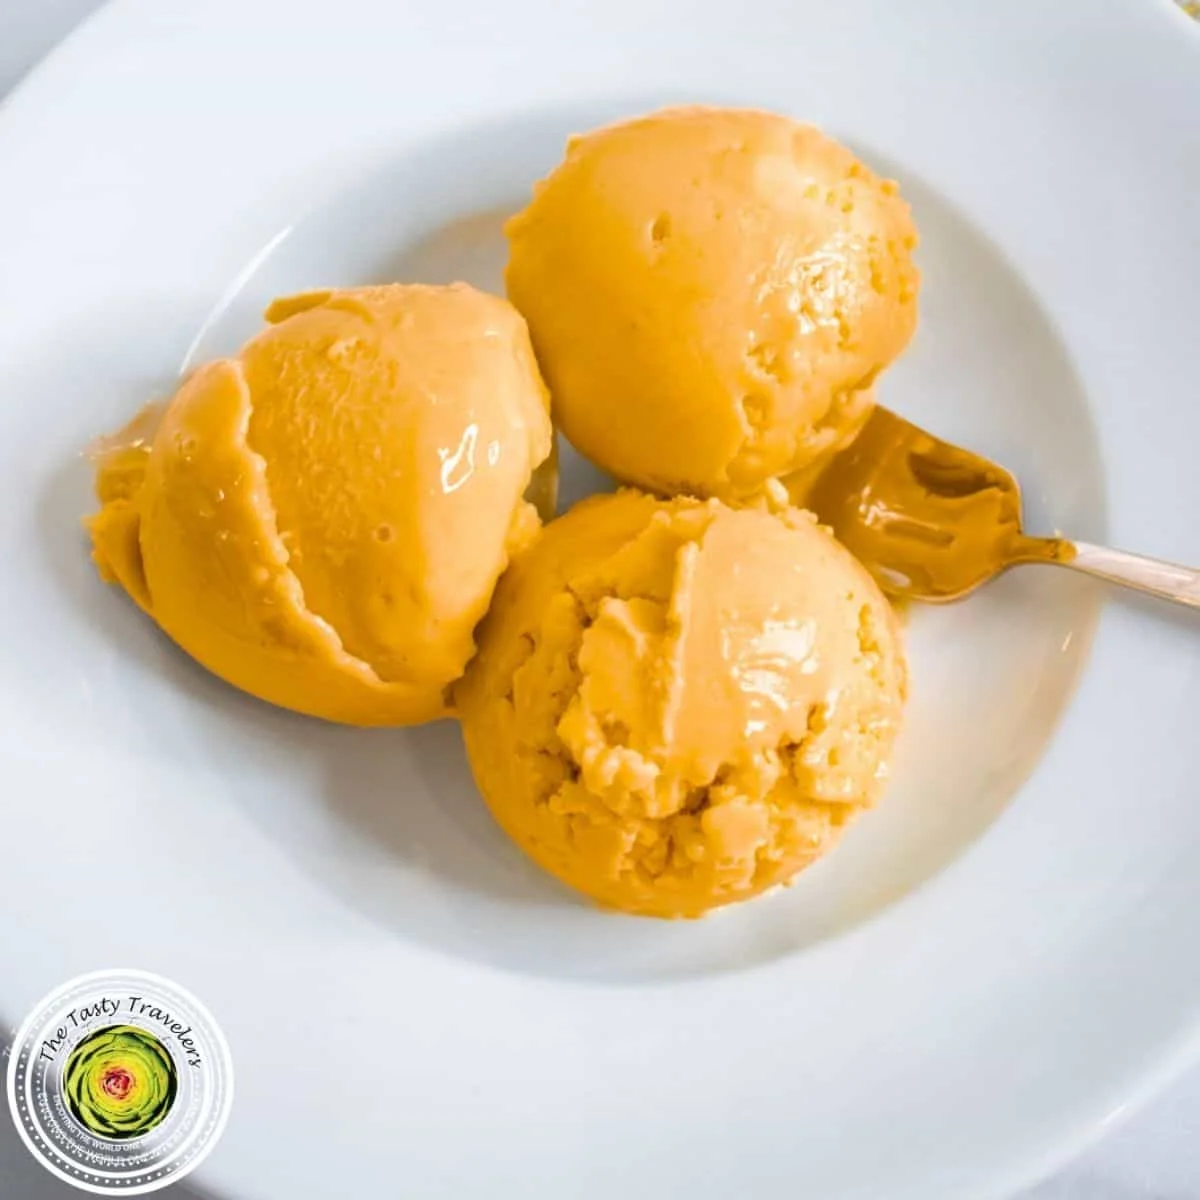
Ninja Creami Pumpkin Pie Gelato

There are so many different ways to make Ninja Creami pumpkin pie ice cream! You could even use canned pumpkin pie filling if you wanted to, but be sure you really like the spices that are already added in the can. Gelato is generally made with more milk, less fat, and more sugar than traditional ice cream. The biggest difference between gelato and ice cream is the texture. Gelato is very smooth and almost dense.
Ingredients
Ice Cream Base
Optional
Instructions
Make the Ice Cream Mixture
- Step 1
In a small saucepan, combine the heavy cream, milk, corn syrup, and sugar. Cook on medium heat while whisking continuously. Do not let the milk mixture burn. Cook until the mixture starts to look a little frothy. Do not boil the mixture.
- Step 2
In a separate bowl, whisk the eggs.
- Step 3
Temper the eggs by slowly pouring small amounts of the hot milk mixture into the eggs. Pour a couple of tablespoons at a time and whisk continuously.
- Step 4
Once all of the milk mixture has been added to the eggs, pour the milk and egg mixture back into the saucepan and cook on low heat for about 5 minutes or until it reaches 165 Degrees Fahrenheit. The mixture should start to thicken slightly, just enough to coat the back of a spoon. Remove from the heat.
- Step 5
Add the pumpkin puree, pumpkin pie spice extract, pumpkin spice, nutmeg, and stir.
- Step 6
Allow the ice cream base to cool before freezing.
- Step 7
Pour into an empty Ninja Creami pint container and freeze for 24 hours.
Process the Ice Cream
- Step 8
After 24 hours, remove the pint container from the freezer.
- Step 9
Place the pint container into the outer bowl of the Ninja Creami and then process on "Gelato."
- Step 10
Remove the pint from the machine and enjoy!
Tips & Tricks
Per serving
My Notes
PrivatePRIVATE TO YOUOnly you can see these
Private to you. Jot down what you changed so it's here next time you cook this.
Keep your own notes on this recipe
Private to your account — what you changed, what you'd do differently next time.
Be the first to photograph this dish and earn a 30% bonus
Level up by reviewing recipes!
