- HP
- GF
- LS
- LC
- KF
Ninja Foodi Grill Bacon

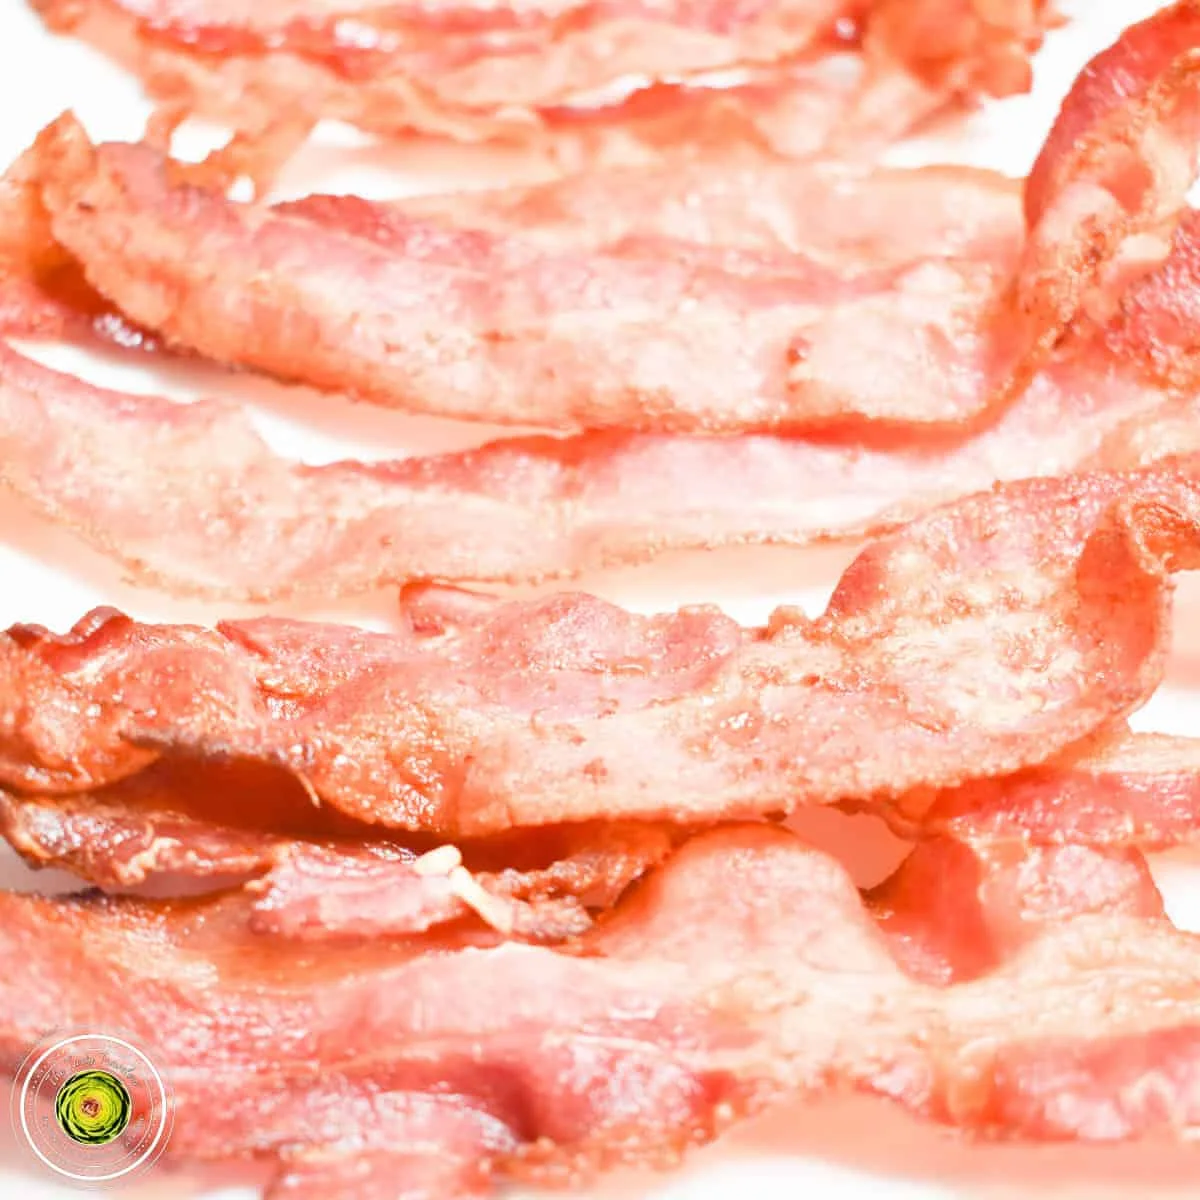
Ninja Foodi Grill Bacon is super easy to make and there's less cleanup than when you cook bacon in a skillet on the stovetop! You can make the perfect bacon whether you like well-done crispy bacon or a little less cooked. When you air fry bacon, you do not need to flip the bacon, which was good news for me because I'm a constant flipper. Because the air crisping basket has holes throughout it, the air gets underneath the bacon and cooks it from all sides at the same time. Cooking times will vary based on the type and thickness of the bacon.
Ingredients
Instructions
- Step 1
Turn the Ninja Foodi Grill on.
- Step 2
Press air crisp function. Set to 350 degrees for 8-14 minutes based on your preferred bacon and crispiness. Regular Cut Bacon: Cook for 8-10 minutes Thick Cut Bacon: Cook for 9-11 minutes Extra Thick Cut Bacon: Cook for 11-14 minutes
- Step 3
Push the START button. The Ninja Foodi Grill will start to preheat.
- Step 4
While the Ninja Foodi Grill is preheating, place the slices of bacon into the air crisp basket. The bacon can be touching but should not be stacked on top of each other.
- Step 5
Once the Ninja Foodi Grill has finished preheating and says ADD FOOD, open the lid and place the crisping basked with the bacon into the Ninja Foodi Grill.
- Step 6
When the Ninja Foodi Grill says FLIP FOOD (about halfway through the full cook time) open the lid and check on the doneness of the bacon. You don't actually need to flip the bacon.
- Step 7
When the cooking time is complete, open the lid remove the bacon and place it onto a napkin-lined plate.
- Step 8
Serve and enjoy!
Tips & Tricks
Per serving
My Notes
PrivatePRIVATE TO YOUOnly you can see these
Private to you. Jot down what you changed so it's here next time you cook this.
Keep your own notes on this recipe
Private to your account — what you changed, what you'd do differently next time.
Be the first to photograph this dish and earn a 30% bonus
Level up by reviewing recipes!
