- GF
- LC
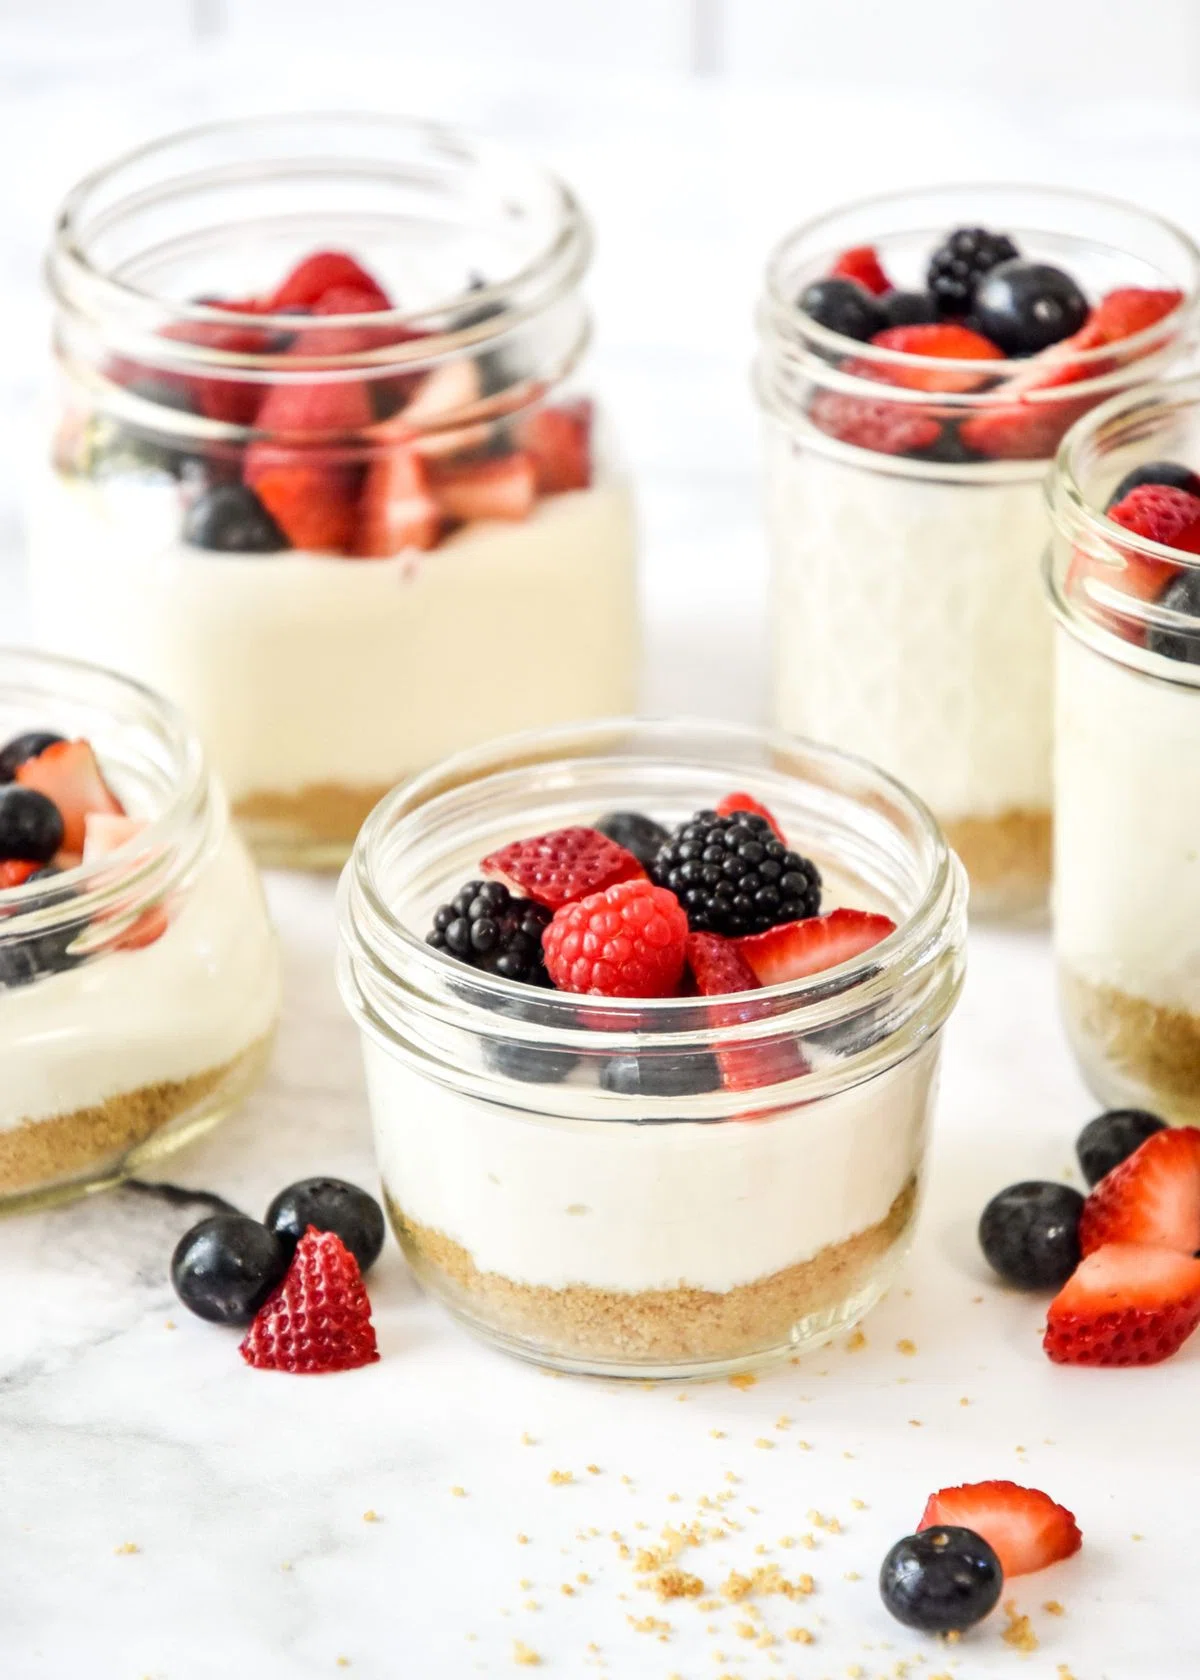
No-Bake Cheesecake Greek Yogurt Cups

These No-Bake Cheesecake Greek Yogurt Cups feature a classic graham cracker base, topped with homemade cheesecake flavored Greek yogurt filling. Portion into mason jars for make-ahead friendly single serve desserts anytime!
Ingredients
Instructions
- Step 1
Make the crust: Remove the graham crackers from the sleeve (1) and place them into the bowl of a food processor. Pulse for about 20 seconds, until the crackers are completely processed into crumbs. Add the sugar (1 tablespoon) and coconut oil (3 tablespoons, melted), then pulse again until the mixture is completely blended and the crumbs begin to stick together.
- Step 2
Portion crust mixture: Divide the graham cracker mixture between 4-5 mason jars or bowls, and use the back of a spoon to press the crumbs down firmly into a distinct layer. It doesn’t have to be perfect! Wash the bowl of the food processor before moving on to prepare the filling.
- Step 3
Make the filling: Add cream cheese (8 ounces, softened) to the clean food processor bowl. Put the lid on and blend until the cream cheese is smooth, about 15 seconds. Next, add maple syrup (4 tablespoons), lemon juice (2-3 tablespoons), vanilla extract (1 teaspoon), and salt (1/4 teaspoon) to the food processor bowl. Blend on high and use a rubber spatula to push down the sides as needed. Once completely blended and smooth, add the Greek yogurt (2 1/4 cups) to the food processor. Pulse on high for about 20 seconds, stopping to push down the sides if needed. The final mixture should be completely smooth and creamy.
- Step 4
Portion the filling: Divide the prepared yogurt filling mixture between the 4-5 containers with graham cracker crust. If needed, gently knock the bottom of the container on the counter to help remove air bubbles and flatten the surface of the yogurt mixture.
- Step 5
Serve and store: To serve, top with your choice of berries (or any topping you like!). Enjoy now, or for a thicker result (my preference), put the lids on and store in the fridge for at least 4 hours before enjoying. The yogurt mixture will thicken as it chills. Store prepared cheesecake yogurt cups in the fridge and enjoy within 5 days for best quality.
Tips & Tricks

@project-meal-plan
Hi, I’m Danielle! My passion for meal planning came from a desire to save money and reduce food waste, and I want to share it with you! Besides cooking and photography, I absolutely love my cats & chicken (yes, just one!), growing food in my yard, and hot sandwiches!
Per serving
Be the first to review this recipe and earn a 20% Bonus
Level up & unlock free Premium by reviewing recipes!