- VE
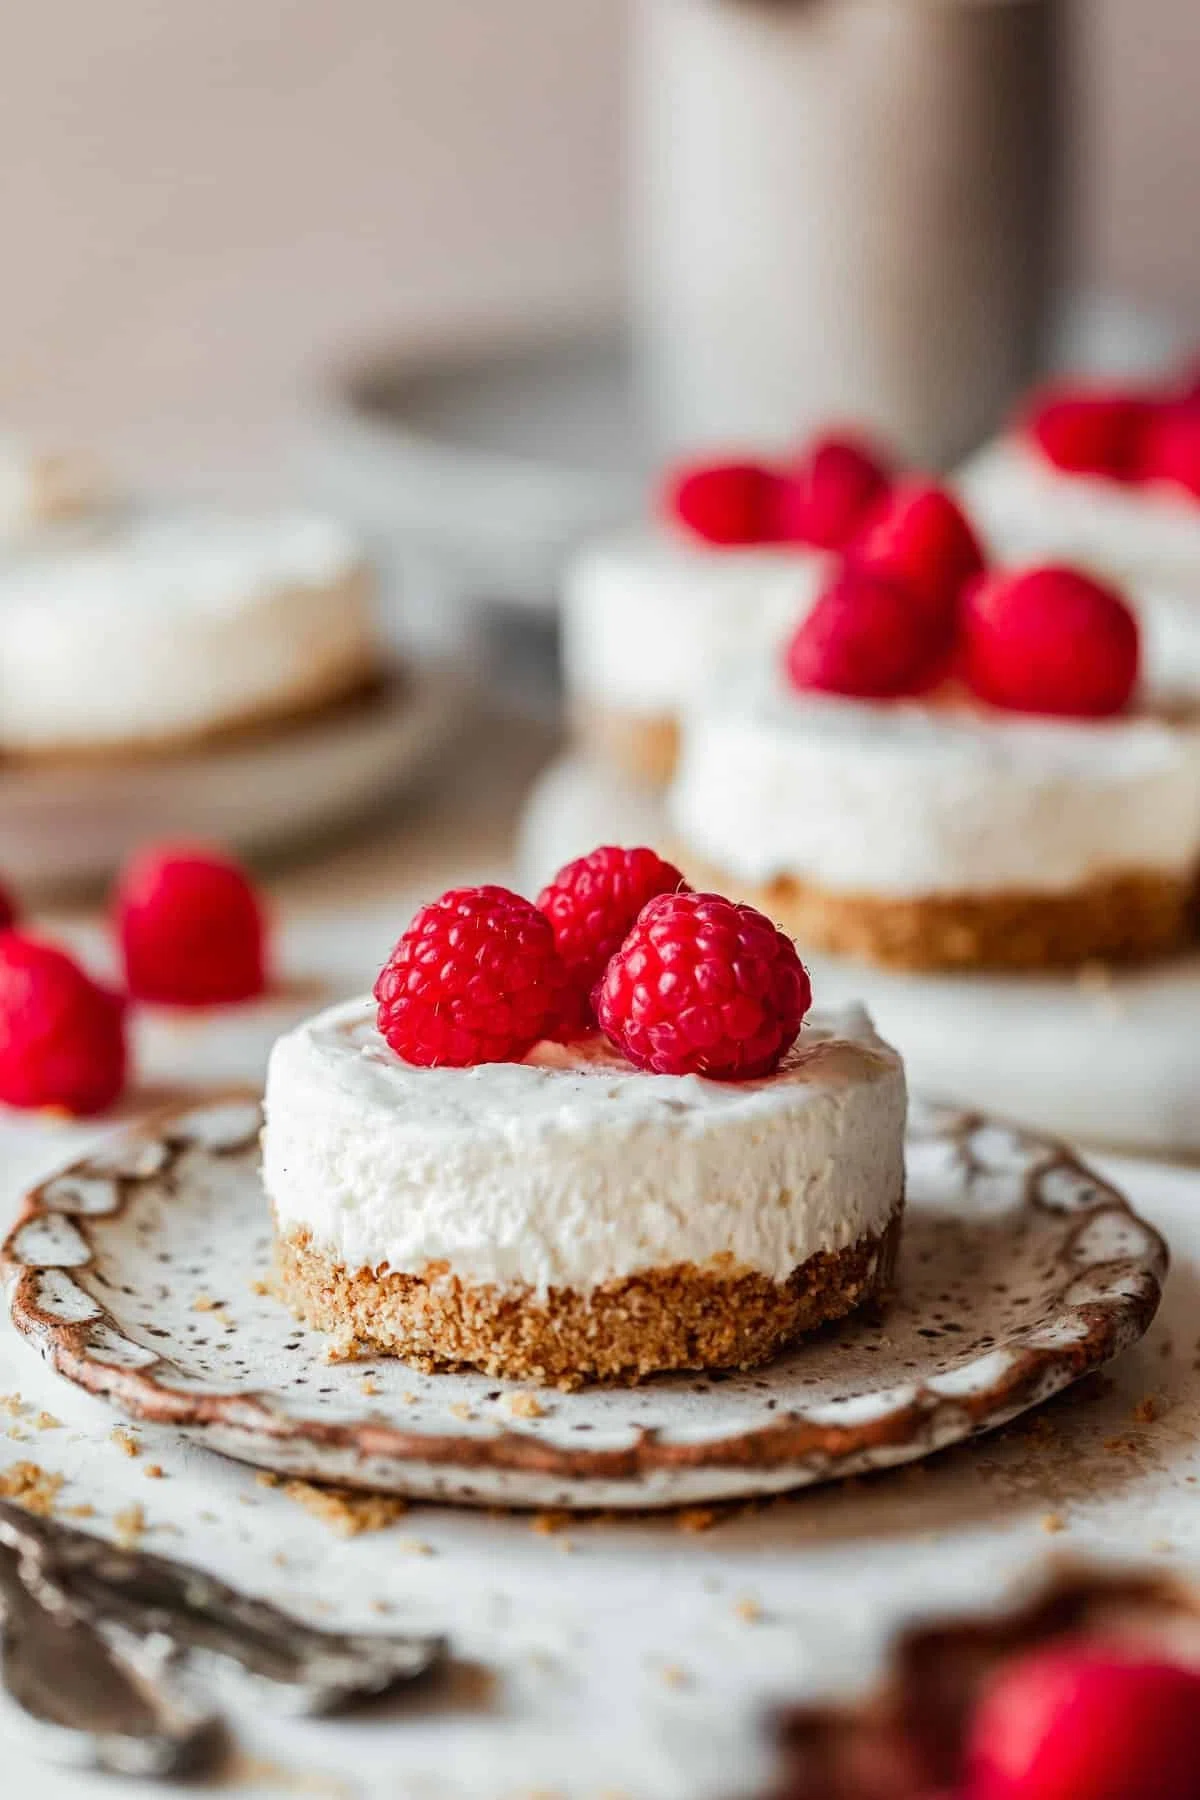
No Bake Mini Cheesecakes

When you're craving cheesecake, but it's too hot to turn on the oven, turn to these no bake mini cheesecakes instead! With graham cracker crust and a fluffy cheesecake filling, they're quick, simple, and come together in a basic cupcake pan. And they take just 30 minutes of hands-on prep – the rest is chilling time. They are seriously the best!
Ingredients
Graham Cracker Crust
No Bake Filling
Instructions
Graham Cracker Crust
- Step 1
If you're using a mini cheesecake pan, spray the bottoms with a very light layer of baking spray. (If you're using standard cupcake pans, add paper liners to each cup.) Set aside.
- Step 2
Break up the graham crackers and add them to the bowl of a food processor. Pulse until you have about 2 1/3 cups (240 grams) of semi-fine crumbs. Add the sugar, melted butter, and a pinch of Kosher salt. Pulse until the graham crackers are finely ground and the mixture clumps together.
- Step 3
Evenly divide the graham cracker mixture into the cheesecake cups, about 2 1/2 Tablespoons per cup (or 2 tablespoons per cupcake liner). Using a pastry tamper or clean fingers, press the mixture evenly into the bottom of the cups. Refrigerate the crusts while you prepare the filling.
No Bake Filling
- Step 4
Pour the cold heavy whipping cream into a large mixing bowl. Using a hand mixer or stand mixer with a whip attachment, whip the cream into stiff peaks. Spoon the whipped cream into a bowl and set aside.
- Step 5
Then, add the cold cream cheese, sugar, and powdered sugar to the same mixing bowl. Using beaters or a paddle attachment, beat the mixture until it's smooth and there are no more lumps. Scrape down the sides of the bowl, as needed.
- Step 6
Add the lemon zest, lemon juice, vanilla bean paste or extract, and sour cream. Beat the filling for another 2-3 minutes on medium-high speed until the mixture is very smooth.
- Step 7
Using a rubber spatula, gently fold the whipped cream into the cream cheese mixture about 1 cup at a time. Work slowly so that you don't deflate the whipped cream! Continue folding until there are no more streaks of whipped cream.
Assemble
- Step 8
Using a #20 cookie scoop, divide the filling between the crusts, about 3-4 tablespoons each. Evenly smooth the tops with a rubber spatula or butter knife. It doesn't have to be perfect!
- Step 9
Cover the pan and refrigerate the cheesecakes for at least 4 hours, but preferably overnight. The longer the cheesecakes chill, the better the texture will be.
- Step 10
Once the filling is set, use a butter knife to gently release the cheesecakes from the pan. Add toppings if desired and enjoy!
Tips & Tricks

@Sunday-table
I’m Sara, the creator behind Sunday Table, sharing cozy, modern small bites and mini desserts made for entertaining. Trained in baking and culinary arts, I’ve been creating elevated, crowd-pleasing recipes since 2012 (with lots of coffee). ☕️
Per serving
Be the first to review this recipe and earn a 20% Bonus
Level up & unlock free Premium by reviewing recipes!