- VE
- LC
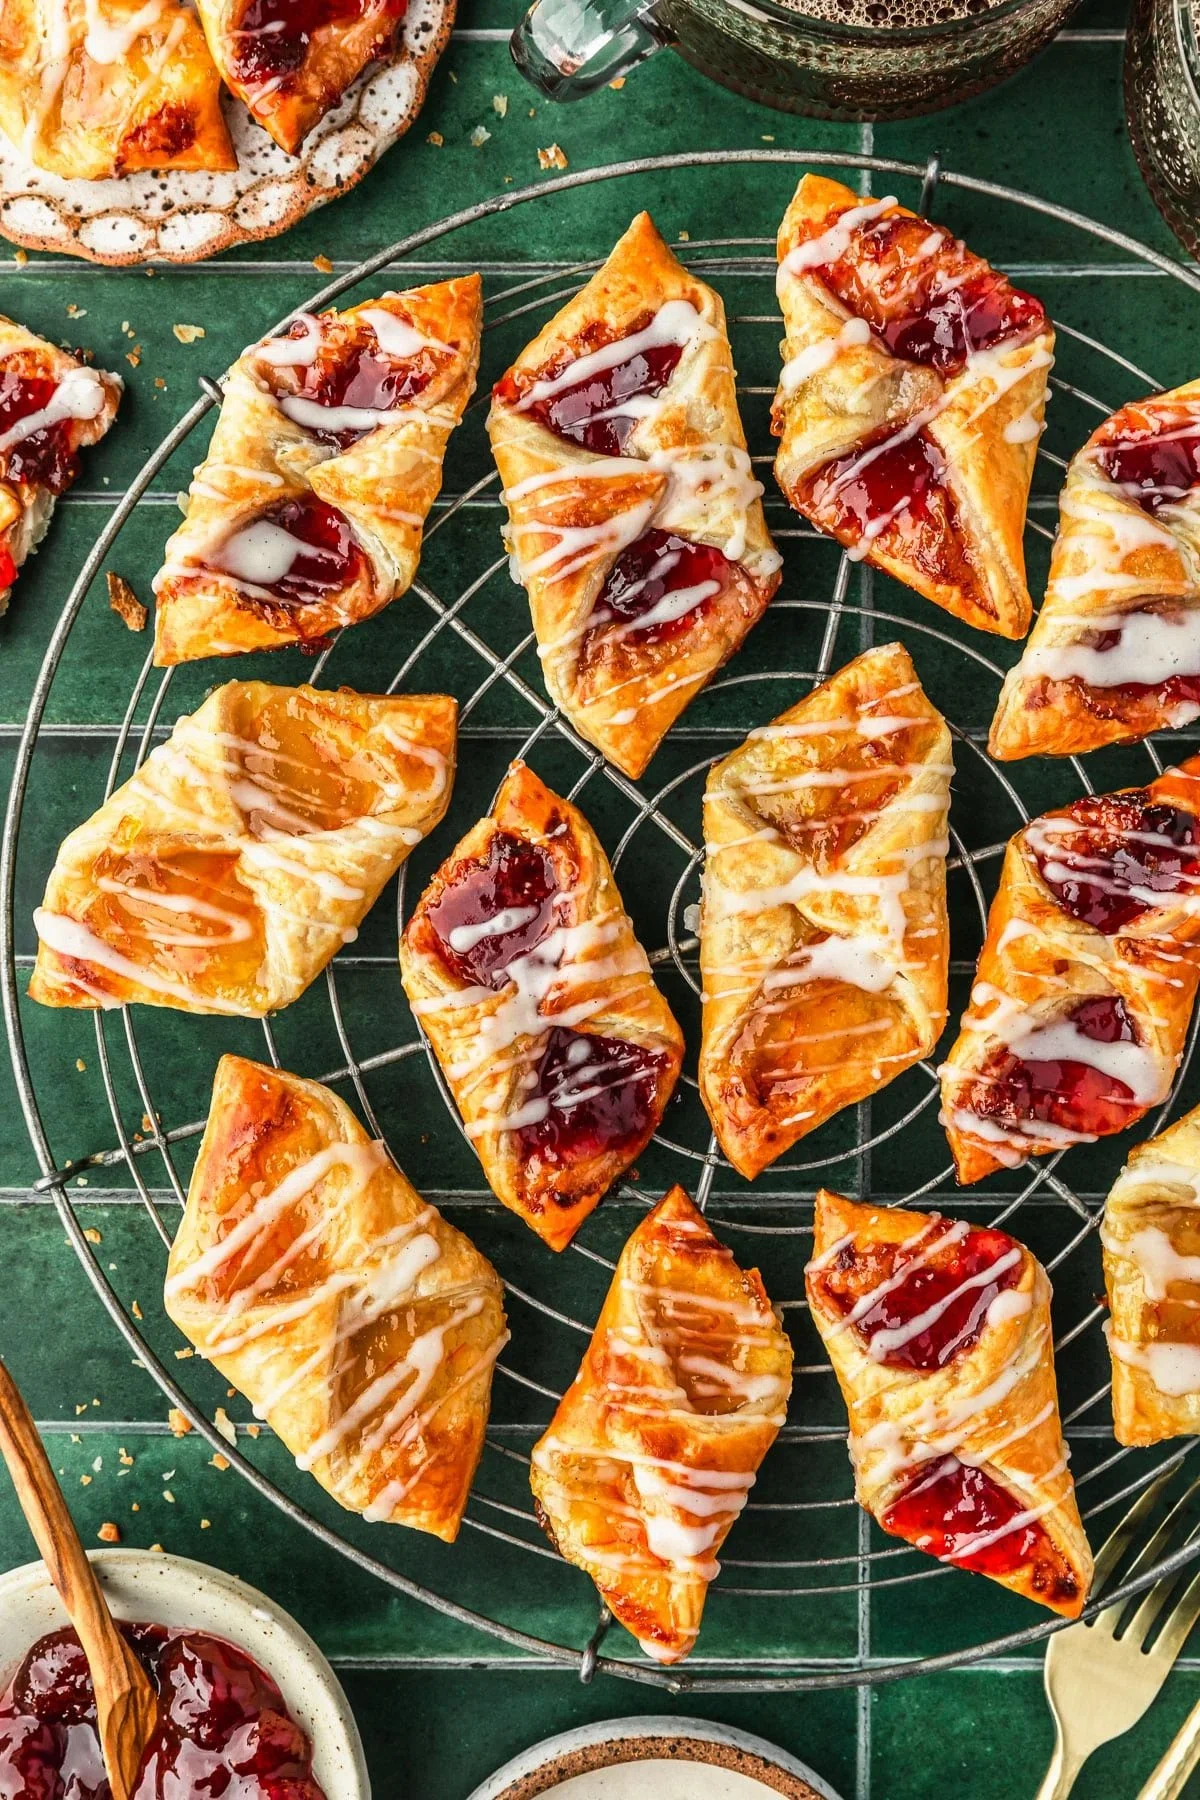
Puff Pastry Jam Tarts

These puff pastry jam tarts are seriously the easiest recipe, and all you need is 3 ingredients! They are flaky, buttery, fruity, and about a hundred times better than pre-made versions. You can use any jam you like here. I love strawberry jam and orange marmalade, but raspberry, apricot, or blueberry would be amazing too! This is a quick and simple treat for brunch parties or holidays like Christmas, Mother's Day, and Easter.
Ingredients
Jam Tarts
Vanilla Glaze
Instructions
- Step 1
Preheat the oven to 425°F (218°C) and line 2 sheet pans with parchment paper. Then, whisk the egg with 1 Tablespoon (15 milliliters) of water in a small bowl. Set it aside for later.
- Step 2
Next, unroll one sheet of puff pastry on a lightly floured surface. Roll the puff pastry into a 9×12-inch rectangle. Use a sharp knife or pizza cutter to slice the puff pastry into 12 3×3-inch squares. (This definitely does not have to be perfect.) Line the puff pastry squares on one of the prepared sheet pans about 2 inches apart. Place the sheet pan in the fridge to keep the puff pastry chilled. Repeat the process with the remaining sheet of puff pastry.
- Step 3
Use the tines of a fork to lightly dock the centers of the puff pastry squares. Don't press all the way through, or the jam will leak out the bottoms of the tarts! Then, spread about 1 teaspoon of jam in the center of each puff pastry square, leaving a 1/2-inch gap around the edges.
- Step 4
Working one at a time, fold one corner of a puff pastry square over the jam. Fold the second puff pastry corner over the first, pressing firmly to seal. (Really seal the centers together so they don't pop open in the oven.) Fold the remaining tarts.
- Step 5
Use a pastry brush to brush the outside of the puff pastry with the egg wash. Bake the bites for 15-18 minutes, until the puff pastry is light golden-brown. Remove the tarts from the oven. Then, use a small spoon to dollop about 1/2 teaspoon more jam on each tart to replace any that leaked out. Bake for another 3-5 minutes, just until the jam is set and the puff pastry is golden brown.
- Step 6
Let the tarts cool on the sheet pan for about 10 minutes. If any of the burnt jam is sticking to the tarts, just break it off the pastry, it should come off pretty easily! Transfer the tarts to a wire rack to cool completely.
Vanilla Glaze
- Step 7
Combine all of the glaze ingredients together in a small bowl. Whisk until smooth. If the glaze is too thick, add another 1/2-1 teaspoon of milk. If it's too thin, add more powdered sugar, 1-2 teaspoons at a time. It should be drizzly and the consistency of glue.
Drizzle and Store
- Step 8
Use the tines of a fork to drizzle the glaze over the cooled tarts. Let the glaze harden, about 30-60 minutes. Enjoy immediately, or store the cooled tarts in an airtight container for 2-3 days.
Tips & Tricks

@Sunday-table
I’m Sara, the creator behind Sunday Table, sharing cozy, modern small bites and mini desserts made for entertaining. Trained in baking and culinary arts, I’ve been creating elevated, crowd-pleasing recipes since 2012 (with lots of coffee). ☕️
Per serving
Be the first to review this recipe and earn a 20% Bonus
Level up & unlock free Premium by reviewing recipes!