- GF
- HP
- LS
- LC
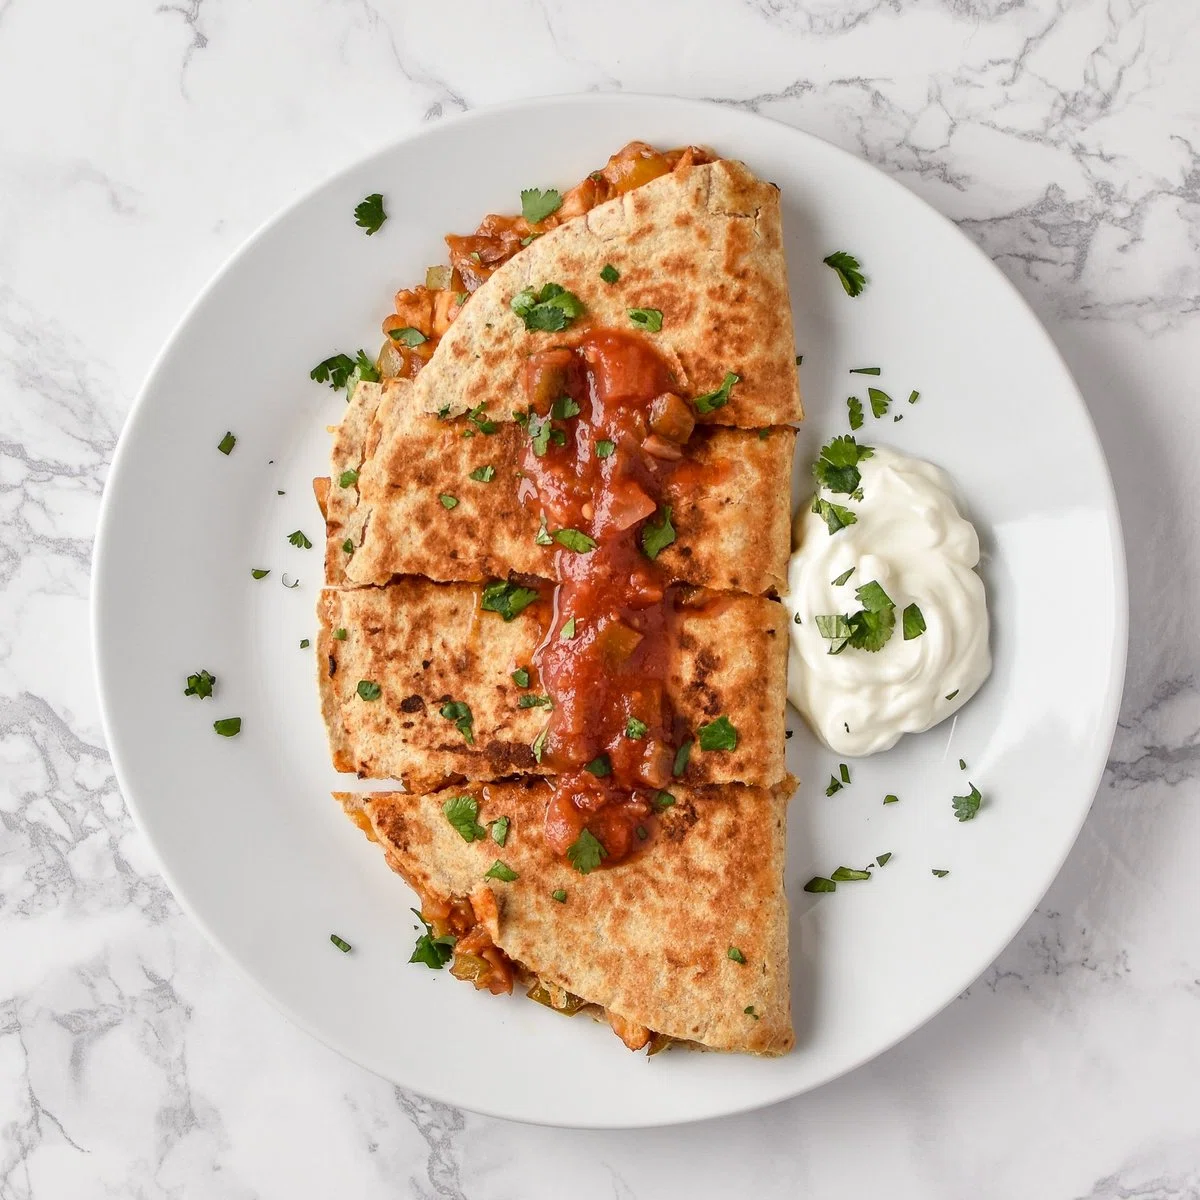
Quick BBQ Chicken Quesadillas

Prep this filling ahead for a super quick quesadilla dinner that’s perfect for busy weeknights! I’m talking tender chicken breast, sautéed onions and bell peppers, garlic, and your favorite BBQ sauce — all cooked and ready to go in the fridge. When it’s time to eat? Skillet. Tortilla. Cheese. That smoky-sweet BBQ chicken filling gets melty and crisp in just minutes for the easiest, most satisfying quick barbecue chicken quesadillas.
Ingredients
Instructions
To make the filling
- Step 1
If you’re using leftover chicken, skip this step!) Preheat oven to 425 degrees F. Line a baking pan with foil. Add a pinch of salt and pepper to each side of the chicken breasts (using tongs to handle them makes it easier/cleaner). Place the chicken breasts on the lined pan and cook for 22-27 minutes. Begin checking the temperature at 22 minutes, and cook until the chicken reaches 165 degrees F inside. When done and cooled, chop the chicken into small pieces and set aside.
- Step 2
Heat 1 tablespoon of oil in a sauté pan over medium heat. When hot, add red onion, bell pepper and about 1/4 teaspoon of salt. Cook for 5 minutes, stirring occasionally. Add garlic, and cook for another 5 minutes, stirring occasionally.
- Step 3
Add the cooked chicken to the peppers and onion pan. Stir and cook for one minute, then remove from heat and let cool for 5 minutes.
- Step 4
Transfer your filling mixture to a large food storage safe bowl with a lid. Add the barbecue sauce and stir until mixed. Cover and store in the fridge for up to 4 days.
To make a quesadilla
- Step 5
Heat butter over low-medium heat in a large non-stick skillet. When melted and spread around the pan, place your tortilla in the pan. Immediately spread 1/2 the cheese onto only one half of the tortilla.
- Step 6
Add about 1 cup of pre made filling onto the same side of the tortilla as the cheese. Spread the filling around so it covers the entire half of the tortilla. Spread the remaining cheese over the filling.
- Step 7
Use a spatula (and your fingers) to pull the empty half of the tortilla over the other half, covering all toppings. Let the quesadilla cook for about 3-4 minutes on each side, checking for a golden brown doneness before flipping.
- Step 8
Flip and repeat for the other side. Quesadilla is done when the inside cheese is completely melty.
- Step 9
Cut into 4 pieces and serve immediately with toppings (cilantro, salsa and sour cream are my favorite).
Tips & Tricks

@project-meal-plan
Hi, I’m Danielle! My passion for meal planning came from a desire to save money and reduce food waste, and I want to share it with you! Besides cooking and photography, I absolutely love my cats & chicken (yes, just one!), growing food in my yard, and hot sandwiches!
Per serving
Be the first to review this recipe and earn a 20% Bonus
Level up & unlock free Premium by reviewing recipes!