- VE
Cardamom Orange Crème Brûlée
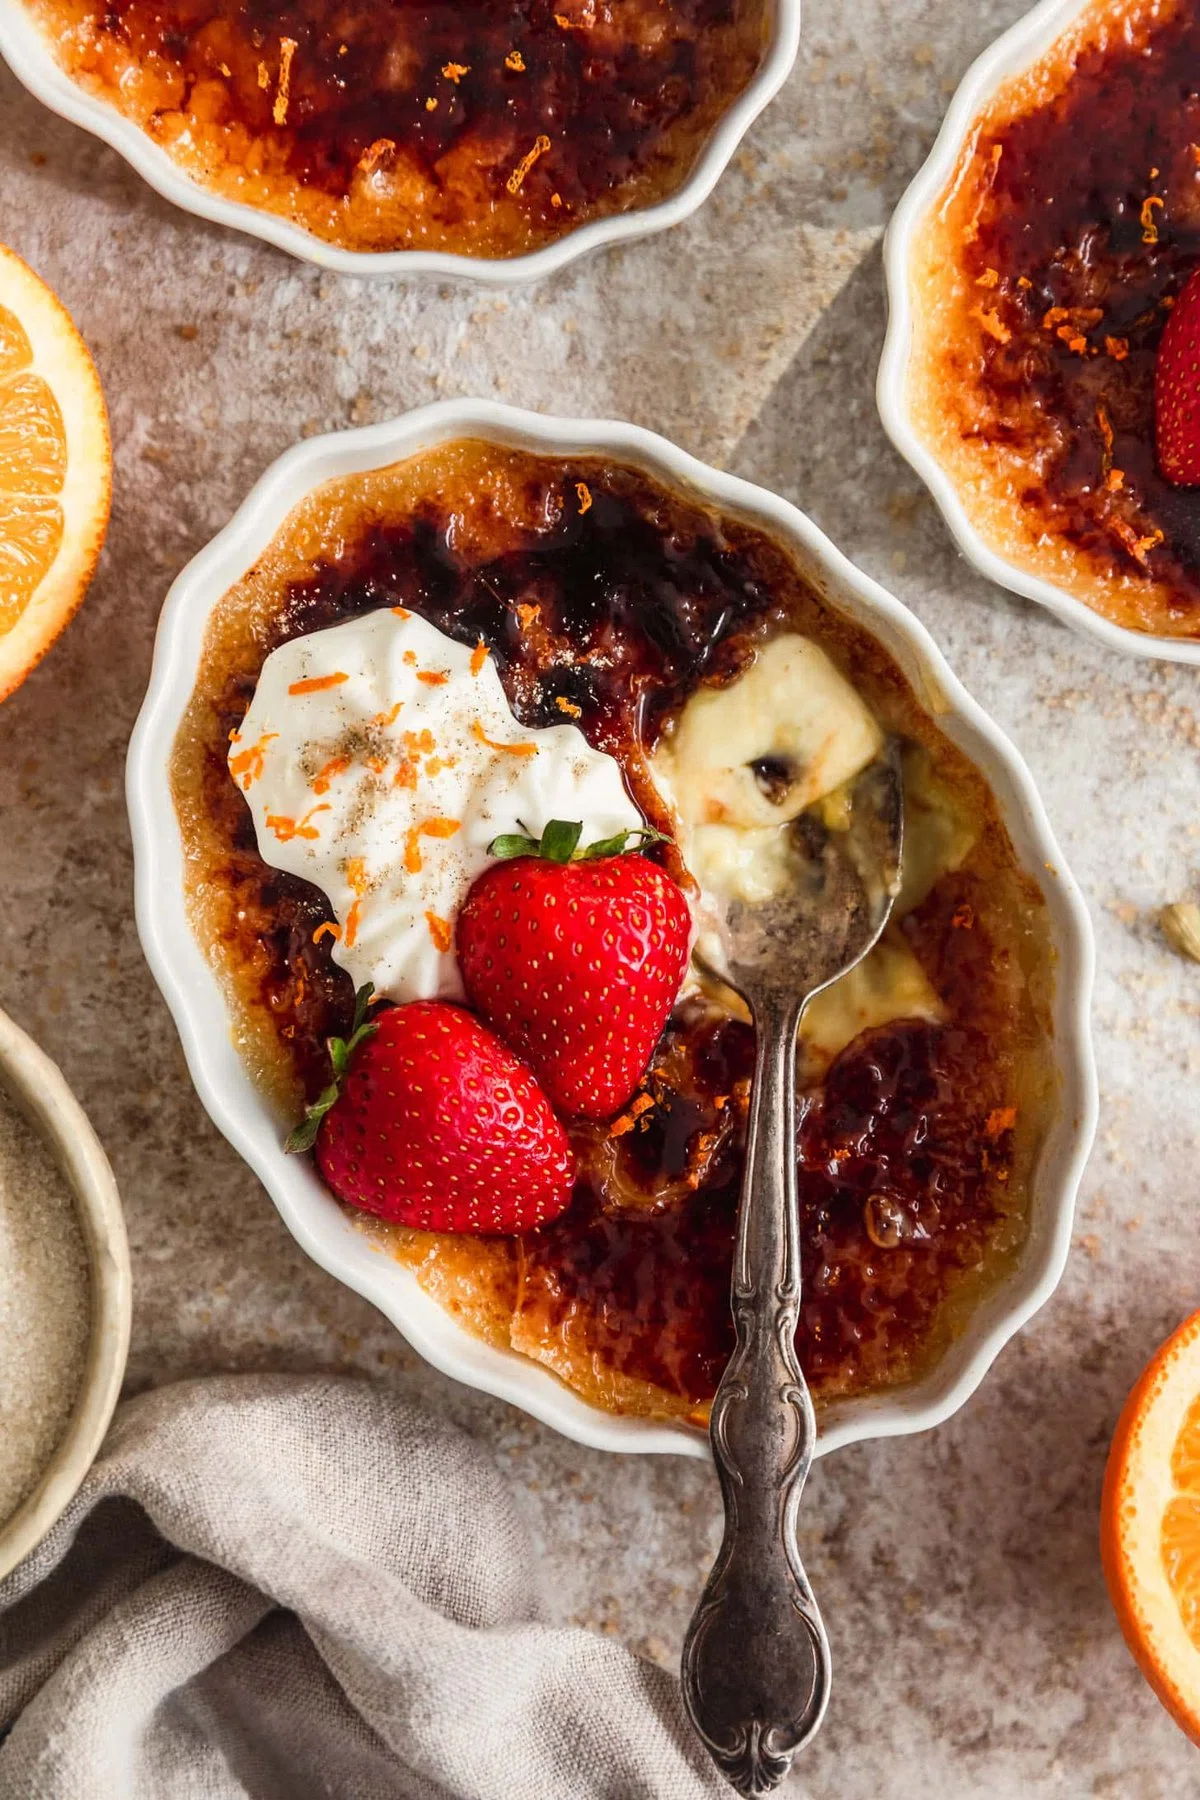
This cardamom orange crème brûlée has vanilla bean paste, orange zest, and a caramelized sugar top for an easy, elegant dessert! This is one of my favorites to serve to a crowd or for a romantic dinner for two. Made from scratch in the oven, this recipe is make-ahead and the perfect dessert for beginners.
Cardamom Orange Crème Brûlée
By Sunday Table
Ingredients
Instructions
- Step 1
Preheat the oven to 300°F. Then, start boiling a large kettle (or pot) of water.
- Step 2
Peel the orange with a vegetable peeler, avoiding the bitter pith as much as possible. Place the orange peels in a pot, and add the heavy whipping cream. Simmer over medium heat, stirring often, until the mixture comes to a simmer. Gently simmer for 2 minutes and remove from the heat. Cover with a lid and infuse for 5-10 minutes.
- Step 3
Meanwhile, whisk egg yolks and 1/3 cup of the sugar in a large bowl until the mixture is thick and pale yellow, about 3 minutes.
- Step 4
Once the cream is infused, remove the orange peels from the heavy cream with the tines of a fork, and discard. While whisking vigorously, pour about a 1/2 cup of the orange-cream to the egg mixture to temper the eggs. Once tempered, slowly whisk in the remaining orange-cream until combined. Add the cardamom, orange liqueur, and vanilla bean paste (or extract).
- Step 5
Strain the custard through a fine mesh sieve and into a liquid measuring cup to remove any lumps or larger chunks of cardamom.
- Step 6
Then, divide the custard evenly between six ramekins. Place the ramekins in a 9×13 cake pan or on a deep baking sheet. Place in the pre-heated oven and immediately pour the boiling water in the pan/baking sheet around the ramekins to create a water bath. Avoid pouring any water inside the actual crème brûlée! You will want the water to come about halfway up the ramekins.
- Step 7
Bake, checking for doneness around 30-40 minutes. The crème brûlée is done when it's set but still a bit jiggly. Do not let the custard boil or brown! When they are finished baking, remove the crème brûlées from the oven by sliding a large spatula under each ramekin. Let them cool at room-temperature for about 1 hour, and then refrigerate for at least one hour to chill.
- Step 8
Right before serving, sprinkle each custard with about 1-2 Tablespoons of the remaining sugar. Using a torch, caramelize the sugar until it's melted and golden-brown with some darker spots (I personally like mine extra caramelized).
- Step 9
Serve immediately with whipped cream and berries, if desired. Enjoy!
Tips & Tricks

@Sunday-table
I’m Sara, the creator behind Sunday Table, sharing cozy, modern small bites and mini desserts made for entertaining. Trained in baking and culinary arts, I’ve been creating elevated, crowd-pleasing recipes since 2012 (with lots of coffee). ☕️
Per serving
Be the first to review this recipe and earn a 20% Bonus
Level up & unlock free Premium by reviewing recipes!