- VE
Classic Key Lime Pie

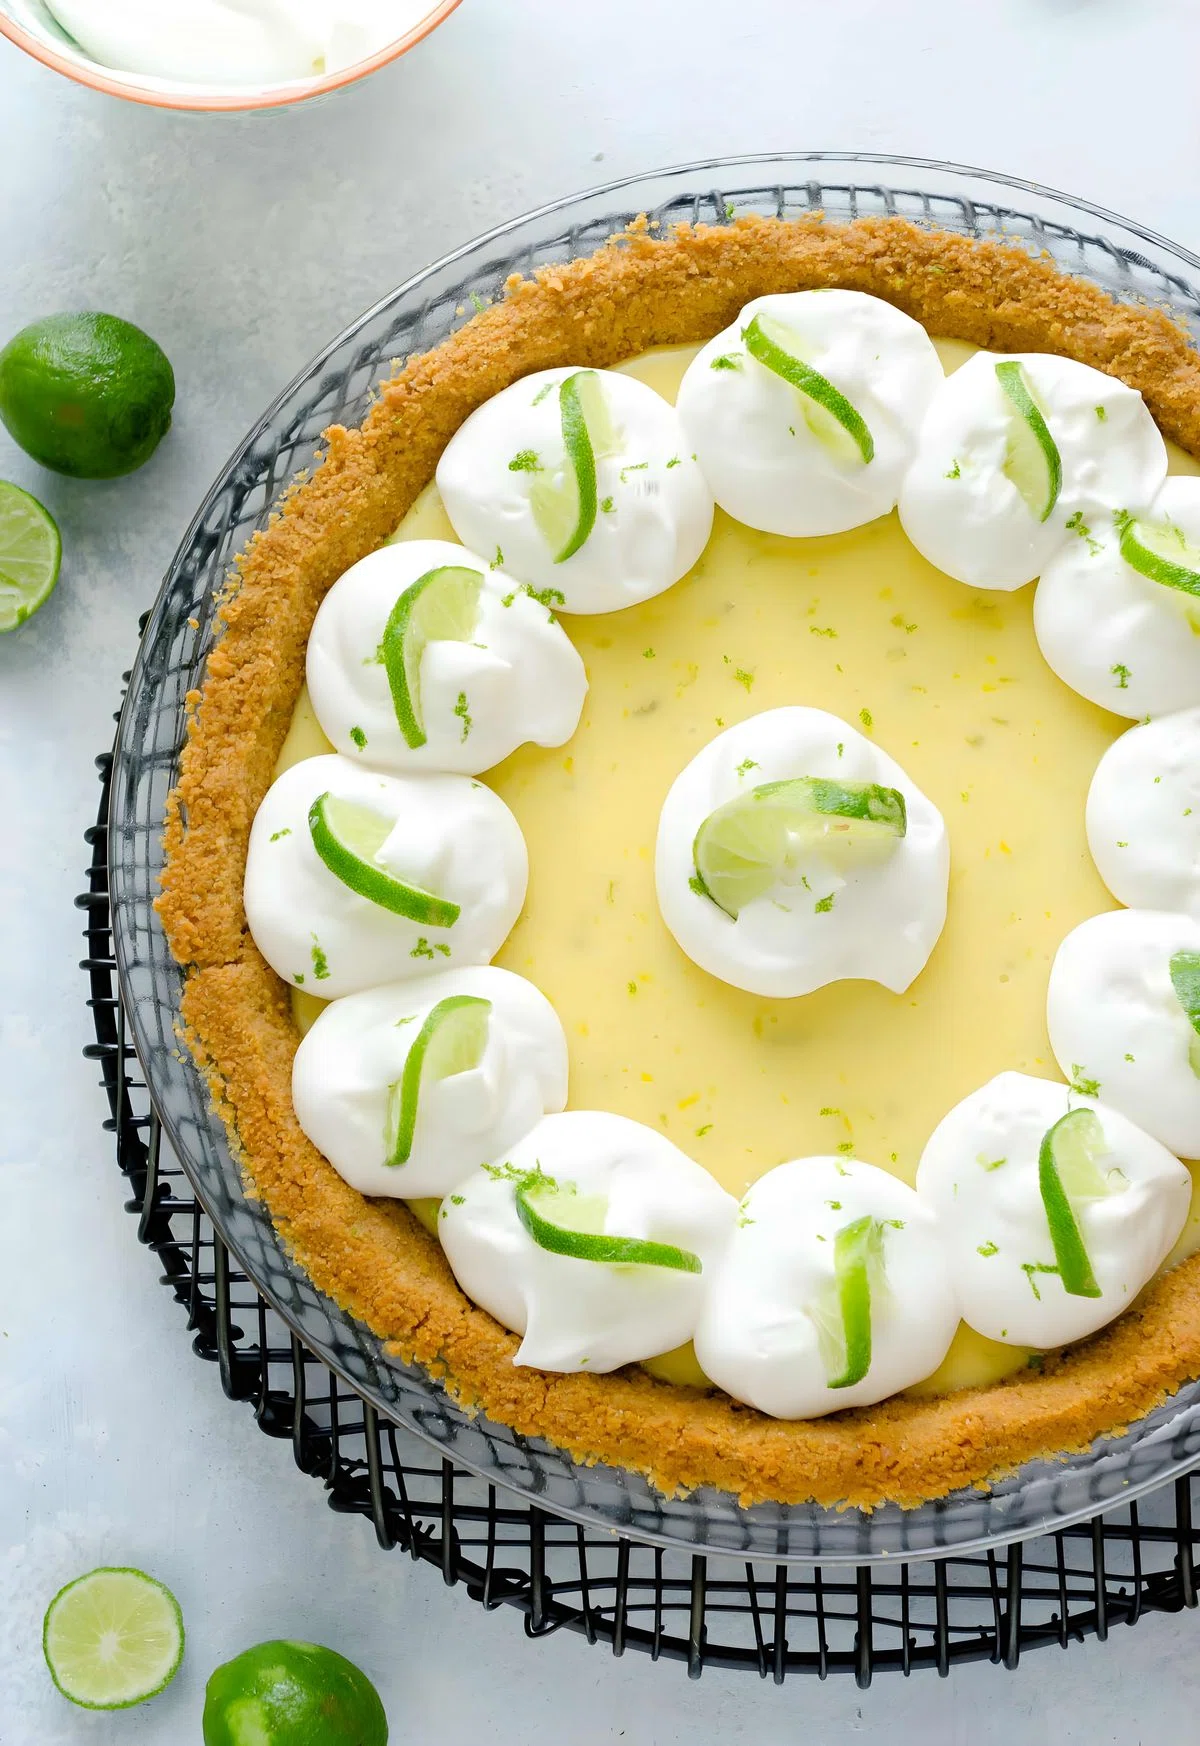
If you need a crowd pleasing easy dessert, look no further than this Classic Key Lime Pie! It’s got a luscious, flavorful key lime filling, simple graham cracker crust, and it takes only 15 minutes of prep! This classic key lime pie recipe is luscious, creamy and bursting with fresh key lime flavor. The graham cracker crust is crisp and buttery, and it’s topped with homemade whipped cream. It’s a show stopping dessert that everyone will love, and it’s perfect for any occasion.
Ingredients
For the Crust
For the Filling
Instructions
Prepare the crust:
- Step 1
Preheat the oven to 350 degrees. Grease a 9″ pie plate generously with cooking spray and set aside.
- Step 2
Melt the butter in a medium bowl in the microwave. Add the graham crumbs, sugar, and pinch of salt and stir until the crumbs are coated with the butter.
- Step 3
6 tablespoons unsalted butter,2 tablespoons granulated sugar,pinch of salt,1 1/2 cups graham cracker crumbs
- Step 4
Pour the crumbs into the prepared pie plate and distribute evenly over the bottom. Press the crumbs evenly over the bottom working from the center toward the edges and up the sides. Bake for 10 minutes or until golden brown. Remove from heat and cool on a wire rack.
Prepare the filling:
- Step 5
Lower the oven temperature to 325 degrees.
- Step 6
Place the egg yolks in a medium bowl and beat until combined. Add the key lime juice, zest, and condensed milk, and whisk until incorporated.
- Step 7
Pour the mixture over the crust and bake for 13-15 minutes or until the filling is set. Remove from heat and cool completely on a wire rack. Once the pie has cooled, chill in the refrigerator.
- Step 8
Dollop or pipe the cream around the edges and in the center before serving, and garnish with key lime slices and zest if desired. Serve and enjoy!
Tips & Tricks
Per serving
My Notes
PrivatePRIVATE TO YOUOnly you can see these
Private to you. Jot down what you changed so it's here next time you cook this.
Keep your own notes on this recipe
Private to your account — what you changed, what you'd do differently next time.
Be the first to review this recipe and earn a 20% Bonus
Level up & unlock free Premium by reviewing recipes!
