- VE
- LC
- LS
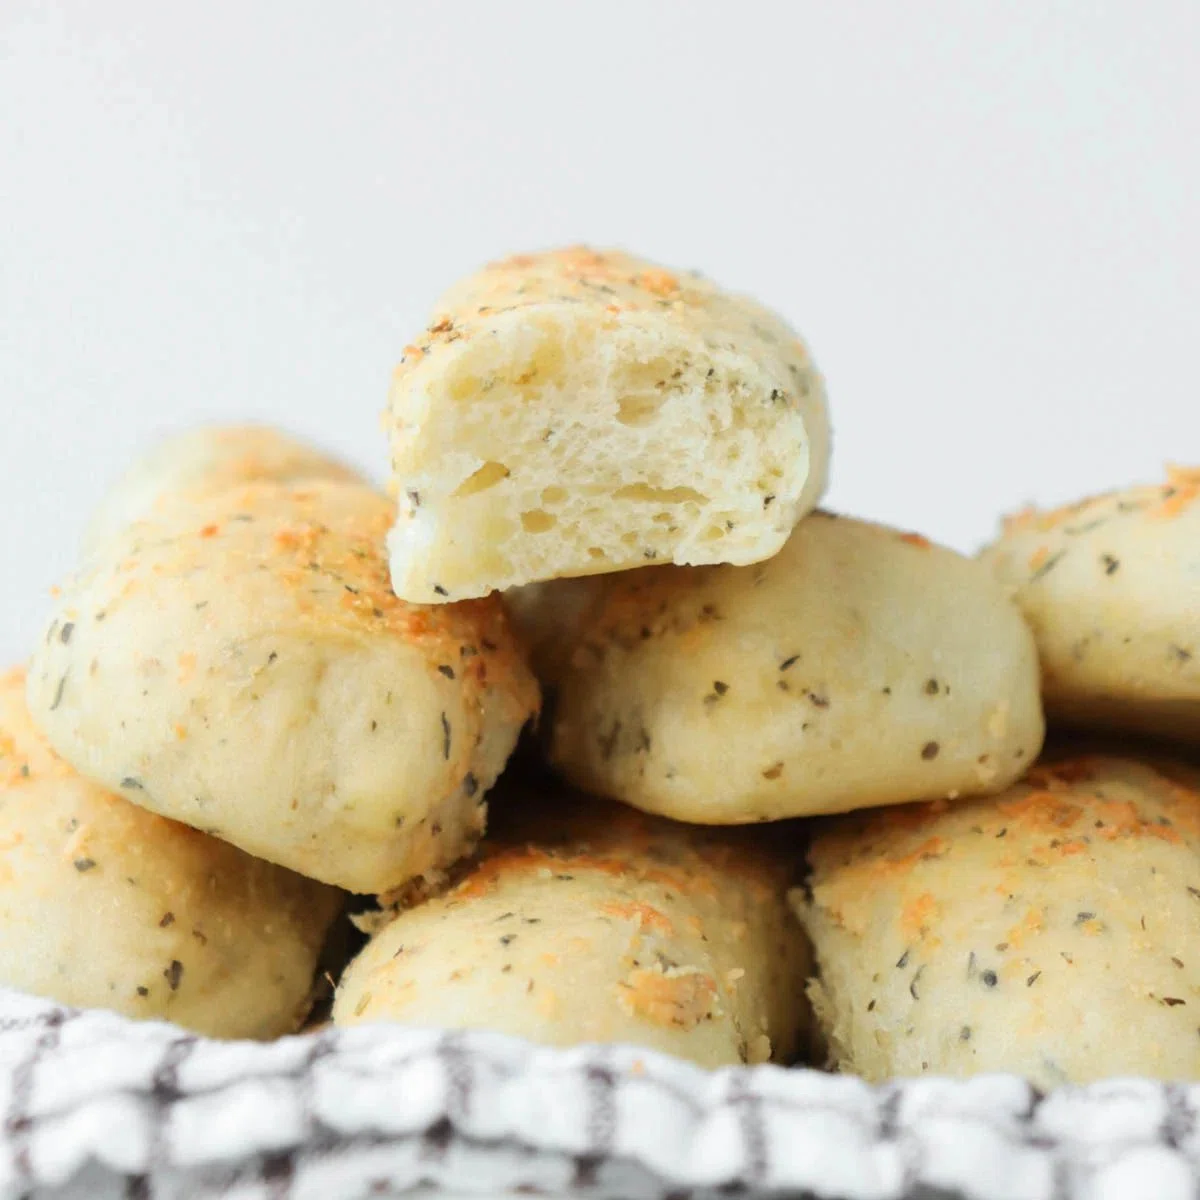
Garlic Herb Breadsticks

These Garlic Herb Breadsticks are made completely from scratch and are packed with flavourful herbs, garlic, onion, and parmesan cheese!
Ingredients
For the Dough:
For the Garlic Butter:
Instructions
- Step 1
Stir 1 teaspoon of sugar and yeast into the ½ cup of warm water and let sit for 10 minutes until the mixture is frothy and bubbly.
- Step 2
Whisk together the ¾ cup of warm water, melted butter, salt, remaining 1 teaspoon of sugar, thyme, basil, oregano, onion powder, and garlic powder in a large bowl. Add 2 cups of flour, parmesan cheese, and the yeast mixture once it's frothy and continue stirring while adding another ½ cup of flour.
- Step 3
Turn the mixture onto a lightly floured counter and knead for 5 minutes or until the dough is soft, smooth and no longer sticking to your hands. Dust the counter with a small amount of flour when you notice the dough sticking to your hands but try not to add too much extra flour (too much flour will make the dough tough). Form the dough into a ball and place in a greased bowl. Cover with plastic wrap and a dry towel and let rise in a warm place for 1 hour. The dough should double in size.
- Step 4
Line a large baking sheet with parchment paper. Once the dough has finished rising, punch down and turn onto a very lightly floured counter. Divide the dough into 18 equal pieces.
- Step 5
Roll each piece of dough into a long "snake" breadstick shape using your hands on the countertop. Each breadstick should be about 4-6 inches long and about ½ to ¾ of an inch in diameter. Place each breadstick on the prepared baking sheet leaving at least 1 to 2 inches between for rising/spreading. Cover the pan with plastic wrap and let rise in a warm place for 30 minutes.
- Step 6
Preheat the oven to 350℉ a few minutes before the breadsticks finish rising. In a small bowl, stir together the melted butter, parmesan cheese, garlic powder, and parsley to make the garlic butter glaze.
- Step 7
Once the breadsticks have risen, remove the plastic wrap and bake in the preheated oven for 10 minutes. Then, take out of the oven and brush the garlic butter onto each breadstick using a silicone pastry brush. Return to the oven and bake for another 7-12 minutes or until lightly golden. Let cool for 5 minutes before serving*.
Tips & Tricks

@knead-some-sweets
Hi, I'm Naomi! Recipe developer, food photographer, author, and baking enthusiast behind Knead Some Sweets. Welcome to Knead Some Sweets, a baking blog where you will find simple recipes for desserts and baked goods. As the chef in one of my favorite movies says, "Anyone can cook.", I believe everyone can make yummy desserts and comforting baking recipes in their own kitchen
Per serving
Be the first to review this recipe and earn a 20% Bonus
Level up & unlock free Premium by reviewing recipes!