- VE
- GF
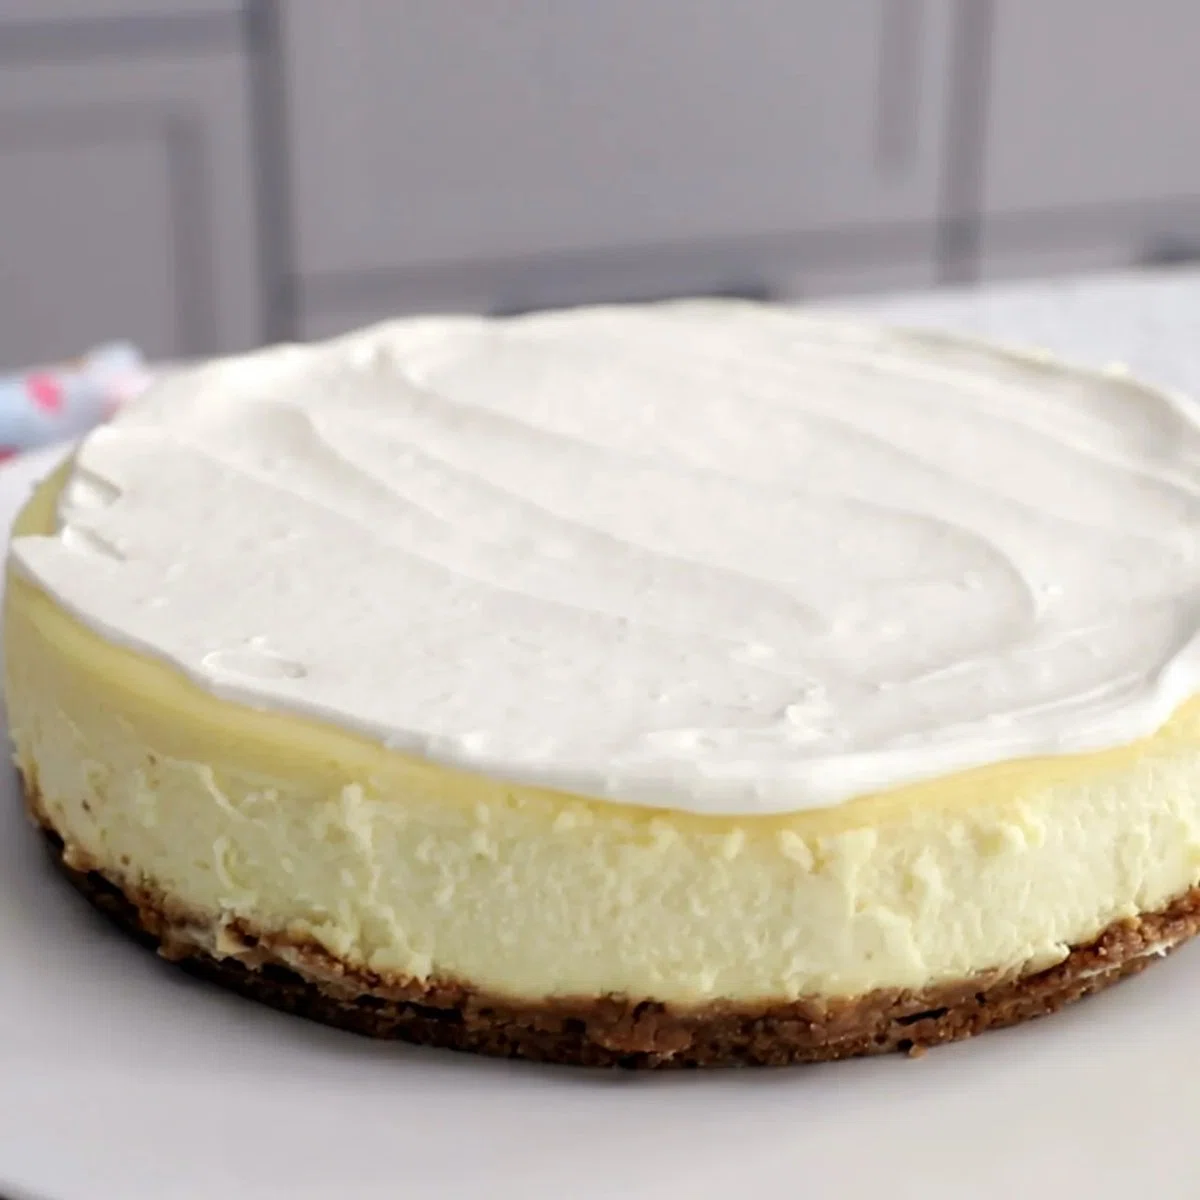
Gluten-Free Cheesecake
A simple switch from traditional graham crackers to gluten-free graham crackers is all that's needed to make a delicious cheesecake everyone will enjoy — and never guess is gluten-free! Be sure to plan ahead - this cheesecake needs at least 6 hours to chill before serving. The recipe is a Yummly original created by Sara Mellas.
Gluten-Free Cheesecake
By OnlineCook
Ingredients
Instructions
- Step 1
Preheat the oven to 400°F.
- Step 2
Lightly grease the sides of a 9-inch spring form pan with softened butter.
- Step 3
Cut a circle of parchment paper 9 inches in diameter and lay the circle on the bottom of the spring form pan.
- Step 4
Create four sheets of aluminum foil, each approximately 18 inches long. Lay one sheet of foil over another to create a cross.
- Step 5
Make another foil cross with the remaining two sheets of aluminum foil, and position it at an angle over the first cross, creating a jagged circle.
- Step 6
Place the spring form pan in the center of the foil circle. Pull the edges of the foil up the sides of the pan and tightly secure on the top edges of the pan. Pack the foil closely to the outside of the pan.
- Step 7
Place the graham crackers in the bowl of a food processor or high-powered blender. Pulse into fine crumbs.
- Step 8
Add the brown sugar, cinnamon, and salt to the graham cracker crumbs. Pulse the mixture a few more times to combine.
- Step 9
Transfer the graham cracker crumb mixture to a mixing bowl.
- Step 10
Place the butter in a microwave-safe bowl. Microwave on high until melted, 45-60 seconds.
- Step 11
Pour the melted butter over the graham cracker crumbs. Use a large fork to mix until the crumbs are evenly moistened and hold together when pinched.
- Step 12
Carefully turn the crumb mixture into the spring form pan.
- Step 13
Using a tamper or the bottom of a heavy glass, tightly pack the crumbs into the base of the pan, creating an even crust.
- Step 14
Bake the crust on the middle rack of oven until just beginning to brown, 9-11 minutes.
- Step 15
Remove the crust from the oven and set aside to cool.
- Step 16
Reduce the oven temperature to 350°F.
- Step 17
Place the cream cheese and sugar in a mixer bowl. Beat with a whisk attachment on medium-high speed, scraping down the sides of the bowl periodically, for 5 minutes, until the mixture is completely smooth and no lumps remain.
- Step 18
Add the sour cream, vanilla extract, and salt to the bowl. Continue to beat on medium-high speed until the sour cream is fully incorporated into the cream cheese, 1-2 minutes.
- Step 19
Use a rubber spatula to scrape down the sides of the bowl.
- Step 20
Add the eggs one at a time, mixing on the lowest speed just until no yellow streaks remain. The batter should be ivory-colored and the consistency of yogurt.
- Step 21
Pour the batter into the cooled graham cracker crust.
- Step 22
Lightly tap the spring form pan on a counter top 4-5 times to release any air bubbles.
- Step 23
Place the spring form pan inside a large roasting pan. Carefully fill the roasting pan with water until it reaches about 3/4 inch up the sides of the spring form pan.
- Step 24
Bake the cheesecake on middle rack of oven until the edges are set and the center wobbles slightly when shaken, 75-90 minutes. Do not open the oven door while it bakes.
- Step 25
Check to see that cheesecake is done. Add time as needed, and when done, turn off the oven and crack the door open 1-2 inches. Allow the cheesecake to rest in the oven for 1 hour.
- Step 26
Refrigerate the cheesecake for a minimum of 6 hours, preferably overnight.
- Step 27
To unmold the cheesecake, carefully run a butter knife around the inside edges of the pan. Undo the clasp and slowly remove the sides in an upward motion.
- Step 28
Place cream cheese and granulated sugar into a large mixing bowl. Use a mixer to beat on medium-high speed until completely smooth, 2-3 minutes.
- Step 29
Add the heavy cream and vanilla extract to the bowl. Beat on low speed to incorporate the heavy cream into the cream cheese.
- Step 30
Turn the mixer to medium-high speed and beat until the whipped cream holds stiff peaks, 2-3 minutes. Do not overbeat.
- Step 31
Spread or pipe the whipped cream cheese over the top of the cheesecake. Refrigerate until ready to serve.
- Step 32
Just before serving, garnish the top of the cheesecake with fresh berries, if desired. Leftover cheesecake may be stored in an airtight container in the refrigerator for 3 days or frozen for up to 2 months.
Tips & Tricks

@onlinecook
Per serving
Be the first to review this recipe and earn a 20% Bonus
Level up & unlock free Premium by reviewing recipes!