- VE
- GF
- LC
- LF
Homemade Marshmallows

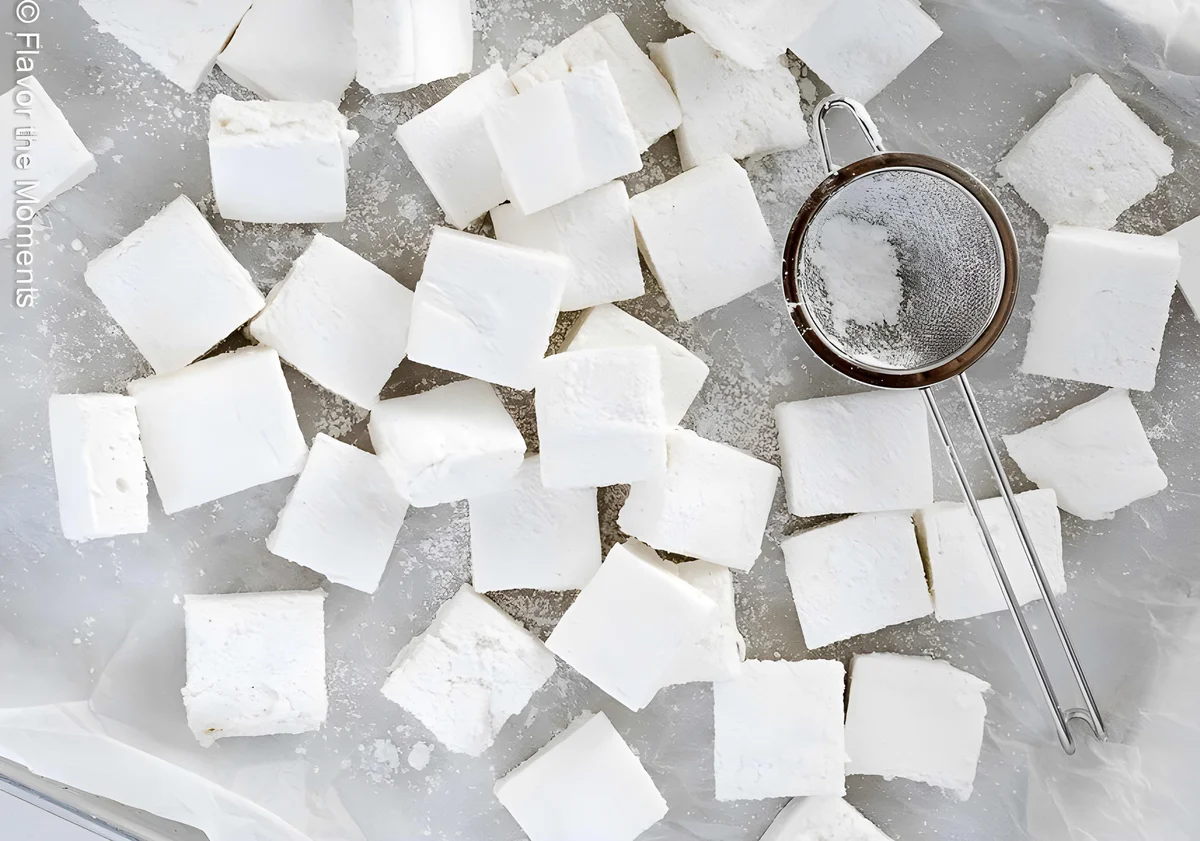
Learn How to Make Marshmallows in just a few simple steps! They’re fluffy and fresh tasting, and include just 5 ingredients! Why go to all the trouble to make homemade marshmallows? The number one reason is that homemade is always best, and you’ll have some fun in the process! The kids will love them and they’re a great holiday gift. I can’t tell you how excited people are to receive these. They have a way of making you feel like a kid again.
Ingredients
Instructions
- Step 1
Line a 13×9″ pan or rimmed baking sheet with parchment paper, cutting from each of the four corners of the paper down to the bottom corner of the pan so that the paper lays flat. Sift 3 tablespoons of powdered sugar over the parchment paper.
- Step 2
Whisk 1/2 cup of water and the gelatin together in the bowl of a stand mixer fitted with the whisk attachment until combined. Allow to soften 15 minutes.
- Step 3
Place the granulated sugar, corn syrup, salt, and the remaining ½ cup water in a large 2 quart sauce pan. Cook over medium low heat until the sugar has dissolved. Increase the heat to medium and cook until the mixture comes to a boil. Cover the pot and boil for 2 minutes. Remove the lid and increase the heat to high, and boil without stirring until the mixture reaches a temperature of 240 degrees on a candy thermometer, about 10 minutes.
- Step 4
Turn the mixer on low, and pour the hot syrup slowly into the gelatin mixture. Gradually increase the speed to high and beat until the mixture has tripled in volume and is thick and stiff, about 10 minutes. Add the vanilla extract and beat 30 seconds or until incorporated.
- Step 5
Scrape the mixture into the prepared pan and spread as evenly as possible with a small offset spatula. Sprinkle with 3 more tablespoons of sifted powdered sugar, and let stand uncovered for 8-12 hours.
- Step 6
Remove from the pan and cut the marshmallows using a very sharp knife. Toss into sifted powdered sugar until coated, then shake off the excess. Store marshmallows in an air tight container in a cool, dry place for up to a few weeks.
Tips & Tricks
Per serving
My Notes
PrivatePRIVATE TO YOUOnly you can see these
Private to you. Jot down what you changed so it's here next time you cook this.
Keep your own notes on this recipe
Private to your account — what you changed, what you'd do differently next time.
Be the first to review this recipe and earn a 20% Bonus
Level up & unlock free Premium by reviewing recipes!
