- VE
Instant Pot Cake

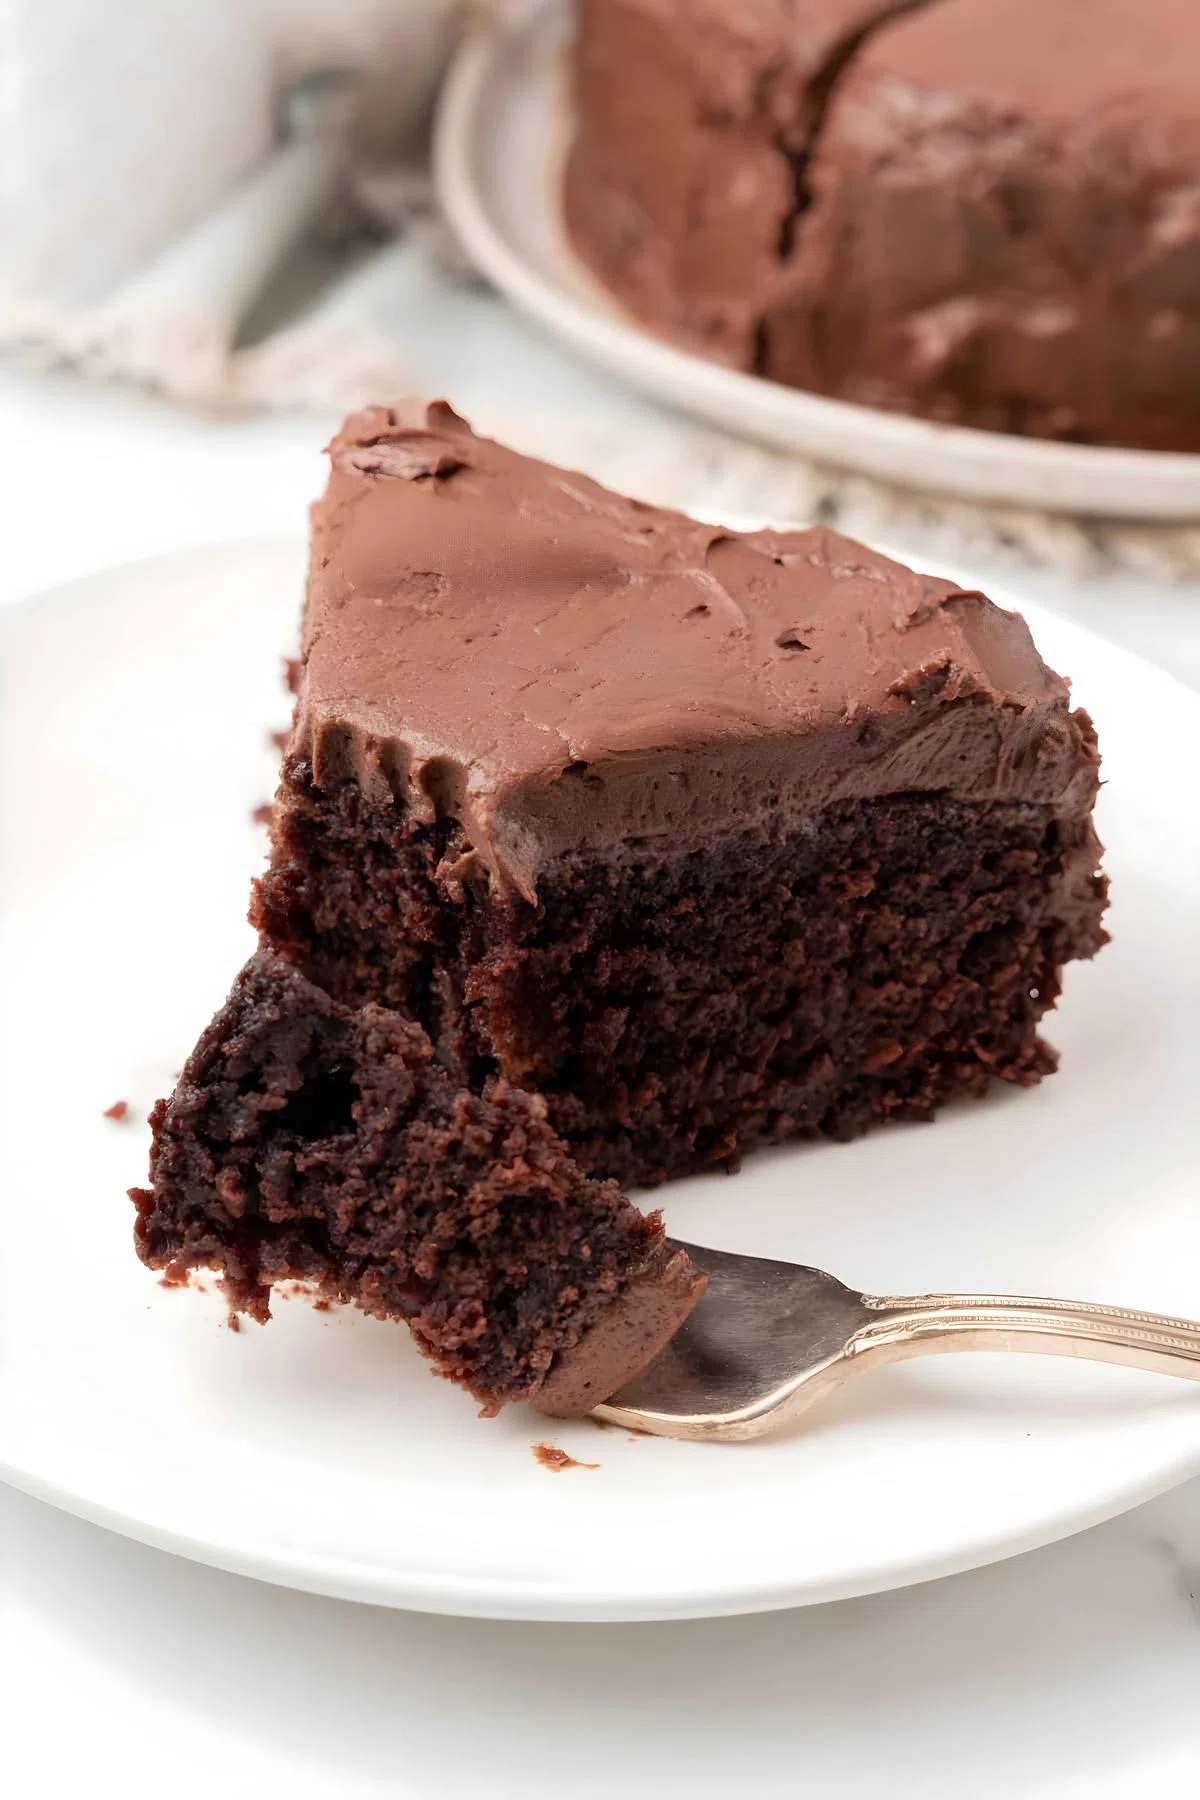
This Instant Pot cake is moist, tender, and incredibly delicious! The pressure cooker makes it super quick and easy. In this blog post, we will walk you through the magic of making an Instant Pot cake, highlighting why you will adore this recipe, how it tastes, and all the expert tips you need for success. Get ready for the easiest cake you will ever bake!
Ingredients
Chocolate Cake
Frosting
Instructions
- Step 1
First, in a large mixing bowl, whisk together the flour, granulated sugar, cocoa powder, baking powder, baking soda, and salt until well combined.
- Step 2
In a separate bowl, whisk together the buttermilk, avocado oil, eggs, and vanilla extract until smooth.
- Step 3
Gradually pour the wet ingredients into the dry ingredients, stirring until just combined. Be careful not to overmix.
- Step 4
Add the hot water to the batter and stir until the batter is smooth.
- Step 5
Lightly grease a 7-inch cake pan that fits inside your Instant Pot with cooking spray. Pour the cake batter into the prepared pan.
- Step 6
Pour 1 cup of water into the inner pot of your Instant Pot. Place the trivet inside the pot. Cover the cake and cake pan with tin foil. Create a foil sling that wraps under the cake so you can easily lower it into the pot.
- Step 7
Carefully lower the cake pan onto the trivet inside the Instant Pot. Use the aluminum sling to help you.
- Step 8
Close the lid of the Instant Pot and set the valve to the sealing position.
- Step 9
Select the “Manual” or “Pressure Cook” setting and set the cooking time to 35 minutes on high pressure.
- Step 10
Once the cooking time is complete, allow the pressure to release naturally for 10 minutes. Then, perform a quick release to release any remaining pressure.
- Step 11
Carefully remove the cake pan from the Instant Pot and let it cool on a wire rack for about 10 minutes. Then, remove the cake from the pan and allow it to cool completely.
- Step 12
While the cake is cooling, prepare the frosting. In a mixing bowl, cream together the softened butter, powdered sugar, cocoa powder, milk, and vanilla extract until smooth and creamy.
- Step 13
Once the cake has cooled, frost the top and sides with the prepared frosting.
- Step 14
Finally, serve and enjoy!
Tips & Tricks
Per serving
My Notes
PrivatePRIVATE TO YOUOnly you can see these
Private to you. Jot down what you changed so it's here next time you cook this.
Keep your own notes on this recipe
Private to your account — what you changed, what you'd do differently next time.
Be the first to review this recipe and earn a 20% Bonus
Level up & unlock free Premium by reviewing recipes!
