- HP
- LS
Ninja Foodi Cheesy Broccoli Chicken and Rice Bake

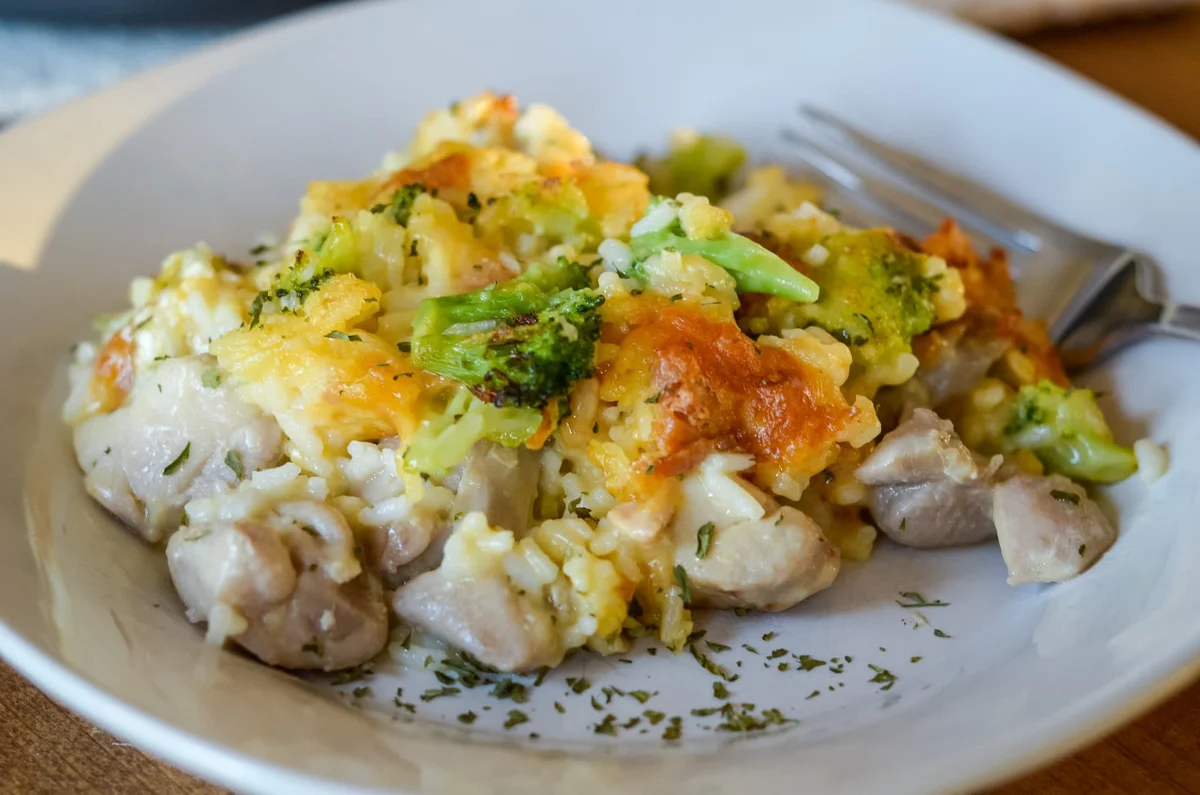
Ninja Foodi Cheesy Broccoli and Rice Bake is ready in just a few short minutes, plus easy to make gluten-free. It's a great comfort meal for the Ninja Foodi!
Ingredients
Instructions
- Step 1
Spray the pot of the Ninja Foodi with the olive oil cooking spray.
- Step 2
Turn saute function to high.
- Step 3
Add the cut chicken and onion, plus garlic salt.
- Step 4
Cook the chicken until well done, at least 165°F internal temperature. This takes about 10 minutes.
- Step 5
Once the chicken is cooked, spray the multi-purpose pan with olive oil spray.
- Step 6
Place the chicken on the bottom of the pan.
- Step 7
Top with the broccoli florets.
- Step 8
Evenly top with the rice.
- Step 9
Pour the water over the rice.
- Step 10
Combine the cream of chicken and sour cream, pour it evenly over the rice.
- Step 11
Place the pan on top of the wire rack that comes with the Foodi in the low position, so it sits low in the pot. The handles should be up on the side to make it easy for you to pull it out of the Foodi.
- Step 12
Using the lid that is attached to the Foodi, shut the lid and cook on the bake/roast function for 10 minutes at 350°F.
- Step 13
Carefully open the lid.
- Step 14
Carefully stir up the ingredients to be sure the rice is fully submerged under the water and soup. Just a light stirring of the ingredients will do.
- Step 15
Shut the lid and cook on the bake/roast function for an additional 5 minutes at 350°F.
- Step 16
Top with cheese.
- Step 17
Cook for 5 minutes at 350°F.
- Step 18
Open the lid, use the mitts to remove the dish from the Foodi.
- Step 19
Let cool for 5 minutes and serve.
Tips & Tricks
Per serving
My Notes
PrivatePRIVATE TO YOUOnly you can see these
Private to you. Jot down what you changed so it's here next time you cook this.
Keep your own notes on this recipe
Private to your account — what you changed, what you'd do differently next time.
Be the first to photograph this dish and earn a 30% bonus
Level up by reviewing recipes!
