- VE
Red Velvet Whoopie Pies

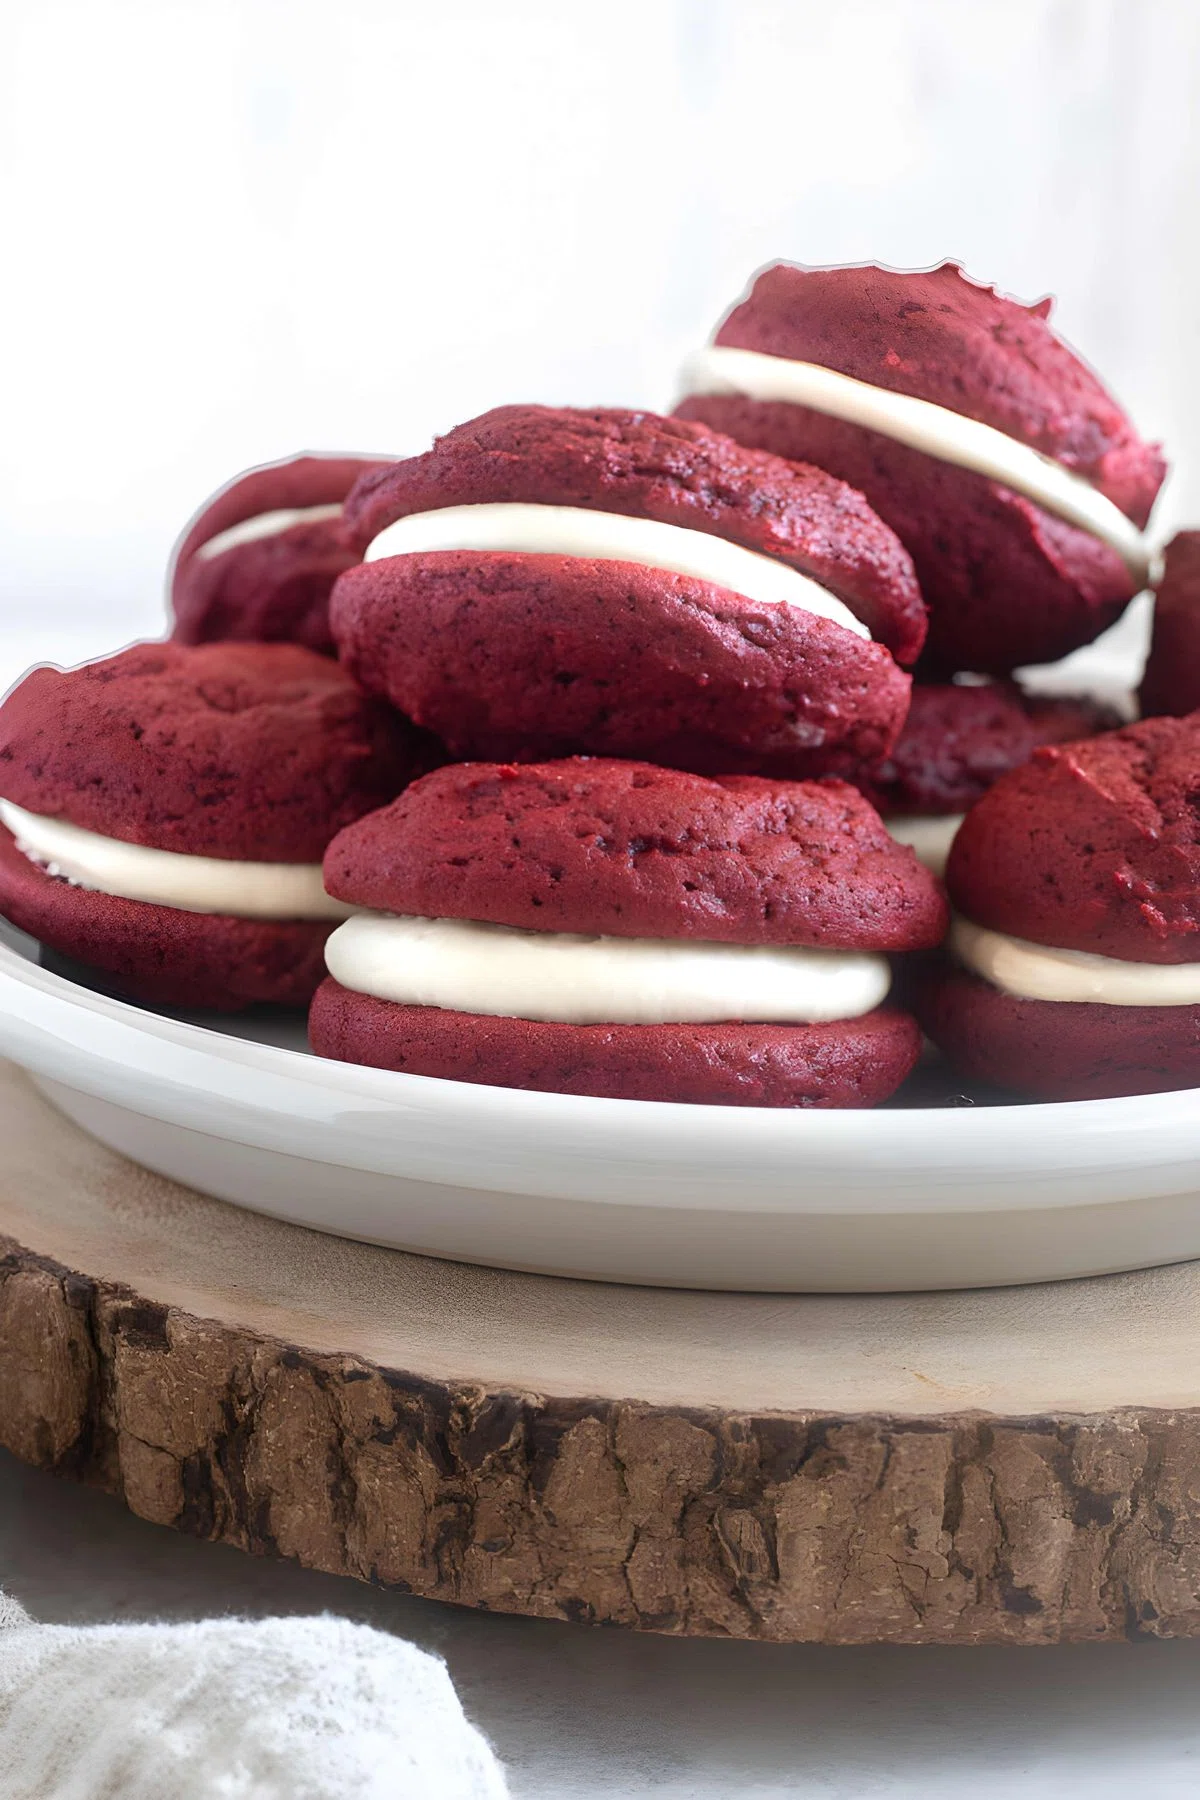
These Red Velvet Whoopie Pies are soft and fluffy cake-like cookies with a luscious cream cheese filling sandwiched in between, and they’re made entirely from scratch. These whoopie pies are soft and fluffy with luscious cream cheese filling sandwiched in between, and they’re completely irresistible. They taste just like red velvet cupcakes and they’re even easier to make!
Ingredients
Cream Cheese Frosting
Instructions
Prepare the whoopie pies
- Step 1
Preheat the oven to 350 degrees. Line (2) rimmed baking sheets with parchment paper.
- Step 2
In a medium bowl, whisk together the flour, cocoa powder, baking soda and salt. Set aside.
- Step 3
Place the softened butter and granulated sugar in the bowl of a stand mixer fitted with the paddle attachment. Beat on medium speed until light and fluffy, about 2-3 minutes. Scrape down the sides and add the egg, buttermilk, vanilla and red food coloring, beating on low until combined.
- Step 4
Add the flour mixture and beat on low speed until just incorporated, scraping down the sides of the bowl as necessary.
- Step 5
Using a 1 1/2" cookie scoop, scoop out about 1 tablespoon of the dough and place on the prepared pans about 2-3" apart and smooth the tops of the dough as needed. Bake on the middle rack of the oven for 10-12 minutes until set, then remove from heat.
- Step 6
Cool on a wire rack for 10 minutes, then remove the cookies from the pan and cool completely on the wire rack.
Prepare the cream cheese frosting
- Step 7
Place the softened cream cheese and butter in a medium bowl and beat on medium high speed until smooth, about 2 minutes.
- Step 8
Add the powdered sugar, milk (if using), vanilla, and pinch of salt, and beat on low until the powdered sugar is incorporated. Beat on medium high speed until fluffy, about 2 minutes.
Assemble the whoopie pie
- Step 9
Spread or pipe the frosting onto half of the whoopie pies. Top each frosted whoopie pie with the other half. To keep the filling from oozing out when bitten into, chill the pies for 15-20 minutes before serving. Enjoy!
Tips & Tricks
Per serving
My Notes
PrivatePRIVATE TO YOUOnly you can see these
Private to you. Jot down what you changed so it's here next time you cook this.
Keep your own notes on this recipe
Private to your account — what you changed, what you'd do differently next time.
Be the first to review this recipe and earn a 20% Bonus
Level up & unlock free Premium by reviewing recipes!
