- GF
Roasted Brussels Sprouts With Balsamic Glaze

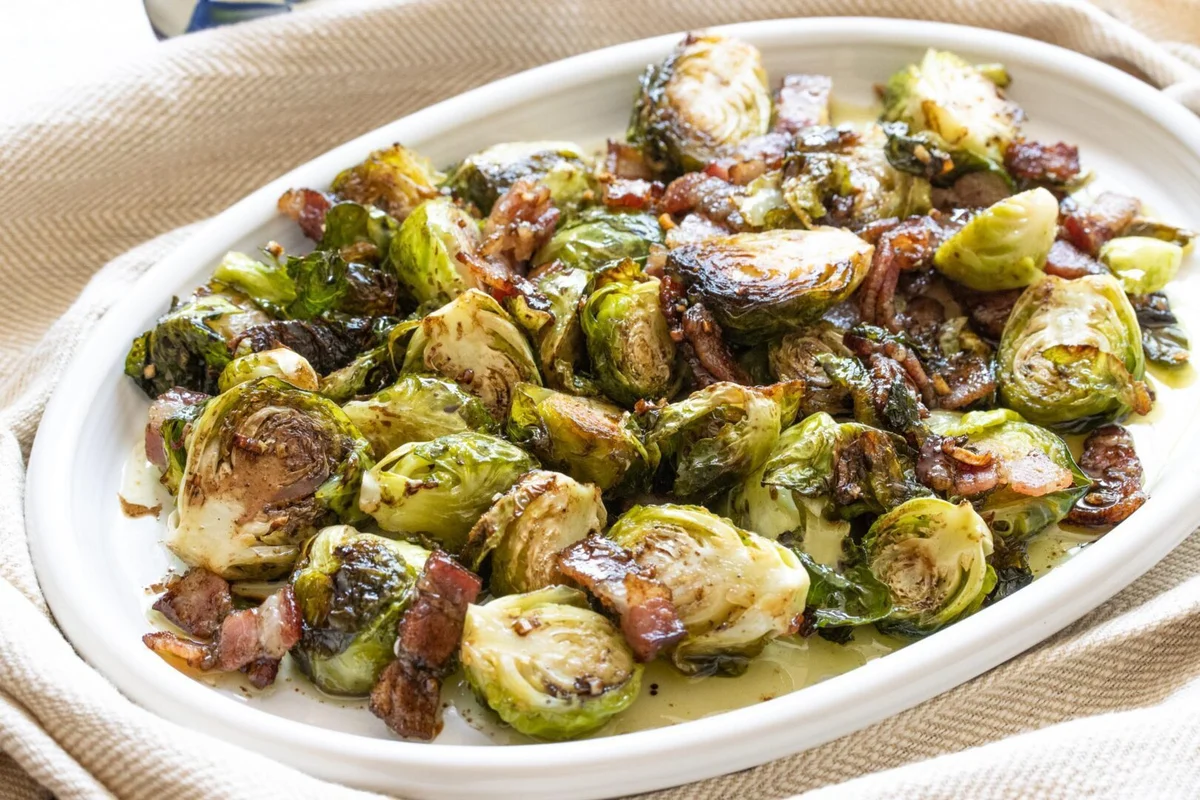
These r oasted Brussels sprouts with balsamic glaze are a sweet, tangy, caramelized, and savory all-in-one dish. This super easy dish is a must-have in your repertoire. Roasting the sprouts will help eliminate some bitterness as it is counterbalanced with the fat from olive oil or, in this instance, bacon, rendering them full of flavor. The balsamic sauce can be prepared ahead of tim e, perfect during the holiday hustle and bustle. This dish is so versatile that most meats, fish, and poultry will be perfect alongside.
Ingredients
BALSAMIC GLAZE
Instructions
BALSAMIC GLAZE
- Step 1
Heat balsamic vinegar and sugar in a small pot or saucepan over medium heat.
- Step 2
Bring to a gentle boil, then reduce heat to medium-low heat and let simmer, stirring occasionally until the vinegar thickens and is reduced to about 1/2 cup (about 20 minutes). It should be thick enough to coat the back of a spoon.
- Step 3
Remove from heat and allow to cool completely before serving. If too thick reheat gently for a few seconds over the stove.
BRUSSELS SPROUTS
- Step 4
Preheat the oven to 400°F.
- Step 5
Trim the ends of sprouts and cut them in half lengthwise.
- Step 6
Arrange brussels sprouts, any loose leaves, bacon, and garlic on the baking sheet. Drizzle with olive oil and toss to well cover all the sprouts. Season generously with salt and pepper. Spread mixture in a single layer.
- Step 7
Roast the Brussels sprouts, turning once through cooking, until tender with charred edges around 20 to 25 minutes depending on your oven, be careful not to overcook them or burning the leaves.
- Step 8
In a bowl toss the sprouts with the balsamic vinegar. Adjust taste with extra salt and pepper, if needed.
Tips & Tricks
Per serving
My Notes
PrivatePRIVATE TO YOUOnly you can see these
Private to you. Jot down what you changed so it's here next time you cook this.
Keep your own notes on this recipe
Private to your account — what you changed, what you'd do differently next time.
Be the first to photograph this dish and earn a 30% bonus
Level up by reviewing recipes!
