- HP
- LC
Homemade Spring Rolls

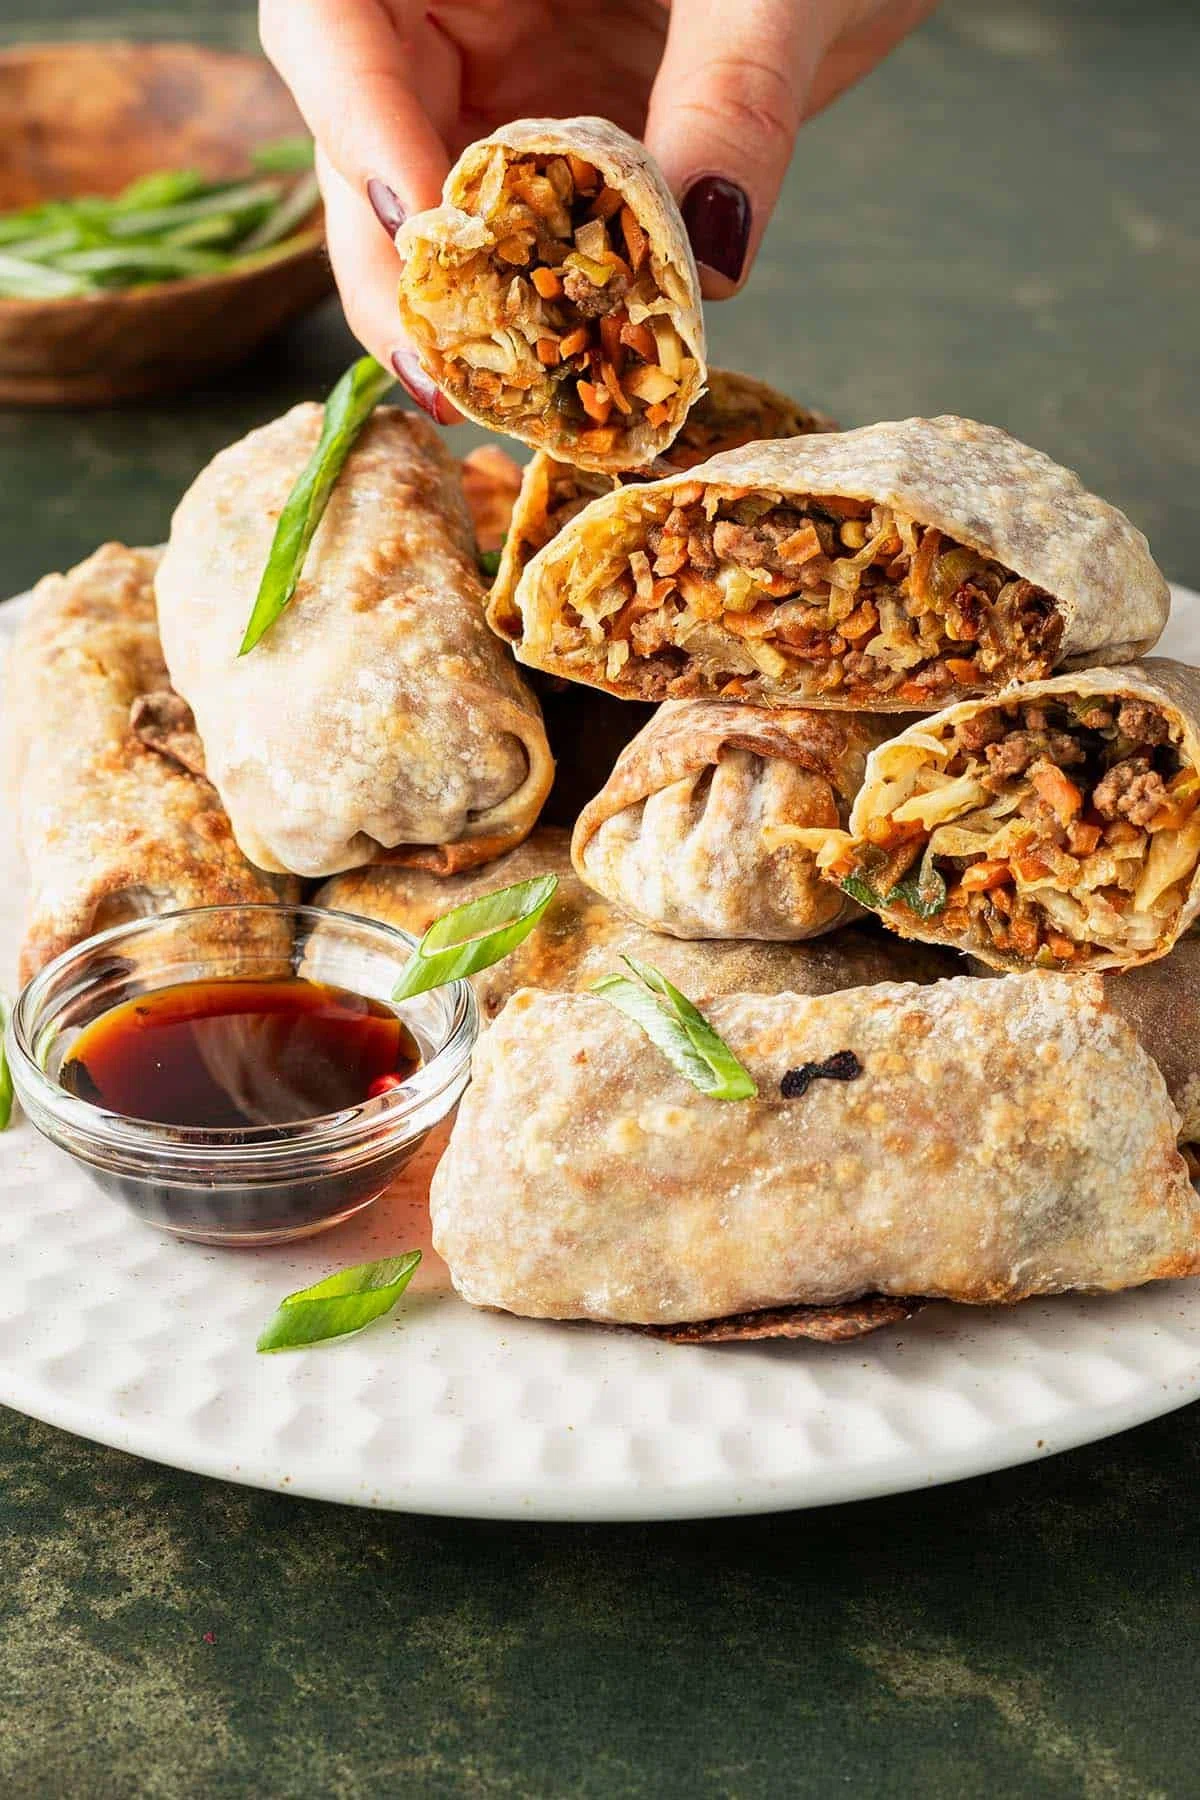
These Homemade Spring Rolls are crispy on the outside and packed with a savory filling of ground meat and vegetables. Thanks to store-bought spring roll wrappers, they're surprisingly easy to make and turn perfectly golden and crispy in the air fryer or oven—no deep-frying required.
Ingredients
Instructions
- Step 1
Peel and finely dice the garlic. Peel and grate (or finely dice) the ginger. Slice both the white and green parts of the spring onions into thin rings, keeping them separate. Remove the core from the cabbage and cut it into thin strips. Coarsely grate the carrots.
- Step 2
Heat the oil in a large skillet over medium-high heat. Add the cabbage, carrots, garlic, ginger, and the white parts of the spring onions along with a generous pinch of salt. Cook for about 5 minutes, stirring occasionally, until the vegetables have softened slightly and the garlic is lightly golden.
- Step 3
Add the ground meat and cook for about 5 minutes, breaking it up with a wooden spoon, until browned and crumbly.
- Step 4
Stir in the sugar, soy sauce, hoisin sauce, and chili flakes. Reduce the heat to medium and cook for 1 to 2 minutes, until the sauce has slightly thickened and coats the filling. Stir in the green parts of the spring onions and season to taste with salt and pepper.
- Step 5
Place the spring roll seam-side down on a lightly oiled plate or baking sheet. Repeat with the remaining wrappers and filling.
- Step 6
Preheat the air fryer to 400°F (200°C). Meanwhile, lightly brush the spring rolls with oil. Arrange them in a single layer in the air fryer basket and cook for 8 minutes, turning halfway through, until golden brown and crispy. Alternatively, bake them in a preheated 400°F (200°C) oven for about 20 minutes, turning them halfway through, until golden brown and crispy.
Per serving
My Notes
PrivatePRIVATE TO YOUOnly you can see these
Private to you. Jot down what you changed so it's here next time you cook this.
Keep your own notes on this recipe
Private to your account — what you changed, what you'd do differently next time.
Be the first to review this recipe and earn a 20% Bonus
Level up & unlock free Premium by reviewing recipes!
