- VE
- GF
- HP
Homemade Yogurt
Making yogurt — with no added sugar, no high-fructose corn syrup, no thickeners, and no shady business — is easier than you think, and requires no specialized equipment. This recipe tells you how to make yogurt using a dutch oven or other heavy pot to heat the milk and hold the heat in while the yogurt sets.
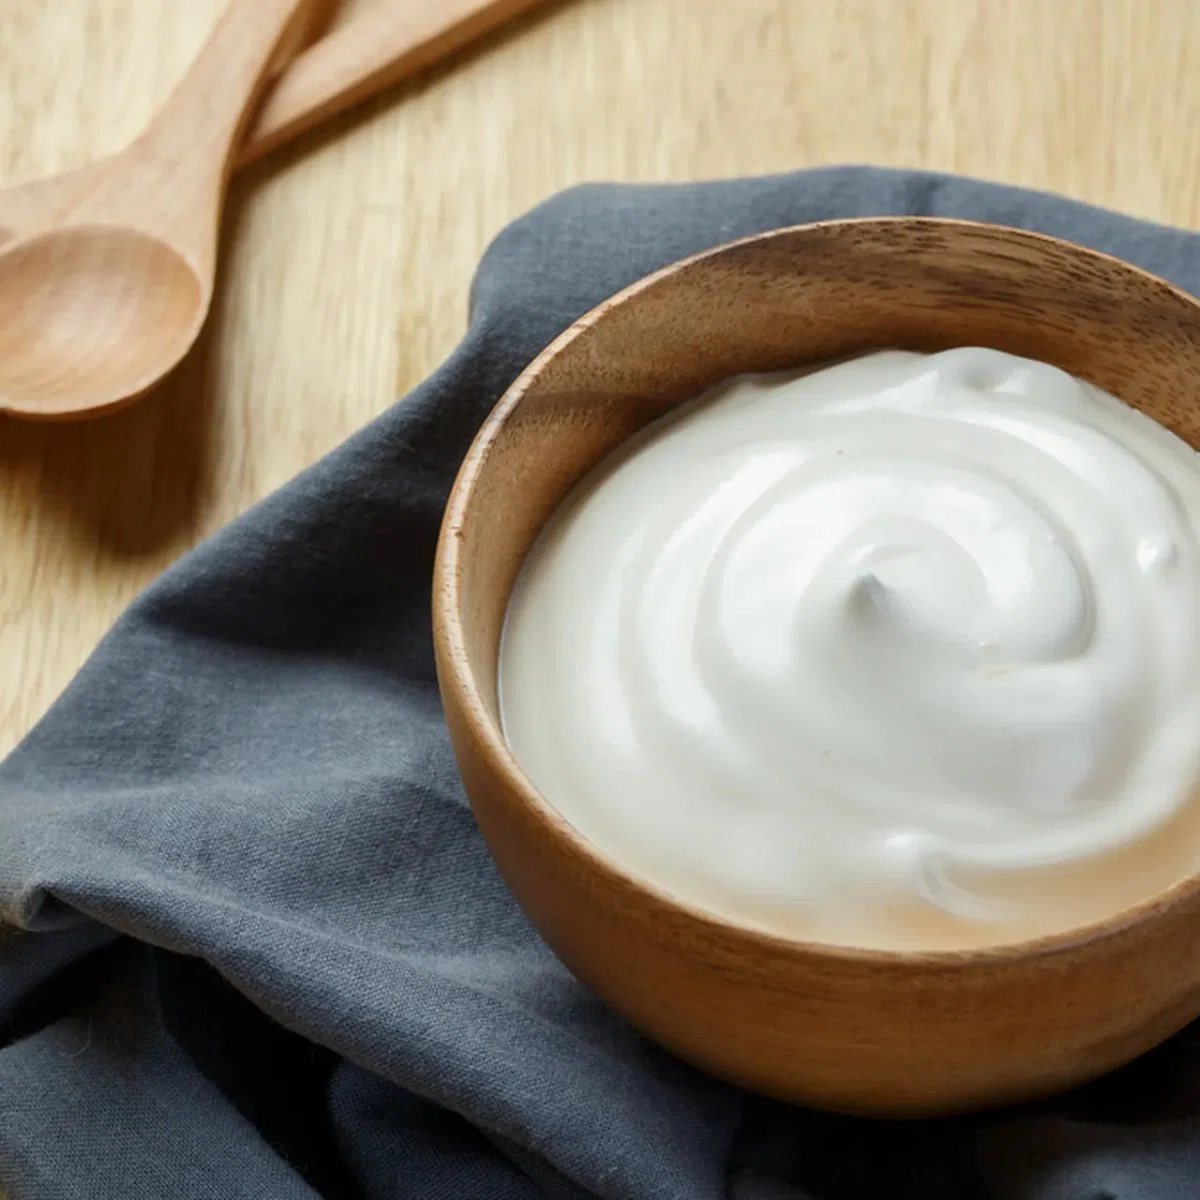
Homemade Yogurt
By OnlineCook
Ingredients
Instructions
- Step 1
Pour milk into a Dutch oven or heavy pot. Skim milk does work, but the results aren't as creamy - we recommend whole or 2% milk.
- Step 2
Heat the milk to 200º F (very hot, but not boiling). Stir to keep the milk from burning on the bottom. Heating the milk like this changes the protein structure so it will set properly.
- Step 3
Let the milk cool down to 115º F - lukewarm. If a skin forms, stir it back in before the next step.
- Step 4
Mix 1 cup of the warm milk into the plain store-bought yogurt (make sure the package says "live and active cultures"). Whisk out any lumps.
- Step 5
Combine the milk-and-yogurt mixture back in with the pot of warmed milk.
- Step 6
Put a lid on the pot (or cover with aluminum foil) and place the whole thing in a turned-off oven overnight. Turn the oven light on to keep things warm. You can also wrap the pot in towels - kitchen towels or even a big beach towel - to keep the heat up while the yogurt sets. Another option is setting the wrapped pot in a closed microwave next to a bottle of hot water.
- Step 7
Once the yogurt has reached your desired consistency, whisk it, store it in a reusable container, and refrigerate.

@onlinecook
Per serving
Be the first to review this recipe and earn a 20% Bonus
Level up & unlock free Premium by reviewing recipes!
